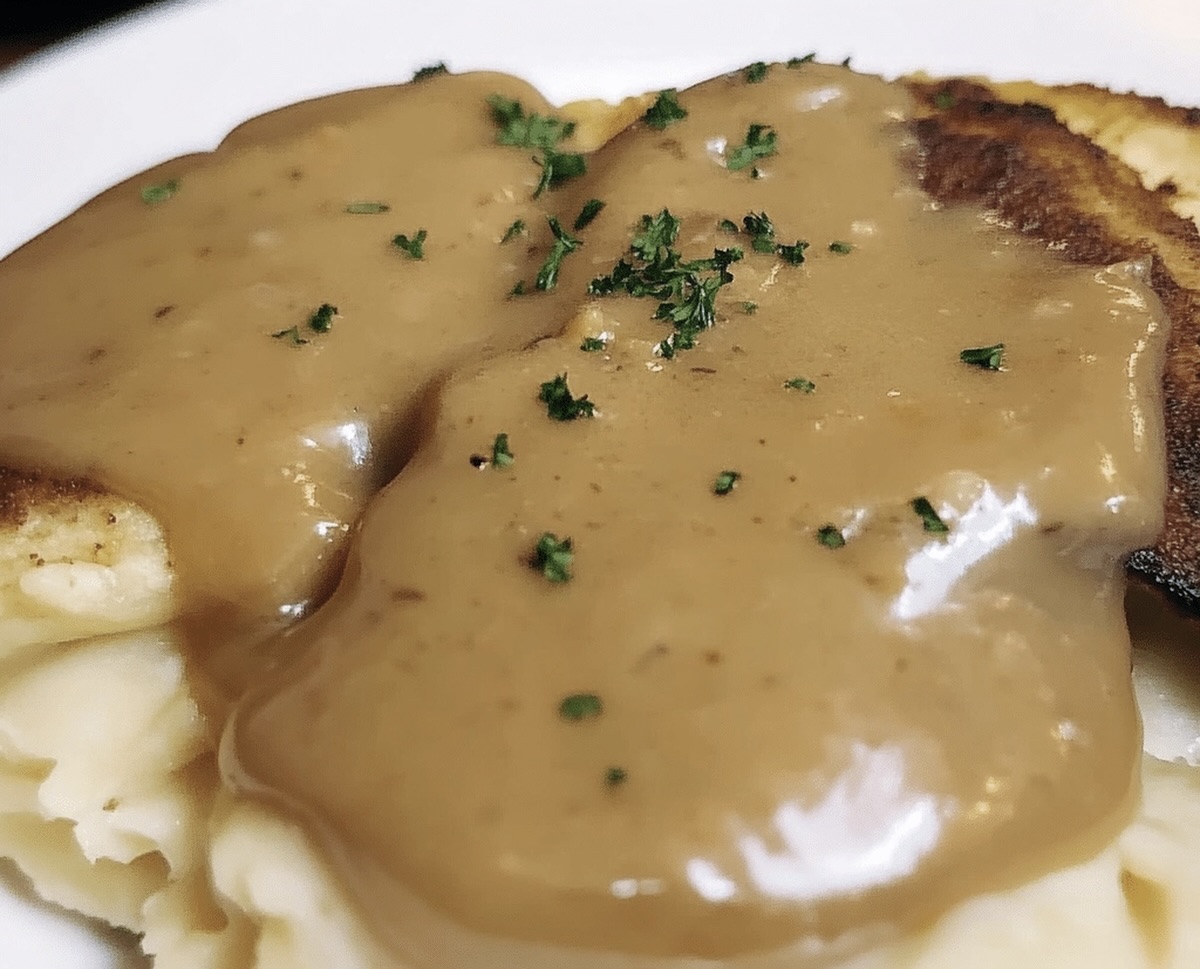
Turkey Gravy Recipe with Smooth Flavor
Rich, velvety turkey gravy can elevate your holiday turkey with its incredible savory turkey gravy recipe.
The secret lies in capturing those delicious pan drippings from your perfectly roasted bird.
Homemade gravy surpasses any store-bought version with its deep, luxurious flavor.
Professional chefs understand that a great gravy starts with quality ingredients and careful technique.
Whisking slowly helps prevent lumps and ensures a smooth, glossy texture.
Each spoonful brings warmth and comfort to your festive table.
You won't want to miss this foolproof method for creating the most delectable sauce that will have everyone asking for seconds.
Quick Recipe Overview
Turkey Gravy Ingredient Breakdown
For Fat and Liquid Base:For Thickening Agents:For Seasoning and Aromatic Enhancement:What You’ll Need to Prepare Turkey Gravy Smoothly
How to Make Turkey Gravy for Any Feast
Capture the Flavor Essence
Carefully drain the golden drippings from your roasted turkey into a container. Let the fat separate and remove the top layer, reserving a small amount for cooking.
Create the Flavor Base
Heat the reserved drippings in a saucepan over medium heat. Sprinkle in flour and whisk continuously, transforming the mixture into a rich, golden-hued roux.
Build the Liquid Foundation
Slowly pour in turkey or chicken stock, whisking vigorously to prevent any pesky lumps. Bring the mixture to a gentle bubbling simmer.
Develop Depth and Character
Introduce salt, pepper, and herbs to enhance the gravy’s flavor profile. Let it simmer and thicken, stirring occasionally until it reaches a luxurious consistency.
Elevate the Final Touch
Swirl in a pat of butter for an extra layer of silky richness. Taste and fine-tune the seasoning to perfection.
Present with Flair
Optional: Strain through a fine-mesh sieve for an ultra-smooth texture. Serve piping hot, ready to complement your main dishes with its delectable warmth.
Flavor Options to Add to Your Turkey Gravy
Serving Turkey Gravy With Holiday Dishes
Store Turkey Gravy for More Meals to Come
FAQs
How do I prevent lumps in my gravy?
Whisk the flour into the hot drippings or butter constantly and gradually add stock while continuing to whisk. This technique ensures a smooth, lump-free gravy by breaking down flour particles evenly.
Can I make gravy ahead of time?
Yes, you can prepare gravy up to 2 days in advance. Store it in an airtight container in the refrigerator. Reheat gently on the stovetop, stirring occasionally and adding a little stock if it’s too thick.
What if I don’t have turkey drippings?
Use chicken stock and butter as a substitute. The key is maintaining the same ratio of fat to flour when creating the roux, which ensures a rich, flavorful gravy.
How do I fix gravy that’s too thick or thin?
If too thick, whisk in additional warm stock. If too thin, continue simmering to reduce and thicken. Always add liquid or simmer gradually to achieve the perfect consistency.

Silky Turkey Gravy Recipe
- Total Time: 15 minutes
- Yield: 5 1x
Description
Savory turkey gravy from grandmother’s Southern kitchen blends rich pan drippings with hearty chicken stock. Silky herbs and subtle seasonings create a comforting sauce you’ll crave at holiday gatherings.
Ingredients
- ¼ cup (30 g) all-purpose flour
- 2.75 cups (656 ml) turkey or chicken stock
- ¼ cup (60 ml) turkey drippings
- ½ tsp fresh thyme or ¼ tsp dried thyme
- ¼ tsp salt
- ¼ tsp black pepper
- 1 tbsp butter
Instructions
- Dripping Preparation: Transfer roasted turkey pan drippings into a fat separator, allowing liquid to settle. Carefully skim excess fat, retaining approximately one-quarter cup of flavorful liquid.
- Roux Creation: Warm reserved drippings in a medium saucepan over medium heat. Whisk flour into heated liquid, creating a smooth golden mixture. Cook for 1-2 minutes to eliminate raw flour flavor.
- Liquid Integration: Gradually pour turkey or chicken stock into the roux, whisking methodically to prevent lumps. Maintain constant stirring to ensure a silky, uniform consistency.
- Seasoning Infusion: Add salt, ground black pepper, and optional thyme to enhance gravy’s flavor profile. Reduce heat and allow mixture to simmer gently, stirring periodically to prevent burning.
- Texture Refinement: Monitor gravy’s consistency, allowing it to thicken naturally. Adjust with additional stock if needed to achieve desired texture. Incorporate a pat of butter for a glossy, rich finish.
- Final Presentation: Strain gravy through a fine-mesh sieve for an impeccably smooth texture. Taste and adjust seasonings to create a perfectly balanced flavor. Serve immediately alongside roasted turkey and traditional side dishes.
Notes
- Skim off excess fat from drippings using a fat separator or spoon to prevent greasy, heavy gravy and maintain a clean, rich flavor profile.
- Whisk flour and liquid continuously and slowly to create a smooth roux, ensuring no flour clumps develop during the cooking process.
- Monitor thickness while simmering, adding stock gradually if too thick or reducing heat if too thin to achieve perfect pour-able texture.
- Experiment with additional herbs like rosemary or sage, or add a splash of white wine to elevate the gravy’s complexity and create a more sophisticated taste experience.
- Prep Time: 5 minutes
- Cook Time: 10 minutes
- Category: Dinner
- Method: Simmering
- Cuisine: American
Nutrition
- Serving Size: 5
- Calories: 70
- Sugar: 0 g
- Sodium: 200 mg
- Fat: 4 g
- Saturated Fat: 2 g
- Unsaturated Fat: 2 g
- Trans Fat: 0 g
- Carbohydrates: 6 g
- Fiber: 0 g
- Protein: 1 g
- Cholesterol: 10 mg
John Nicholson
Lead Writer & Recipe Developer
Expertise
Recipe Testing and Development, Kitchen Hacks and Time-Saving Tips, Flavor Pairing and Ingredient Selection, Engaging Food Writing and Storytelling
Education
Johnson & Wales University
John Nicholson honed his skills at Johnson & Wales University, learning how to use fresh, local ingredients and down-to-earth techniques to make cooking simple and satisfying.
His recipes blend Southern comfort flavors with a modern touch, inviting everyone to cook with ease and confidence.
Living in Charleston, John takes cues from the city’s lively food scene, local markets, and seasonal produce. He’s all about making meals stress-free through easy tips, flavor pairings, and fun experiments in the kitchen