Crispy Baked Chicken Chimichangas Recipe for Fiesta Night
Crispy golden baked chicken chimichangas have transformed my weeknight dinner routine completely.
Mexican-inspired comfort arrives with minimal effort and maximum flavor.
These delightful parcels combine tender shredded chicken and melty cheese inside a perfectly crisped tortilla.
No deep-fryer needed for this healthier version that still delivers incredible crunch.
Authentic spices dance through each bite, creating a mouthwatering experience you’ll want to repeat.
Weeknight meals just got way more exciting with this simple yet spectacular dish.
Trust me, these chimichangas will become your new go-to dinner solution.
Why Baked Chicken Chimichangas Are Crispy And Full Of Flavor
Ingredients For Baked Chicken Chimichangas
Protein Base:Vegetable and Flavor Enhancers:Binding and Wrapping Ingredients:Cooking and Finishing Ingredients:How To Make Baked Chicken Chimichangas In Your Oven
Step 1: Create Flavor-Packed Chicken Filling
Grab a skillet and warm olive oil over medium heat. Toss in:Cook until vegetables soften and become translucent. Add minced garlic and let it dance around for a minute. Introduce shredded chicken, green chilies, taco seasoning, and chicken broth to the party. Stir everything together and let it simmer until heated through. Pull the skillet off the heat and fold in shredded cheese for extra richness.
Step 2: Wrap Up the Deliciousness
Lay out a tortilla like a blank canvas. Optional: Spread a layer of refried beans across the center. Scoop a generous heap of the chicken mixture right in the middle. Fold the sides of the tortilla over the filling, then roll from the bottom up, creating a tight little package. Secure with toothpicks if needed. Repeat this process until all tortillas are transformed into delectable bundles.
Step 3: Crisp Up the Chimichangas
Choose your cooking adventure:
Frying Method:
Pour vegetable oil into a large skillet, about an inch deep. Heat until it shimmers with excitement. Carefully slide chimichangas into the oil, seam-side down. Fry for 2-3 minutes on each side until they turn a gorgeous golden brown.
Baking Method:
Crank the oven to 400F. Arrange chimichangas on a baking sheet. Brush with oil or melted butter for extra crispiness. Bake for 20-25 minutes until they’re beautifully golden and crisp.
Step 4: Dress and Serve
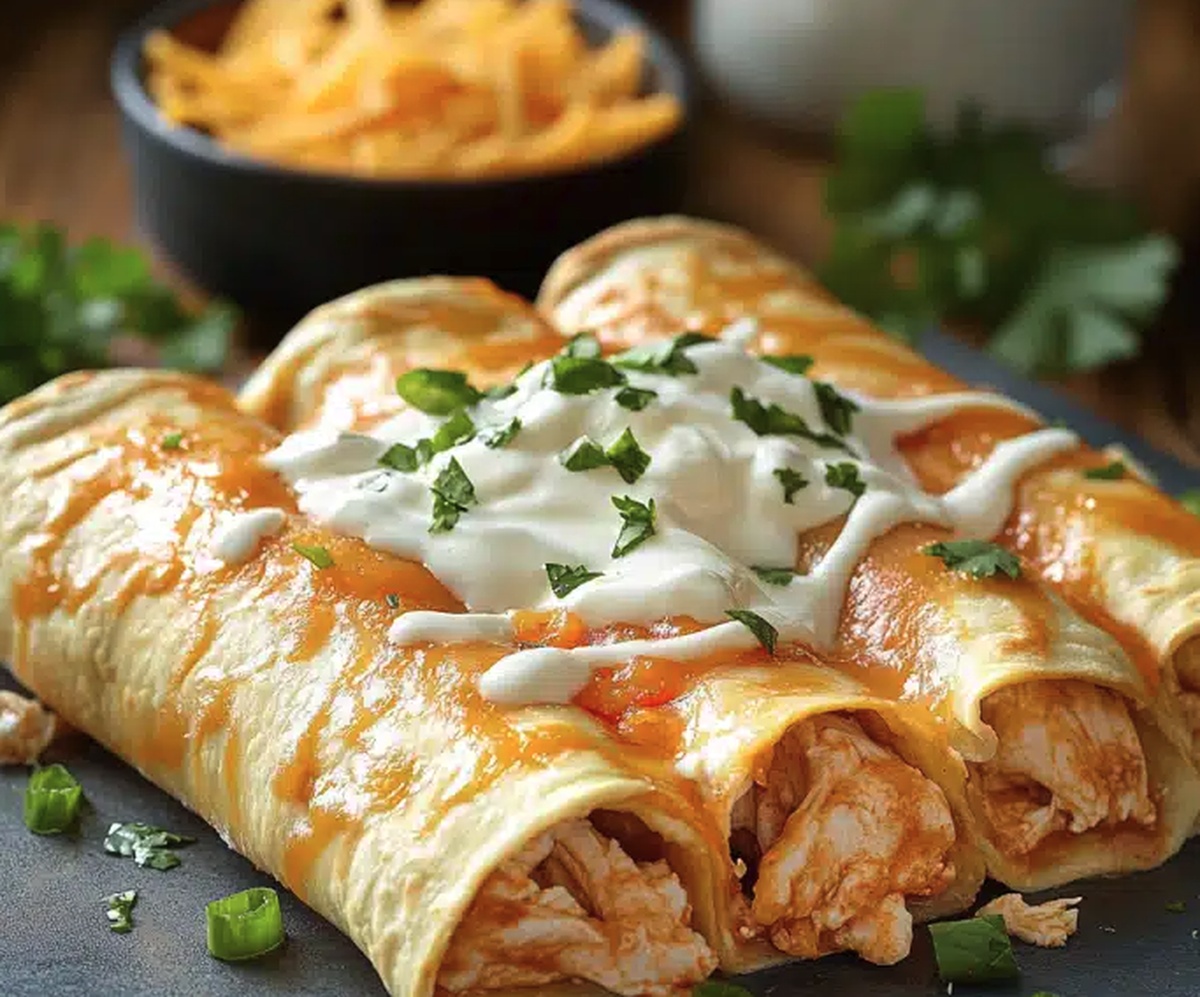
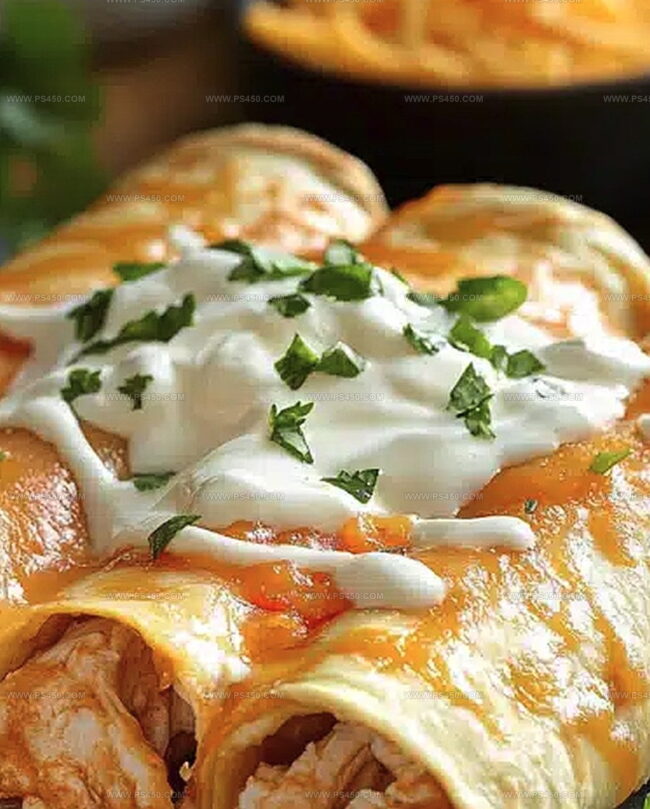
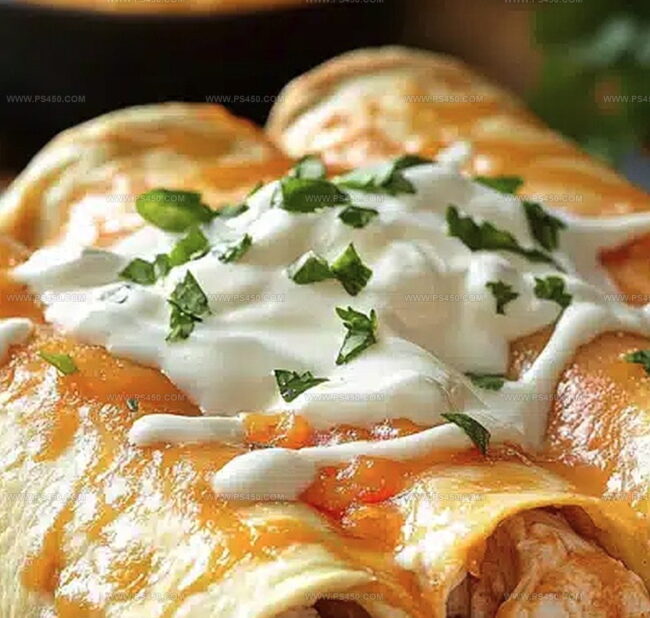
Transfer your crispy chimichangas to plates. Go wild with toppings:Serve immediately and watch everyone’s eyes light up!
Tips For Golden Baked Chicken Chimichangas Every Time
How To Store Baked Chicken Chimichangas Without Losing Crunch
Perfect Sides For Baked Chicken Chimichangas
Ways To Spice Up Baked Chicken Chimichangas
FAQs About Baked Chicken Chimichangas
Boneless, skinless chicken breasts or shredded rotisserie chicken are perfect because they’re tender, easy to shred, and absorb the taco seasoning flavors beautifully.
Absolutely! Add diced jalapeños to the filling, use a hot taco seasoning blend, or include some cayenne pepper to increase the heat level according to your spice preference.
The baking method is a healthier alternative that still delivers crispy results. While it might not be exactly like deep-frying, it creates a nice golden exterior and is much less messy and calorie-intensive.
No, the refried beans are optional. They add extra flavor and help bind the filling, but you can skip them if you prefer or don’t have them on hand without compromising the overall taste of the chimichangas.
Print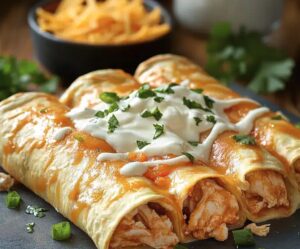
Baked Chicken Chimichangas Recipe
- Total Time: 40 minutes
- Yield: 8 1x
Description
Mexican chicken chimichangas deliver crispy golden perfection with minimal effort. Packed with savory shredded chicken, melted cheese, and zesty spices, these irresistible rolls promise a delightful journey through authentic southwestern flavors you’ll crave again and again.
Ingredients
Main Protein:
- 2 cups (450g) cooked, shredded chicken
Vegetables and Seasonings:
- 1 tablespoon olive oil
- 1 small onion, diced
- 1 green bell pepper, diced
- 2 garlic cloves, minced
- 1 can (4 ounces) diced green chilies
- 1 tablespoon taco seasoning
Additional Fillings and Accompaniments:
- ½ cup (120 milliliters) chicken broth
- 1 cup (120 grams) shredded cheddar or Monterey Jack cheese
- 1 can (15 ounces) refried beans (optional)
- 8 large flour tortillas
- Vegetable oil, for frying
For Serving:
- Sour cream
- Salsa
- Guacamole
- Chopped fresh cilantro
Instructions
- Craft a vibrant chicken filling by sautéing diced onions and green bell peppers in olive oil until they become translucent and fragrant. Introduce minced garlic and allow it to release its aromatic essence for a brief moment.
- Incorporate shredded chicken, diced green chilies, and taco seasoning into the vegetable mixture. Pour in chicken broth and simmer, allowing the flavors to meld and intensify. Remove from heat and fold in shredded cheese, creating a rich and cohesive filling.
- Prepare the tortillas by spreading a thin layer of refried beans across the center. Generously spoon the warm chicken mixture onto each tortilla, ensuring an even distribution.
- Carefully fold the sides of the tortilla inward, then roll from the bottom to create a secure, compact package. Use toothpicks to hold the seam if necessary, preventing the filling from escaping during cooking.
- For a crispy exterior, brush the assembled chimichangas with oil or melted butter. Place them on a baking sheet and slide into a preheated oven at 400F (200C).
- Bake until the tortillas turn golden brown and develop a crisp, enticing texture, approximately 20-25 minutes. The exterior should be beautifully bronzed and slightly crunchy.
- Once cooked, remove from the oven and let rest briefly. Garnish with dollops of sour cream, fresh salsa, creamy guacamole, and a sprinkle of chopped cilantro.
- Serve immediately while hot, allowing guests to enjoy the crisp exterior and steaming, flavorful interior of these delectable chimichangas.
Notes
- Customize the filling by swapping chicken with ground beef, pulled pork, or black beans for a vegetarian option that keeps the dish super versatile and exciting.
- Reduce oil absorption by using a wire rack when baking to ensure crispy edges without excess grease, creating a healthier version of this classic Mexican-inspired dish.
- Control spice levels by adjusting taco seasoning intensity or choosing mild green chilies, making the recipe perfect for families with different heat preferences.
- Prep chimichangas ahead of time and freeze uncooked for quick weeknight meals, wrapping tightly in plastic wrap and storing in freezer bags to maintain maximum flavor and texture.
- Prep Time: 15 minutes
- Cook Time: 25 minutes
- Category: Dinner, Lunch
- Method: Frying
- Cuisine: Mexican
Nutrition
- Serving Size: 8
- Calories: 360
- Sugar: 2g
- Sodium: 800mg
- Fat: 14g
- Saturated Fat: 6g
- Unsaturated Fat: 8g
- Trans Fat: 0g
- Carbohydrates: 38g
- Fiber: 5g
- Protein: 22g
- Cholesterol: 70mg
Emily Morgan
Food Critic & Kitchen Tips Specialist
Expertise
Global Food Exploration & Critique, Simple Kitchen Hacks & Time-Saving Tips, Presentation & Plating Techniques, Culinary Research & Storytelling.
Education
New York University
Emily Morgan has journeyed across the globe, collecting culinary secrets that turn everyday ingredients into impressive meals.
Based in Seattle and armed with a Journalism degree from NYU, she blends thorough research with a flair for presentation, ensuring every dish looks just as good as it tastes.
Focusing on fresh flavors, simple methods, and a bit of fun, Emily shows home cooks how to elevate their daily cooking without fancy gadgets or complex steps.