
Butterfinger Poke Cake Recipe with Rich Caramel Swirl
Chocolate cake meets childhood nostalgia in this incredible butterfinger candy bar poke cake that delivers sweet memories with every bite.
Sweet tooths unite around a dessert that captures pure indulgence.
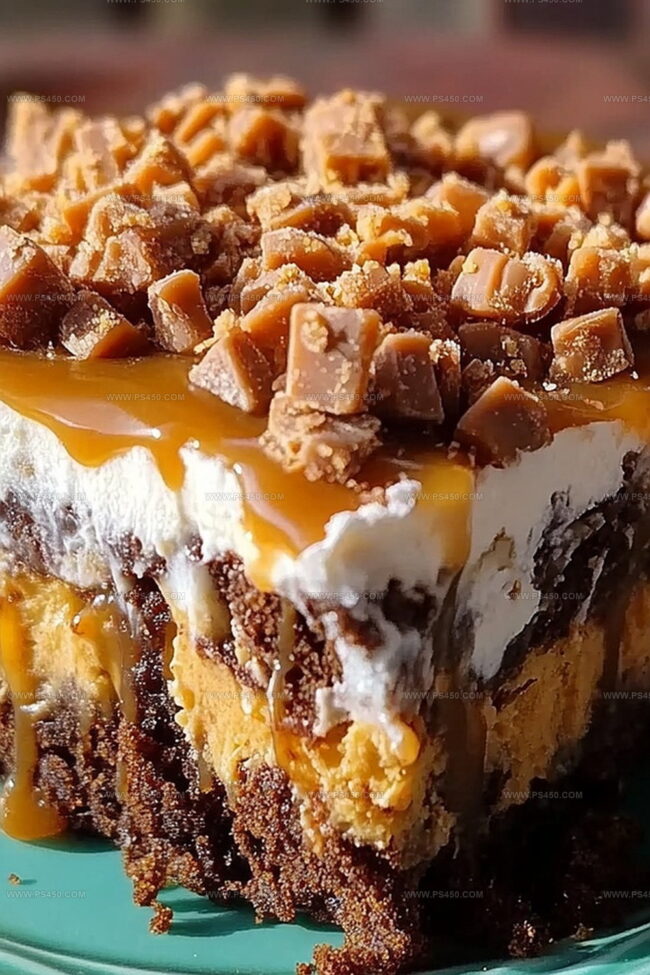
Layers of moist chocolate provide the perfect canvas for crumbled candy bar magic.
Creamy pudding seeps into each carefully poked hole, creating unexpected texture surprises.
Rich caramel notes dance alongside chocolate, promising a decadent experience that feels both familiar and exciting.
Dessert enthusiasts will absolutely adore how simple ingredients combine into something extraordinary.
You can totally impress everyone at the next gathering with this irresistible treat that guarantees smiles and second helpings.
Why Butterfinger Candy Bar Poke Cake Is Loaded With Fun
Ingredients For Butterfinger Candy Bar Poke Cake
Base Cake:Filling and Moisture Ingredients:Topping Ingredients:Steps To Make Butterfinger Candy Bar Poke Cake
Step 1: Whip Up The Cake Base
Grab your favorite chocolate cake mix and prepare it according to the package directions. Pour the batter into a 9×13-inch baking dish. Bake until a toothpick comes out clean. Let the cake rest and cool slightly while still warm.
Step 2: Create Delicious Holes
Take the handle of a wooden spoon and gently poke holes all across the cake’s surface. The holes should be evenly distributed and go about halfway through the cake. This creates magical pockets for deliciousness.
Step 3: Drench With Sweet Goodness
Pour sweetened condensed milk slowly over the entire cake, allowing it to seep into every single hole. Follow this by drizzling caramel sauce generously. If you want extra decadence, add a layer of hot fudge sauce. Let the cake cool completely, allowing all those sweet sauces to absorb.
Step 4: Fluffy Cloud Topping
Spread a thick layer of whipped cream or Cool Whip across the entire cake surface. Make sure it’s smooth and covers every inch.
Step 5: Candy Bar Magic
Crush Butterfinger candy bars into delightful crumbly pieces. Sprinkle these golden-orange nuggets all over the whipped topping. Cover the entire cake generously.
Step 6: Final Flavor Explosion
Drizzle additional caramel and chocolate sauces in beautiful zigzag patterns across the top. This adds visual appeal and extra flavor.
Step 7: Chill And Serve
Refrigerate the cake for 1-2 hours to let all the flavors meld together. The chilling helps the cake set and intensifies the deliciousness.
Slice, serve, and watch everyone’s eyes light up with pure dessert joy!
Tips For Rich Butterfinger Candy Bar Poke Cake
How To Store Butterfinger Candy Bar Poke Cake Without Mess
Tasty Pairings With Butterfinger Candy Bar Poke Cake
Fun Variations Of Butterfinger Candy Bar Poke Cake
FAQ Guide For Butterfinger Candy Bar Poke Cake
FAQs:
This cake combines the classic love of boxed cake with the irresistible crunch of Butterfinger candy bars. The sweetened condensed milk and caramel sauce create a super moist texture that makes each bite incredibly decadent.
Absolutely! While Butterfinger gives a unique peanut butter crunch, you can substitute with Snickers, Heath bars, or Reese’s Pieces if you prefer. The key is to choose a candy that complements the chocolate and caramel flavors.
For the best experience, chill the cake in the refrigerator for 1-2 hours before serving. The cool temperature helps the layers set and intensifies the flavor blend, making each slice more refreshing and delicious.
When stored in an airtight container in the refrigerator, this Butterfinger Poke Cake will stay fresh and delicious for 3-4 days. Just make sure to cover it well to prevent it from absorbing other refrigerator odors.
Print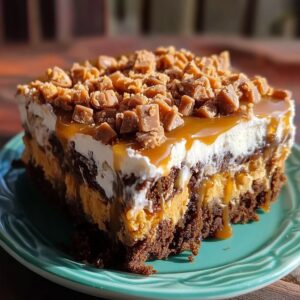
Butterfinger Candy Bar Poke Cake Recipe
- Total Time: 1 hour 45 minutes
- Yield: 12 1x
Description
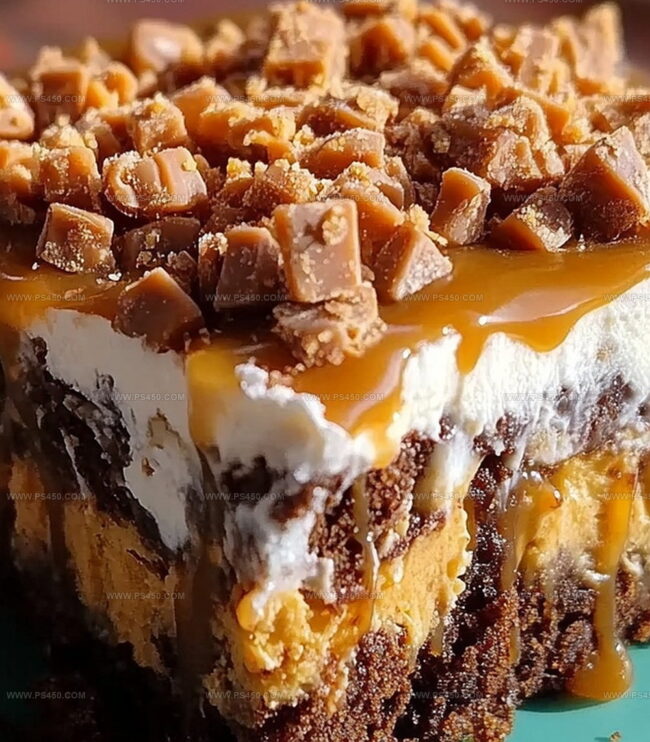
Indulgent Butterfinger candy bar poke cake delivers a symphony of chocolatey richness with crushed candy bar layers. Sweet caramel and creamy frosting create an irresistible dessert that will delight chocolate enthusiasts seeking pure comfort.
Ingredients
Primary Ingredients:
- 1 box chocolate or yellow cake mix
- 1 (14 ounces / 397 grams) can sweetened condensed milk
- 1 (8 ounces / 226 grams) tub Cool Whip (or 2 cups whipped cream)
- 4 Butterfinger candy bars
Sauce and Drizzle Ingredients:
- ½ cup caramel sauce
- ½ cup hot fudge sauce (optional for extra chocolate flavor)
- ¼ cup caramel sauce (for drizzling)
- ¼ cup chocolate sauce (for drizzling, optional)
Additional Ingredients:
- Ingredients listed on the cake mix box
Instructions
- Craft a moist chocolate cake according to package directions in a rectangular baking vessel, ensuring even baking and golden edges.
- While the cake is still warm, methodically puncture deep holes across the entire surface using a wooden spoon handle, creating pathways for rich, sweet infusion.
- Gently cascade sweetened condensed milk throughout the perforated landscape, allowing the liquid to penetrate and saturate each crevice and channel.
- Artfully drizzle caramel and chocolate sauces across the cake’s surface, ensuring the sauces seep into the carefully created holes, enhancing the dessert’s moisture and depth of flavor.
- Allow the cake to cool completely, permitting the liquid ingredients to fully integrate and stabilize within the cake’s tender crumb.
- Delicately spread a smooth, billowy layer of whipped topping across the entire cake surface, creating an elegant, cloud-like canvas.
- Crush Butterfinger candy bars into rustic, uneven fragments and generously sprinkle the golden, crispy pieces across the whipped topping.
- Create an additional decorative flourish by drizzling extra caramel and chocolate sauces in elegant, crisscrossing patterns.
- Refrigerate the cake for 1-2 hours to allow flavors to meld and the dessert to set, ensuring a perfectly chilled and decadent treat.
Notes
- Select a high-quality cake mix for a more robust base flavor that complements the Butterfinger’s sweet crunch.
- Ensure holes are evenly distributed across the cake to maximize sauce absorption and create consistent moisture throughout.
- Crush Butterfinger bars while slightly frozen to achieve a more uniform and controlled texture without creating powdery crumbs.
- Consider using reduced-fat whipped topping or Greek yogurt as a lighter alternative to traditional Cool Whip for a slightly healthier version of the dessert.
- Prep Time: 15 minutes
- Cook Time: 30 minutes
- Category: Desserts
- Method: Baking
- Cuisine: American
Nutrition
- Serving Size: 12
- Calories: 320
- Sugar: 30 g
- Sodium: 210 mg
- Fat: 14 g
- Saturated Fat: 8 g
- Unsaturated Fat: 4 g
- Trans Fat: 0 g
- Carbohydrates: 45 g
- Fiber: 1 g
- Protein: 3 g
- Cholesterol: 35 mg
Emily Morgan
Food Critic & Kitchen Tips Specialist
Expertise
Global Food Exploration & Critique, Simple Kitchen Hacks & Time-Saving Tips, Presentation & Plating Techniques, Culinary Research & Storytelling.
Education
New York University
Emily Morgan has journeyed across the globe, collecting culinary secrets that turn everyday ingredients into impressive meals.
Based in Seattle and armed with a Journalism degree from NYU, she blends thorough research with a flair for presentation, ensuring every dish looks just as good as it tastes.
Focusing on fresh flavors, simple methods, and a bit of fun, Emily shows home cooks how to elevate their daily cooking without fancy gadgets or complex steps.