Gooey Butterfinger Caramel Bars Recipe for Sweet Lovers
Crafting these homemade butterfinger caramel candy bars can spark unexpected joy in your kitchen.
Sweet experiments often lead to delightful surprises that delight unexpected taste buds.
Each ingredient plays a crucial role in creating something magical and memorable.
Crunchy textures and rich flavors combine in ways that challenge traditional dessert expectations.
Chocolate lovers and candy enthusiasts will appreciate the intricate balance of sweetness and crunch.
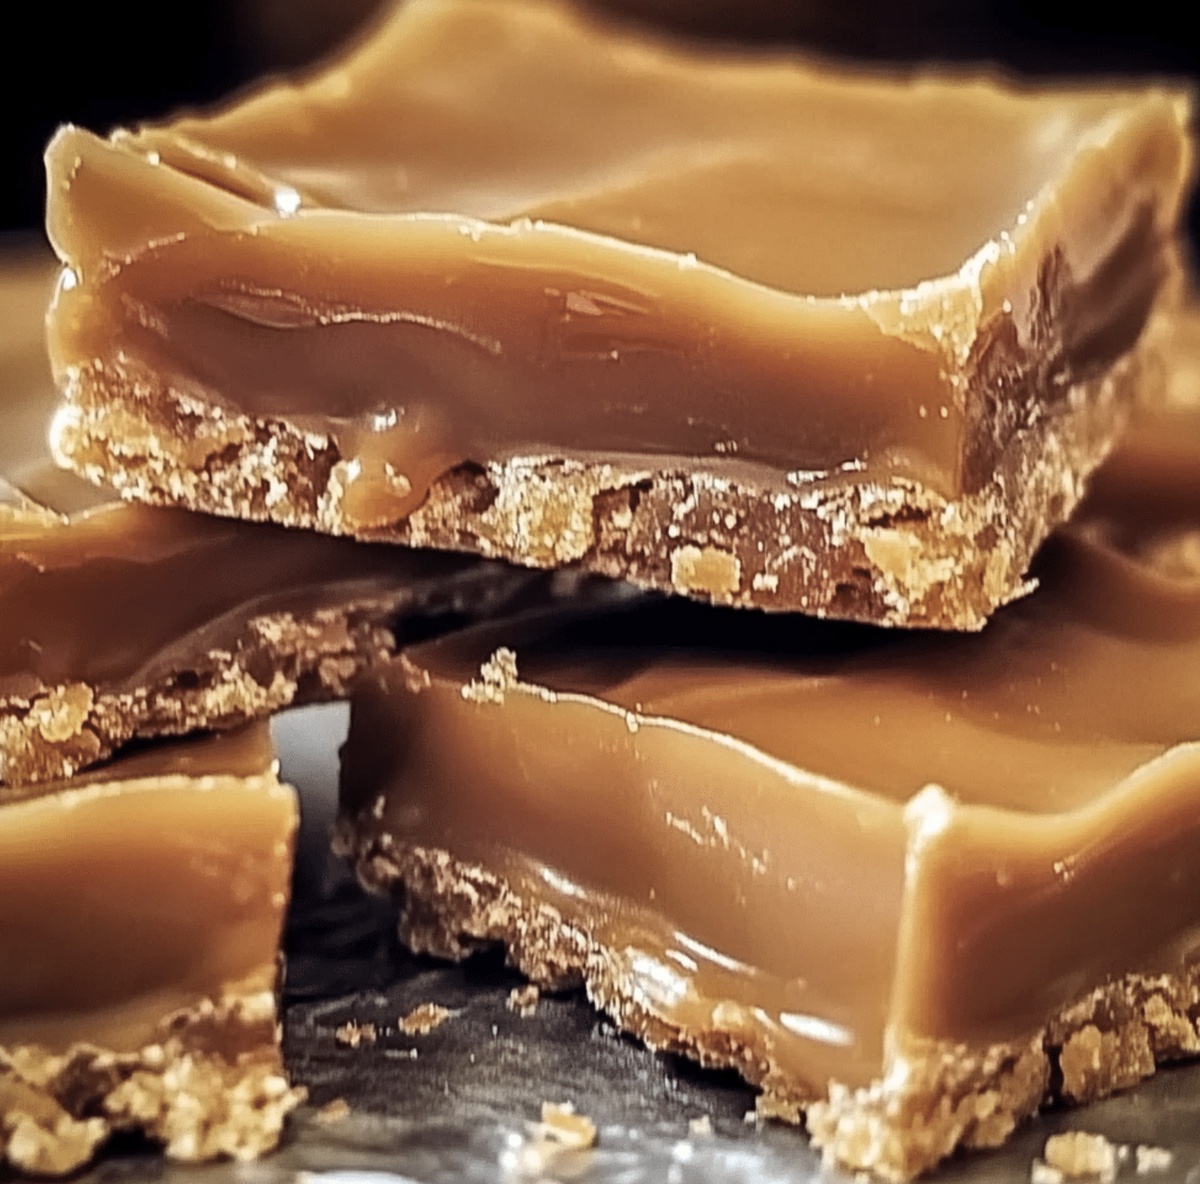
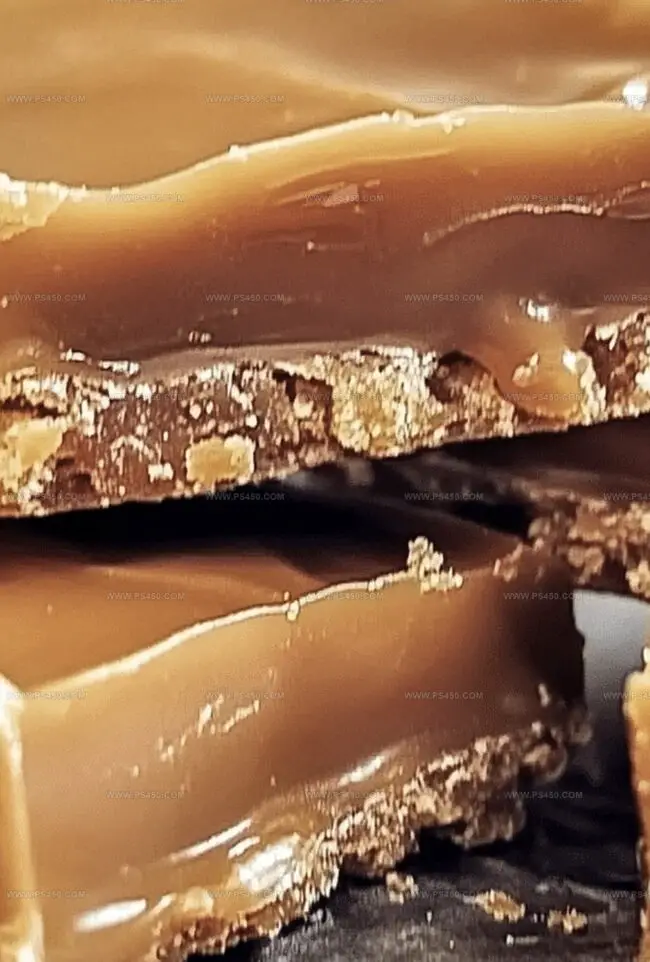
Layers of caramel and crisp peanut butter create a harmonious blend that feels both nostalgic and innovative.
Indulge your inner pastry chef and transform simple ingredients into an extraordinary treat.
Why Butterfinger Caramel Candy Bars Are Pure Bliss
Butterfinger Caramel Candy Bars Ingredient List
Base Layer Ingredients:Caramel Layer Ingredients:Chocolate Topping Ingredients:How To Make Butterfinger Caramel Candy Bars

Step 1: Create Crispy Base
Grab graham cracker crumbs, butter, and sugar. Mix these ingredients thoroughly until they feel like wet sand. Press the mixture into a lined baking pan, creating a solid foundation. Slide the pan into a hot oven and bake until edges turn golden and crisp. Let the base cool completely before moving forward.
Step 2: Craft Gooey Caramel Layer
Combine caramel bits and cream in a microwave-safe bowl. Warm the mixture in short bursts, stirring between each interval until silky smooth. Carefully pour the molten caramel over the cooled crust, ensuring an even blanket across the surface. Crush Butterfinger candy bars and:Step 3: Drench in Chocolate Goodness
Melt chocolate chips using gentle heat. Options for melting include:Pour liquid chocolate over caramel layer, creating a glossy chocolate shield. Sprinkle remaining Butterfinger pieces across the top for extra crunch and visual appeal.
Step 4: Transform and Serve
Allow bars to rest in refrigerator until completely firm. When ready, lift entire creation from pan using parchment paper handles. Slice into enticing squares or rectangles. Serve chilled and watch everyone’s eyes light up with excitement.
Tips For Better Butterfinger Caramel Candy Bars
Storage Guide For Butterfinger Caramel Candy Bars
Tasty Pairings For Butterfinger Caramel Candy Bars
Butterfinger Caramel Candy Bars Variations Worth Trying
Butterfinger Caramel Candy Bars Q&A
These bars combine the rich, buttery graham cracker crust with creamy caramel and the irresistible crunch of Butterfinger candy, creating a decadent dessert that balances sweet, salty, and crunchy textures in every bite.
While Butterfinger adds a unique flavor, you can substitute with other chocolate or peanut butter candy bars. Just crush them and sprinkle over the layers as the original recipe suggests.
For perfectly clean cuts, ensure the bars are completely chilled and use a sharp knife. Wipe the knife clean between each cut to create precise, smooth edges.
Place the candy bars in a sealed plastic bag and gently crush them using a rolling pin or the bottom of a heavy pan. This method helps you control the size of the candy pieces and prevents making a mess.
Print
Butterfinger Caramel Candy Bars Recipe
- Total Time: 1 hour 30 minutes
- Yield: 12 1x
Description
Indulgent Butterfinger caramel candy bars blend crunchy peanut butter layers with rich chocolate and smooth caramel for an irresistible sweet treat. Homemade confections like these will delight chocolate enthusiasts craving a luxurious dessert experience.
Ingredients
Base:
- 2 cups (473 milliliters) graham cracker crumbs
- ½ cup (113 grams) unsalted butter, melted
- ¼ cup (50 grams) granulated sugar
Caramel and Chocolate:
- 1 cup (170 grams) caramel bits or soft caramels, unwrapped
- 2 tablespoons (30 milliliters) heavy cream
- 1 ½ cups (255 grams) crushed Butterfinger candy bars (about 6 mini bars or 3 regular-sized bars)
- 1 ½ cups (255 grams) semi-sweet or milk chocolate chips
Optional Topping:
- 1 tablespoon (15 milliliters) coconut oil or vegetable oil (for a shiny topping)
Instructions
- Craft a sturdy foundation by combining graham cracker crumbs with melted butter and sugar, ensuring a uniform texture. Gently press the mixture into a parchment-lined baking dish, creating a compact base that will support the subsequent layers.
- Transform caramel bits and heavy cream into a silky, luxurious coating by gradually melting them in short microwave intervals. Carefully drizzle the molten caramel across the golden crust, distributing a generous portion of crushed Butterfinger pieces for added crunch and flavor.
- Simultaneously melt chocolate chips with a touch of coconut oil, creating a glossy, smooth topping that will encase the caramel and candy layer. Pour the liquid chocolate with precision, covering the entire surface and allowing it to flow naturally across the landscape of sweet ingredients.
- Enhance the visual appeal by sprinkling the remaining Butterfinger fragments across the chocolate surface, creating a delightful mosaic of textures and colors. Carefully transfer the assembled delicacy to the refrigerator, allowing the layers to solidify and meld together harmoniously.
- Once fully chilled and set, extract the confection using the parchment paper handles. Slice into elegant portions, revealing the intricate layers of graham, caramel, chocolate, and crunchy Butterfinger pieces that promise a multi-dimensional tasting experience.
Notes
- Customize the Crust: Swap graham crackers with gluten-free alternatives like almond flour or crushed oat cookies to accommodate dietary restrictions.
- Control Sweetness: Reduce sugar content by using dark chocolate or sugar-free caramel bits for a less intense sweet profile.
- Enhance Texture: Toast graham cracker crumbs briefly before mixing with butter to develop a deeper, nuttier flavor and add extra crispness to the base.
- Make Ahead: Prepare bars in advance and store in an airtight container in the refrigerator for up to 5 days, ensuring a convenient make-ahead dessert option.
- Prep Time: 20 minutes
- Cook Time: 10 minutes
- Category: Desserts, Snacks
- Method: Baking
- Cuisine: American
Nutrition
- Serving Size: 12
- Calories: 280
- Sugar: 20 g
- Sodium: 150 mg
- Fat: 16 g
- Saturated Fat: 8 g
- Unsaturated Fat: 6 g
- Trans Fat: 0 g
- Carbohydrates: 33 g
- Fiber: 1 g
- Protein: 2 g
- Cholesterol: 30 mg
Emily Morgan
Food Critic & Kitchen Tips Specialist
Expertise
Global Food Exploration & Critique, Simple Kitchen Hacks & Time-Saving Tips, Presentation & Plating Techniques, Culinary Research & Storytelling.
Education
New York University
Emily Morgan has journeyed across the globe, collecting culinary secrets that turn everyday ingredients into impressive meals.
Based in Seattle and armed with a Journalism degree from NYU, she blends thorough research with a flair for presentation, ensuring every dish looks just as good as it tastes.
Focusing on fresh flavors, simple methods, and a bit of fun, Emily shows home cooks how to elevate their daily cooking without fancy gadgets or complex steps.