
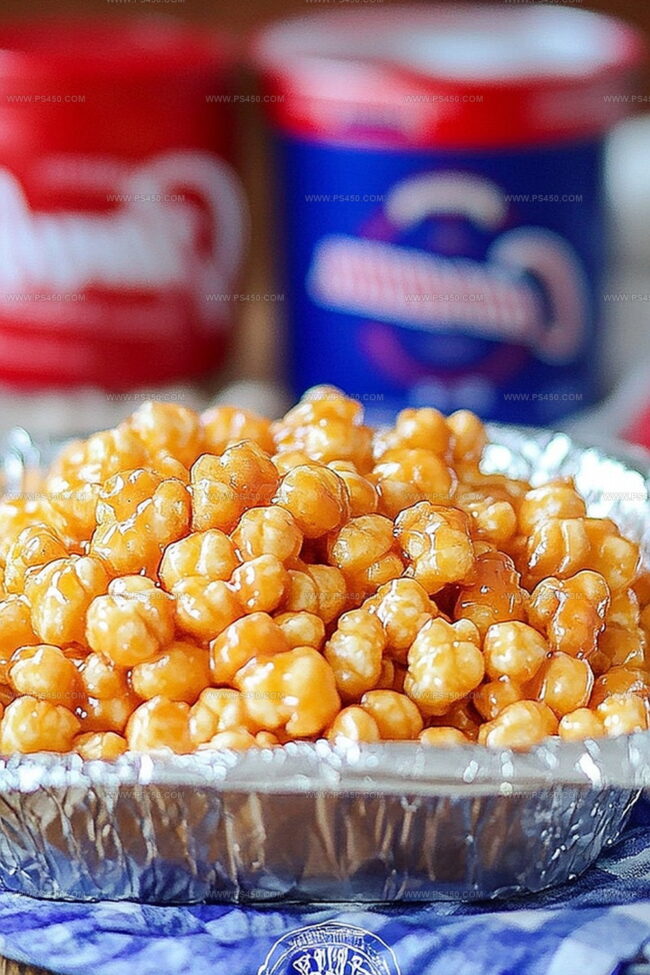
Sweet Homemade Caramel Puff Corn Recipe for Movie Nights
Sweet kernels dancing with buttery caramel puff corn create magic in your kitchen tonight.
Crispy, light bites promise an irresistible snack adventure.
Neighborhood gatherings and movie nights suddenly feel more special with this treat.
Childhood memories of caramel corn rush back with each delightful crunch.
Homemade goodness beats store-bought versions every single time.
Crafting these golden morsels takes minimal effort but delivers maximum satisfaction.
You’ll want to bookmark this recipe and make it your signature crowd-pleaser.
Why Caramel Puff Corn Is The Perfect Sweet Crunch
What Goes In Caramel Puff Corn
Base Ingredients:Caramel Sauce Ingredients:Optional Finishing Ingredients:How To Whip Up Caramel Puff Corn
Step 1: Warm Up the Oven
Crank the oven to a cozy 250°F (120°C). Grab a large roasting pan and give it a quick spritz of cooking spray. Scatter the puffy corn across the pan, making sure it’s spread out like a golden blanket.
Step 2: Brew the Caramel Magic
Grab a medium saucepan and let the butter melt into a golden pool over medium heat. Tumble in:Stir these sweet friends together until they become best buddies. Bring the mixture to a rolling boil, stirring like crazy. Let it bubble away for two wild minutes without touching it.
Step 3: Create Foamy Excitement
Pull the saucepan off the heat. Sprinkle in:Watch the mixture transform into a bubbling, foamy wonderland! Give it a gentle stir.
Step 4: Coat Every Kernel
Pour the caramel waterfall over the waiting corn. Use a spatula to dance the caramel around, making sure each little kernel gets a sweet jacket.
Step 5: Bake to Perfection
Slide the pan into the oven. Every 15 minutes, give the corn a gentle shuffle to ensure an even golden tan. Bake for 45 minutes total.
Step 6: Cool and Crunch
Spread the caramel-coated corn onto wax paper or foil. Let it cool down and get crispy. Once it’s completely cool, break into delightful clusters. Store in an airtight container and get ready for snack heaven!
Pro Tip: This treat disappears fast, so hide a secret stash for yourself!
Tips For Making Crunchy Caramel Puff Corn
How To Store Caramel Puff Corn Without Hassle
Sweet Snacks To Pair With Caramel Puff Corn
Ways To Switch Up Caramel Puff Corn Flavors
Caramel Puff Corn Questions Answered
The caramel sauce gets its unique flavor from the perfect combination of butter, brown sugar, and corn syrup. Boiling these ingredients creates a rich, golden caramel that coats the puffed corn with a deliciously sweet and buttery flavor.
Baking soda creates a chemical reaction that makes the caramel sauce light and foamy. This helps the sauce coat the puffed corn more evenly and gives the final treat a slightly lighter, crunchier texture that melts in your mouth.
No, puffed corn is different from regular popcorn. It’s lighter and airier, which allows the caramel to coat it perfectly. Regular popcorn would become soggy and won’t give you the same crispy, sweet result that makes this snack so addictive.
Absolutely! Caramel puff corn stays fresh and crunchy for several days when stored in an airtight container. It’s perfect for making in advance for parties, movie nights, or as a make-ahead snack that everyone will love.
Print
Caramel Puff Corn Recipe
- Total Time: 55 minutes
- Yield: 12 1x
Description
Homemade Caramel Puff Corn delivers sweet, crunchy magic in minutes with simple ingredients. Buttery caramel coats light corn puffs, creating an irresistible snack you’ll crave for movie nights and casual gatherings.
Ingredients
Main Ingredients:
- 89 ounces (2.52 kilograms) puffed corn (hull-less popcorn)
- 1 cup (226 grams or 2 sticks) unsalted butter
- 1 cup (220 grams) packed brown sugar
- ½ cup (118 milliliters) light corn syrup
Flavoring Ingredients:
- 1 teaspoon (5 milliliters) vanilla extract
Leavening Agent:
- 1 teaspoon (5 grams) baking soda
Instructions
- Prepare the baking workspace by positioning an oven rack in the center and preheating to 250F (120C). Generously coat a large roasting pan with nonstick cooking spray, then distribute puffed corn evenly across the surface.
- Create a rich caramel base by melting butter in a medium saucepan over medium heat. Incorporate brown sugar and corn syrup, stirring until the mixture becomes smooth and unified. Allow the mixture to reach a rolling boil, continuing to stir constantly, then maintain the boil for exactly two minutes without additional stirring.
- Remove the caramel mixture from heat and introduce baking soda and vanilla extract. Gently fold these ingredients, observing the dramatic foaming reaction that occurs during this process.
- Carefully drizzle the caramel mixture over the puffed corn, using a spatula to ensure comprehensive and uniform coverage. Use gentle folding motions to guarantee each kernel receives an even caramel coating.
- Transfer the roasting pan to the preheated oven. Rotate and redistribute the coated puffed corn every fifteen minutes to prevent burning and promote consistent caramelization. Total baking time should be 45 minutes.
- Once baking is complete, immediately transfer the caramelized puffed corn onto wax paper or aluminum foil. Allow the mixture to cool completely at room temperature. Once cooled, separate into bite-sized clusters and transfer to an airtight container for storage.
Notes
- Swap out corn syrup with honey or maple syrup for a more natural sweetness and unique flavor profile.
- Use gluten-free puffed corn varieties to make this recipe entirely gluten-free and suitable for those with dietary restrictions.
- Experiment with different spice blends like cinnamon, nutmeg, or a pinch of sea salt to enhance the caramel’s complexity and add unexpected depth.
- Cool the caramel puff corn completely before storing to prevent moisture buildup and maintain that perfect crispy texture.
- Prep Time: 10 minutes
- Cook Time: 45 minutes
- Category: Snacks, Desserts
- Method: Baking
- Cuisine: American
Nutrition
- Serving Size: 12
- Calories: 319
- Sugar: 22 g
- Sodium: 109 mg
- Fat: 17 g
- Saturated Fat: 10 g
- Unsaturated Fat: 7 g
- Trans Fat: 0 g
- Carbohydrates: 38 g
- Fiber: 1 g
- Protein: 1 g
- Cholesterol: 30 mg
Emily Morgan
Food Critic & Kitchen Tips Specialist
Expertise
Global Food Exploration & Critique, Simple Kitchen Hacks & Time-Saving Tips, Presentation & Plating Techniques, Culinary Research & Storytelling.
Education
New York University
Emily Morgan has journeyed across the globe, collecting culinary secrets that turn everyday ingredients into impressive meals.
Based in Seattle and armed with a Journalism degree from NYU, she blends thorough research with a flair for presentation, ensuring every dish looks just as good as it tastes.
Focusing on fresh flavors, simple methods, and a bit of fun, Emily shows home cooks how to elevate their daily cooking without fancy gadgets or complex steps.