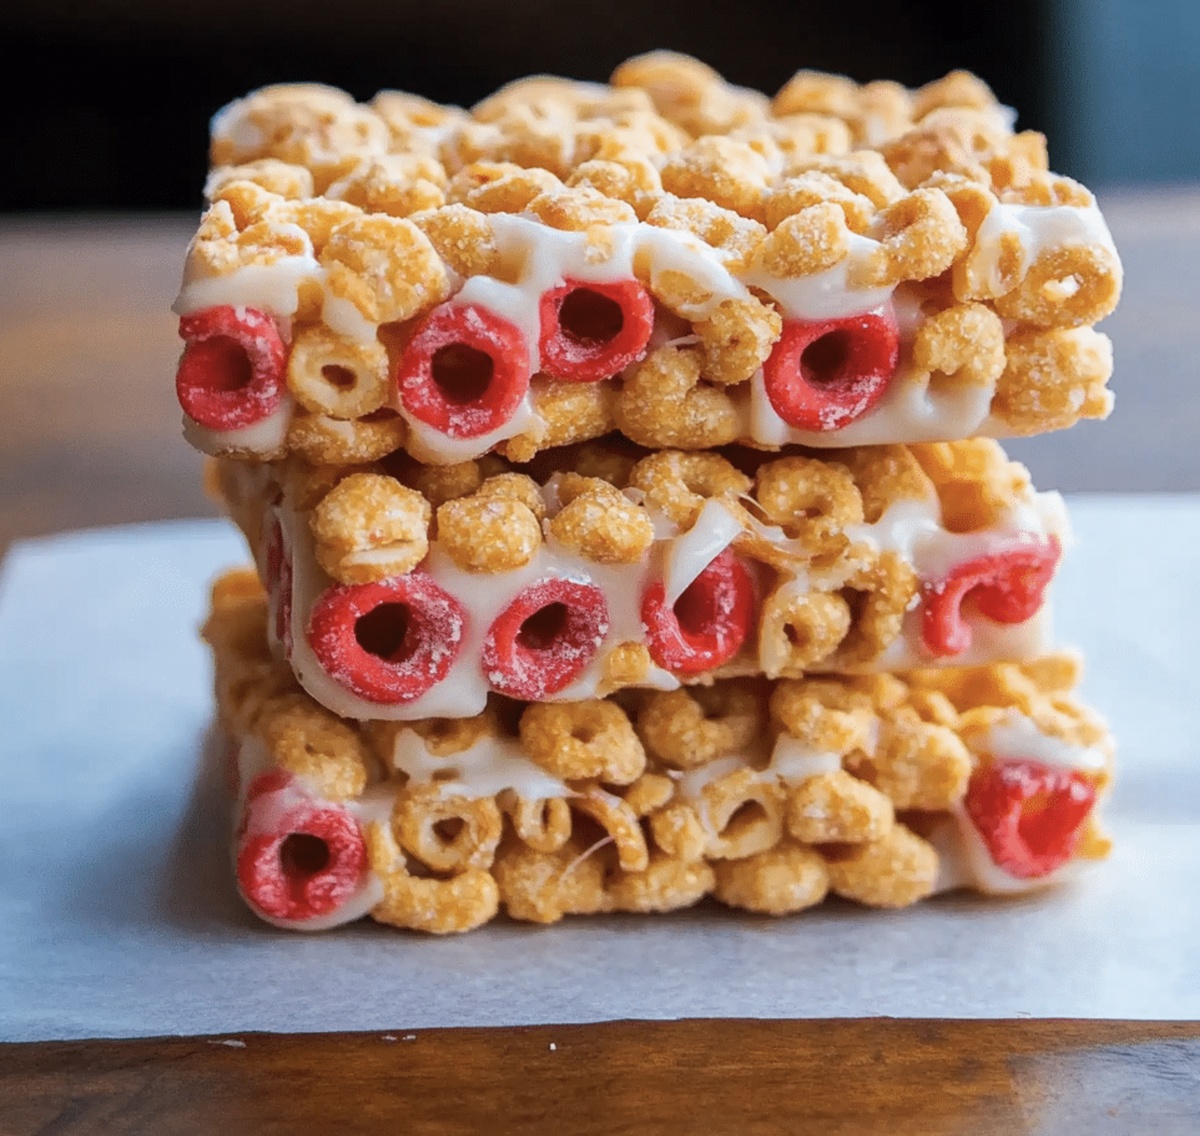
Homemade Cereal Bars Recipe for Sweet Snack Cravings
Crafting homemade cereal bars can revolutionize your morning routine with minimal effort.
These delightful treats pack a serious nutritional punch that beats store-bought alternatives.
Mornings suddenly become more exciting when you combine simple ingredients into a delectable snack.
Crunchy textures and sweet hints merge beautifully in this straightforward recipe.
Each bite promises a burst of energy and satisfaction without complicated preparation steps.
Kitchen novices and seasoned cooks alike will appreciate how quickly these bars come together.
You’ll find yourself reaching for this recipe again and again, making breakfast a celebration of flavor and convenience.
Why Cereal Bars Are Great For Any Time

Ingredients List For Cereal Bars
Base Ingredients:Flavor Enhancers:Optional Add-Ins:Preparation Support:How To Make Cereal Bars In Minutes

Step 1: Prepare Baking Paradise
Line an 8×8-inch baking pan with parchment paper, allowing extra edges to hang over for easy lifting later. This clever trick ensures your bars will slide out smoothly.
Step 2: Create Magical Binding Sauce
In a small saucepan over medium heat, combine:Stir the mixture gently until everything melts together into a smooth, glossy liquid. Watch closely and remove from heat after 2-3 minutes to prevent burning.
Step 3: Transform Cereal Into Delightful Clusters
Pour the warm, silky mixture over your favorite crispy cereal in a large mixing bowl. Gently fold and stir until every single cereal piece gets coated with the delicious sauce. Want extra excitement? Toss in:Step 4: Shape Your Tasty Creation
Transfer the cereal mixture into the prepared pan. Use a spatula or the back of a spoon to press the mixture firmly and evenly. Apply consistent pressure to create a compact, solid layer.
Step 5: Chill And Solidify
Place the pan in the refrigerator and let it rest for at least 1 hour. This cooling time allows the bars to set and become perfectly firm and sliceable.
Step 6: Slice Into Delicious Portions
Lift the entire cereal block out using the parchment paper edges. Place on a cutting board and slice into 10-12 beautiful bars or squares using a sharp knife.
Step 7: Enjoy And Preserve
Serve immediately for maximum crunch or store in an airtight container in the refrigerator. These bars will stay fresh and delicious for up to one week – if they last that long!
Helpful Tips For Making Cereal Bars
How To Store Cereal Bars The Easy Way
What Goes Best With Cereal Bars
Cereal Bar Variations You’ll Enjoy
Simple FAQ Guide For Cereal Bars
Any crispy, neutral-flavored cereal like rice crispy cereal or corn flakes work perfectly. Choose a cereal that will hold its crunch and doesn’t have an overwhelming flavor that might clash with the nut butter.
Yes, you can substitute honey with maple syrup or agave nectar. Each alternative will provide the necessary binding and sweetness. Just use the same amount of the replacement liquid sweetener.
They’re a balanced snack with good protein from nut butter and energy from cereal. While not a strict health food, they offer more nutritional value than many processed store-bought bars and contain natural ingredients.
Make sure to press the mixture firmly into the pan and chill completely. The cooling process helps the bars set and become less sticky. If they’re still too soft, refrigerate them a bit longer before cutting.
Print
Cereal Bars Recipe
- Total Time: 1 hour 10 minutes
- Yield: 12 1x
Description
Sweet and nutty cereal bars elevate breakfast with a delightful crunch that whisks you straight to morning comfort. Packed with wholesome ingredients and irresistible flavor, these homemade bars promise a quick, satisfying start to your day.
Ingredients
Main Ingredients:
- 3 cups (75 g) cereal (cheerios, puffed rice, or granola)
- ½ cup (120 g) nut butter (peanut butter, almond butter, or sunflower seed butter for nut-free)
- ½ cup (120 ml) honey or maple syrup
Flavoring and Seasoning:
- 1 teaspoon vanilla extract
- ¼ teaspoon salt
Optional Add-ins:
- ¼ cup (40 g) mini chocolate chips
- ¼ cup (30 g) dried fruit (raisins, cranberries, or chopped apricots)
- 2 tablespoons (20 g) chia seeds or flaxseeds for extra nutrition
Instructions
- Prepare your workspace by lining a rectangular baking dish with parchment paper, allowing excess paper to hang over the edges for effortless removal.
- Create a smooth, glossy binding liquid by gently heating nut butter, honey, vanilla extract, and salt in a saucepan, stirring continuously until the mixture becomes completely liquid and uniform.
- Pour the warm, liquid mixture over your selected cereal in a spacious mixing bowl, ensuring each crisp piece becomes thoroughly coated with the sweet, sticky binding agent.
- Optional enhancement: Fold in complementary ingredients like chopped dried fruits, seeds, or nuts to add texture and depth of flavor.
- Transfer the cereal mixture into the prepared pan, using a spatula or clean hands to compress and distribute the contents evenly, creating a uniform layer with consistent thickness.
- Refrigerate the pan for approximately 60-75 minutes, allowing the bars to solidify and develop a firm, cohesive structure that will hold its shape when cut.
- Once completely chilled, lift the entire block from the pan using the overhanging parchment paper and place on a cutting surface.
- Slice the consolidated mixture into uniform rectangular or square portions, creating individual servings that are easy to handle and enjoy.
- Consume immediately or store in a sealed container within the refrigerator, maintaining freshness for up to seven days.
Notes
- Customize your cereal bars by choosing different types of cereals for unique flavor combinations and textures.
- Swap honey with maple syrup or agave nectar for alternative sweeteners that suit vegan or specific dietary preferences.
- Add dark chocolate chips or protein powder to boost nutritional value and create a more indulgent treat.
- Use gluten-free cereal options to make these bars suitable for those with gluten sensitivities or celiac disease.
- Prep Time: 10 minutes
- Cook Time: 1 hour
- Category: Snacks, Breakfast
- Method: Mixing
- Cuisine: American
Nutrition
- Serving Size: 12
- Calories: 188
- Sugar: 10 g
- Sodium: 39 mg
- Fat: 8 g
- Saturated Fat: 1.5 g
- Unsaturated Fat: 6 g
- Trans Fat: 0 g
- Carbohydrates: 26 g
- Fiber: 2 g
- Protein: 4 g
- Cholesterol: 0 mg
Emily Morgan
Food Critic & Kitchen Tips Specialist
Expertise
Global Food Exploration & Critique, Simple Kitchen Hacks & Time-Saving Tips, Presentation & Plating Techniques, Culinary Research & Storytelling.
Education
New York University
Emily Morgan has journeyed across the globe, collecting culinary secrets that turn everyday ingredients into impressive meals.
Based in Seattle and armed with a Journalism degree from NYU, she blends thorough research with a flair for presentation, ensuring every dish looks just as good as it tastes.
Focusing on fresh flavors, simple methods, and a bit of fun, Emily shows home cooks how to elevate their daily cooking without fancy gadgets or complex steps.