Old-Fashioned Chocolate Cream Pie Recipe to Uncover
Decadent chocolate dreams come alive in this classic chocolate cream pie that melts hearts with every silky bite.
Rich cocoa flavors dance through a buttery graham cracker crust, promising pure dessert bliss.
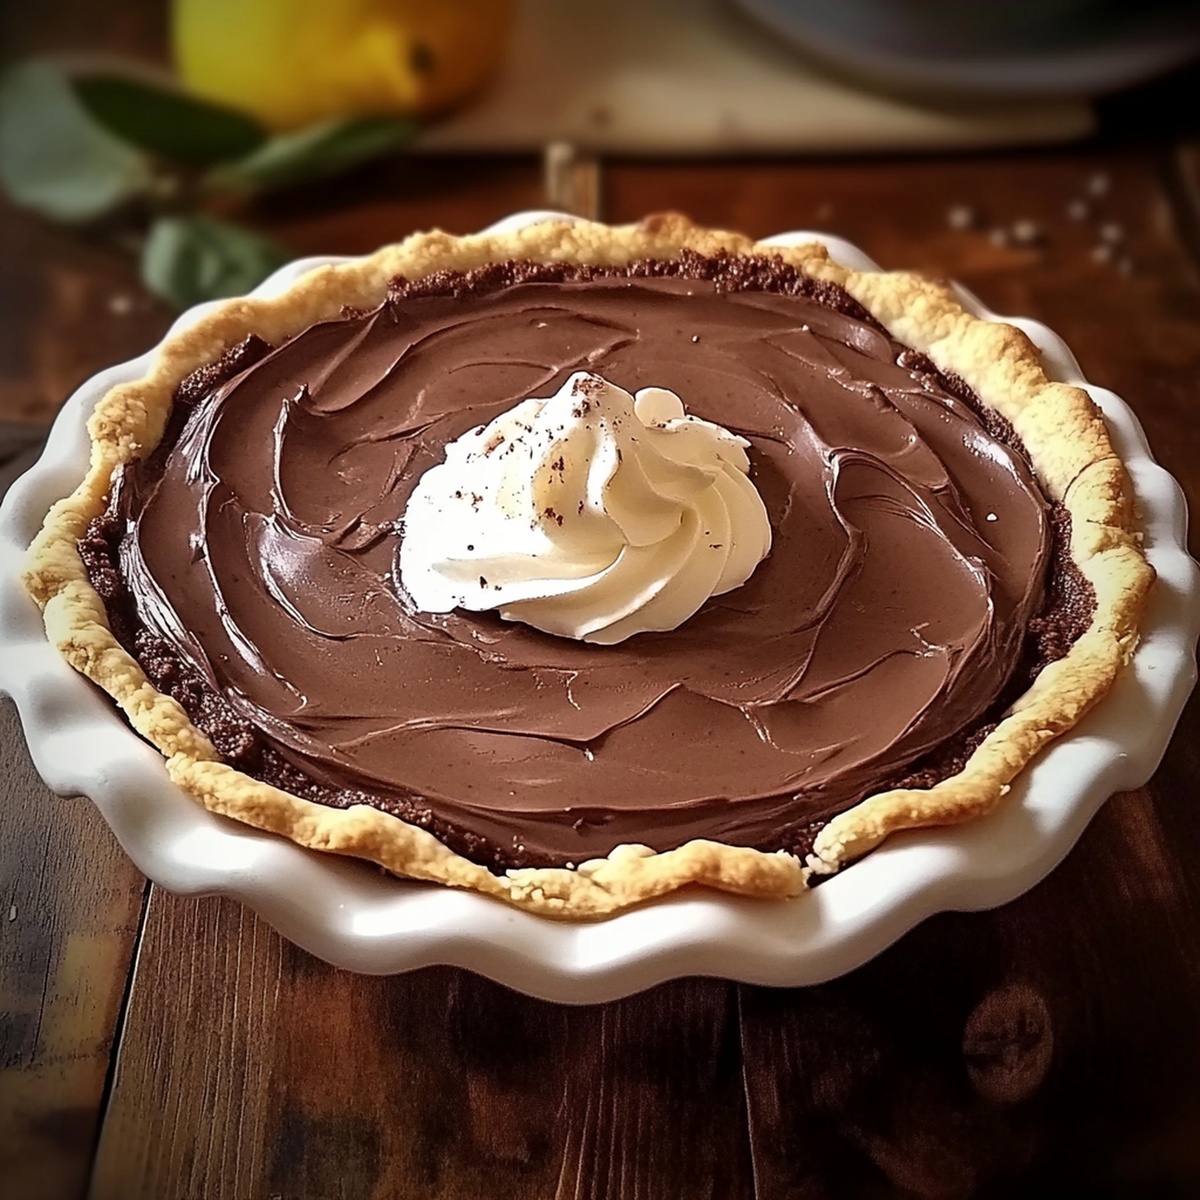
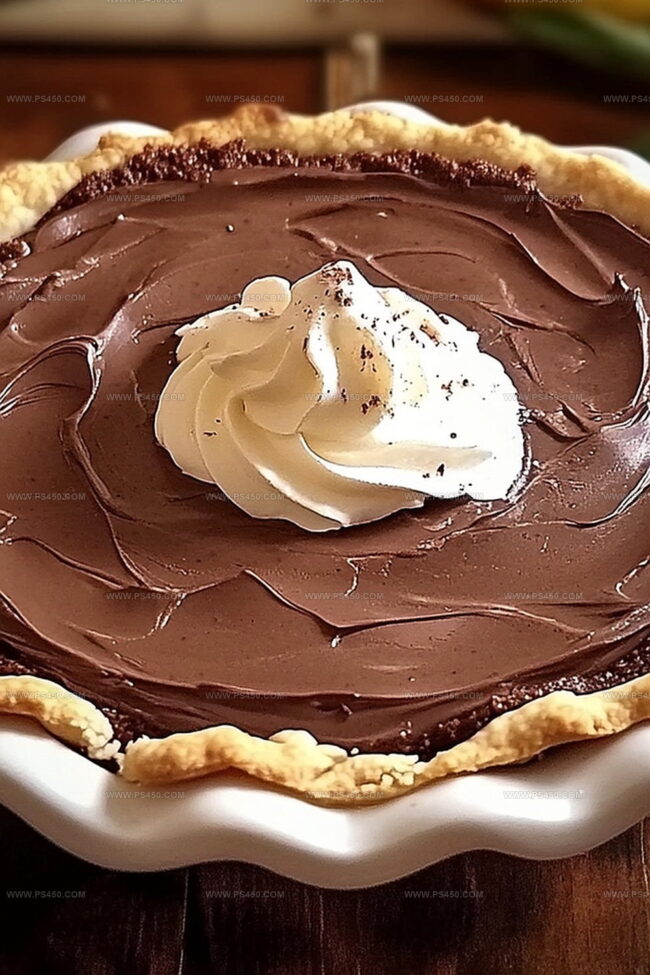
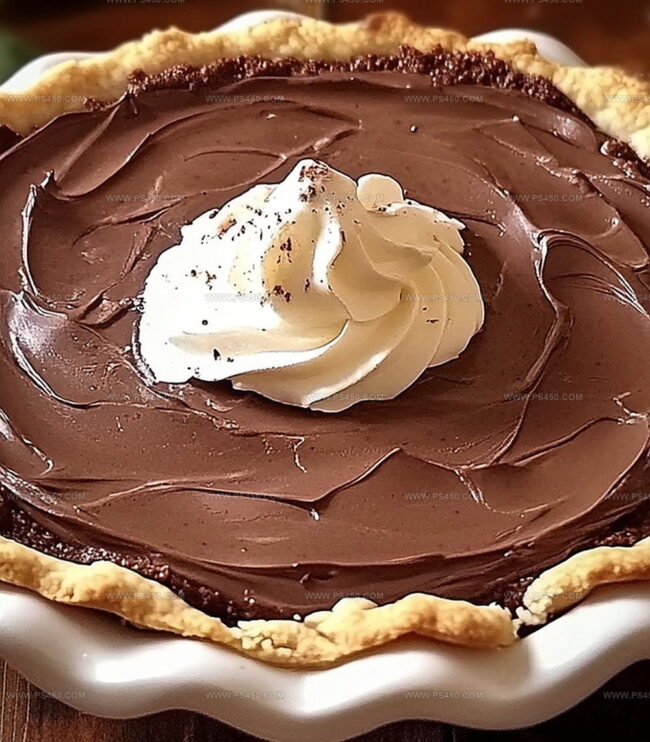
Creamy chocolate filling swirls with delicate peaks of whipped cream, creating a heavenly texture that beckons dessert lovers.
Each forkful tells a story of indulgence and comfort, whisking you back to cherished kitchen memories.
The smooth chocolate layers promise a decadent experience that transforms an ordinary evening into something extraordinary.
Sweet and velvety, this pie delivers pure satisfaction that will leave everyone asking for seconds.
Get ready to savor every delicious moment of this irresistible chocolate masterpiece.
Quick Recipe Overview
Ingredients For Old-Fashioned Chocolate Cream Pie
For The Crust:For The Chocolate Filling:For The Whipped Cream Topping:Baking Tools For Chocolate Cream Pie
Steps To Bake Chocolate Cream Pie
Crumble flour and salt together, working cold butter into the mix until it looks like rough sand. Drizzle icy water gradually, forming a solid dough. Shape into a flat circle, wrap tightly, and refrigerate. Roll out the dough, drape into a pie dish, trim edges beautifully. Line with parchment, add pie weights, and bake until golden and crisp.
Blend sugar, cocoa, cornstarch, and salt in a saucepan. Slowly incorporate milk, stirring constantly over medium heat until the mixture transforms and bubbles. Temper egg yolks by introducing hot liquid gradually. Return to heat, cooking until thickened. Remove from stove, fold in vanilla, chocolate chunks, and butter until silky smooth. Pour into cooled crust, cover surface with plastic wrap, and chill thoroughly.
Whip cream with powdered sugar and vanilla until soft peaks emerge. Generously spread or pipe over chilled chocolate pie just before serving. Slice and enjoy the decadent dessert that promises pure comfort and indulgence.
Tips To Master Chocolate Cream Pie
Serving Chocolate Cream Pie Right
Storage Ideas For Chocolate Cream Pie
Print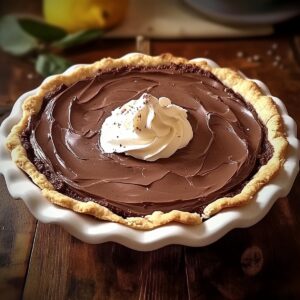
Classic Chocolate Cream Pie Recipe
- Total Time: 4 hours 50 minutes
- Yield: 9 1x
Description
Grandma’s old-fashioned chocolate cream pie delivers comfort through rich, silky chocolate filling nestled in a buttery crust. Homemade whipped cream crowns this classic dessert, promising sweet memories with each delightful slice you savor.
Ingredients
- 4 large egg yolks
- 3 cups whole milk
- 4 oz (113 g) semi-sweet chocolate, chopped
- ¾ cup granulated sugar
- 1 ¼ cups all-purpose flour
- ½ cup cold unsalted butter, cubed
- 2 tbsps powdered sugar
- ¼ cup cornstarch
- ¼ cup unsweetened cocoa powder
- ½ tsp salt
- 1 tsp vanilla extract
- 34 tbsps ice water
- 2 tbsps unsalted butter
- 1 cup heavy whipping cream
Instructions
- Crust Preparation: Blend flour and salt, cut in cold butter until crumbly. Add ice water to form a cohesive dough, shape into a disk, and chill for 30 minutes to relax gluten and solidify butter.
- Pie Shell Formation: Roll out chilled dough on a floured surface, transfer to a 9-inch pie dish, trim edges, and create a decorative crimped border. Line with parchment paper and ceramic weights.
- Crust Baking: Roast in a 375F (190C) oven for 15 minutes with weights, then remove weights and continue baking until achieving a golden amber hue. Cool completely.
- Chocolate Filling Base: Whisk sugar, cocoa powder, cornstarch, and salt in a saucepan. Gradually incorporate milk, stirring to eliminate lumps. Simmer over medium heat, constantly stirring until thickening and bubbling, approximately 8-10 minutes.
- Egg Integration: Temper egg yolks by slowly introducing hot mixture while whisking. Return tempered yolks to saucepan, cook for an additional 2 minutes. Remove from heat and blend in vanilla, chopped chocolate, and butter until achieving a silky, uniform consistency.
- Filling and Chilling: Transfer chocolate mixture into cooled crust, smoothing the surface. Cover directly with plastic wrap and refrigerate for a minimum of 4 hours to set completely.
- Topping Finale: Whip heavy cream with powdered sugar and vanilla until soft peaks form. Before serving, generously spread or pipe whipped cream over the chilled chocolate filling, creating an irresistible dessert.
Notes
- Master Crust Technique: Use ice-cold butter and water to ensure a flaky, tender pie crust that doesn’t become tough or dense during baking.
- Prevent Soggy Bottom: Blind bake the crust completely and let it cool entirely before adding the chocolate filling to maintain a crisp, structured base.
- Smooth Filling Secrets: Whisk continuously while cooking the filling to avoid lumps and achieve a silky, luxurious chocolate cream texture.
- Whipped Cream Pro Tip: Chill the mixing bowl and whisk beforehand for faster, more stable whipped cream that holds its shape beautifully when piped or spread.
- Prep Time: 20 minutes
- Cook Time: 30 minutes
- Category: Desserts
- Method: Baking
- Cuisine: American
Nutrition
- Serving Size: 9
- Calories: 379
- Sugar: 26 g
- Sodium: 180 mg
- Fat: 24 g
- Saturated Fat: 14 g
- Unsaturated Fat: 10 g
- Trans Fat: 0 g
- Carbohydrates: 36 g
- Fiber: 1 g
- Protein: 5 g
- Cholesterol: 99 mg
John Nicholson
Lead Writer & Recipe Developer
Expertise
Recipe Testing and Development, Kitchen Hacks and Time-Saving Tips, Flavor Pairing and Ingredient Selection, Engaging Food Writing and Storytelling
Education
Johnson & Wales University
John Nicholson honed his skills at Johnson & Wales University, learning how to use fresh, local ingredients and down-to-earth techniques to make cooking simple and satisfying.
His recipes blend Southern comfort flavors with a modern touch, inviting everyone to cook with ease and confidence.
Living in Charleston, John takes cues from the city’s lively food scene, local markets, and seasonal produce. He’s all about making meals stress-free through easy tips, flavor pairings, and fun experiments in the kitchen