Flaky, Homemade Cloverleaf Rolls Recipe for Dinner Joy
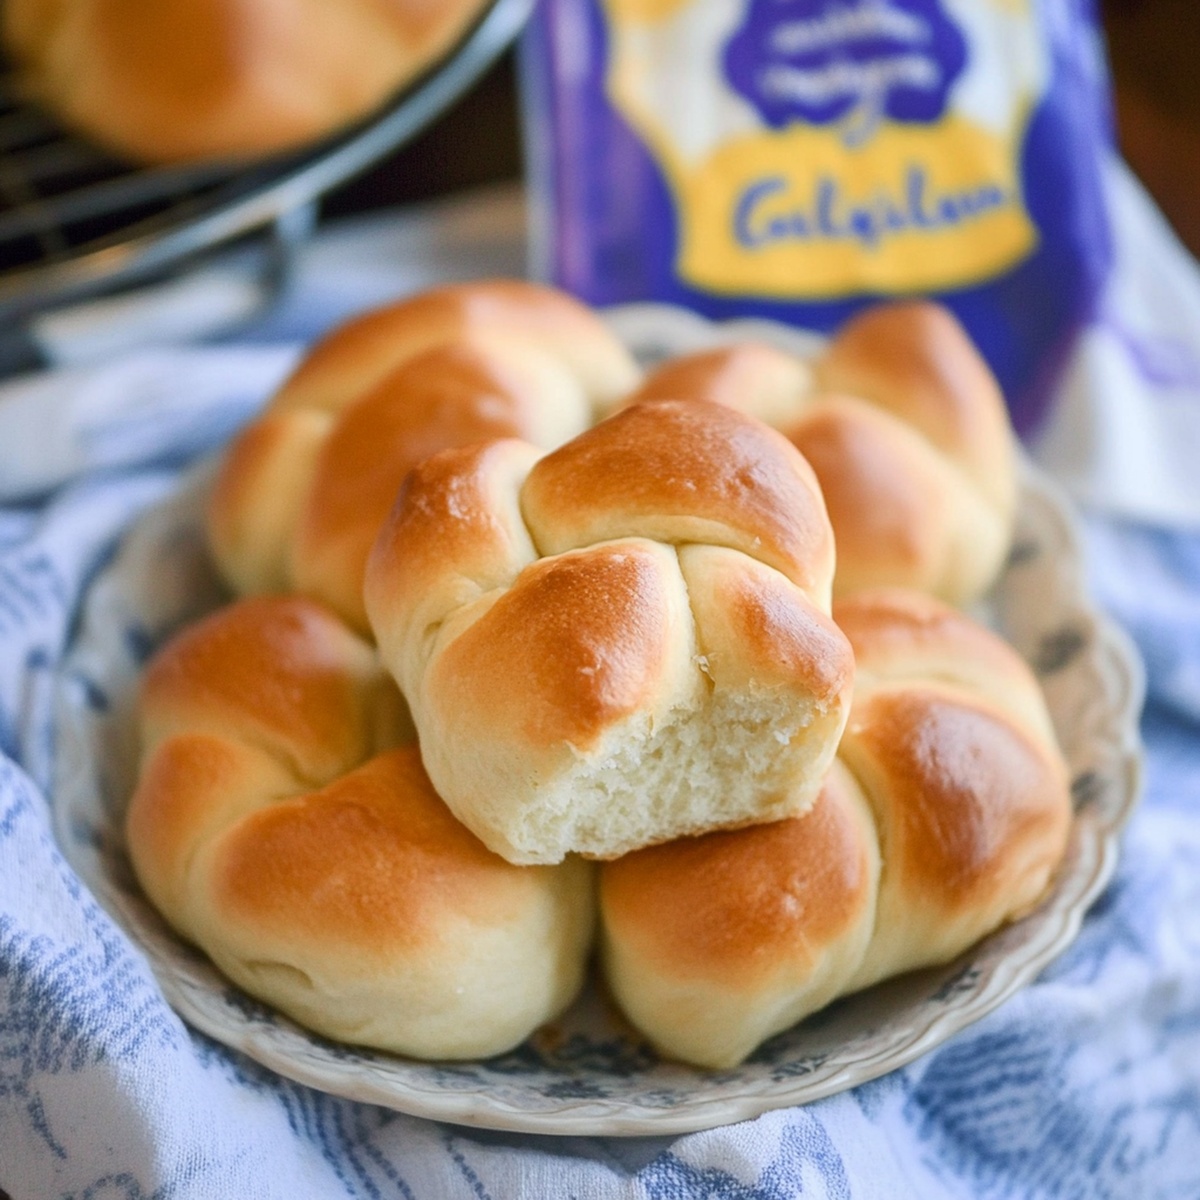
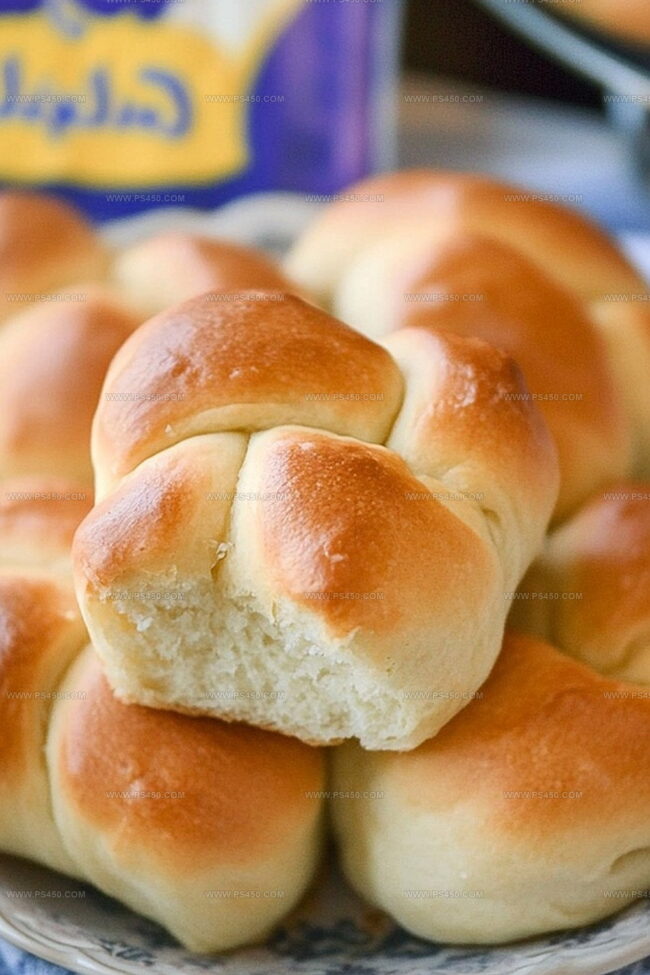
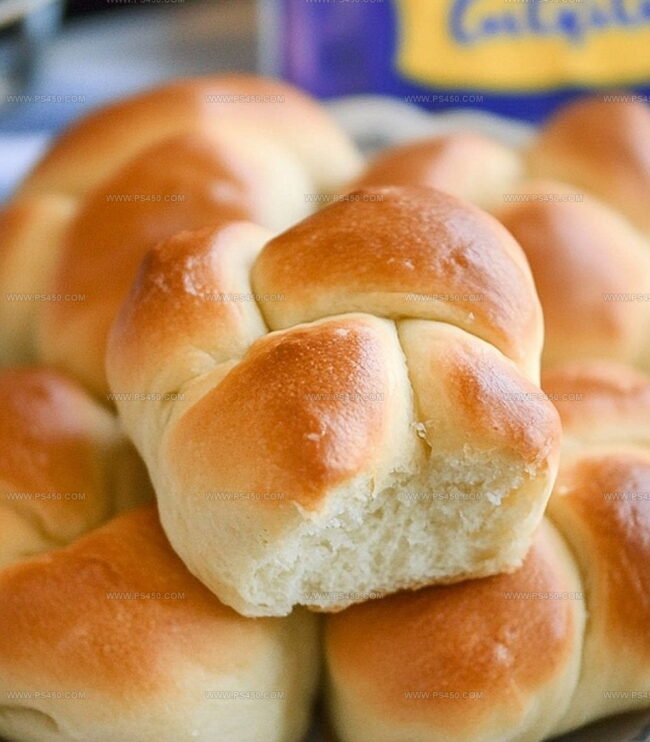
Soft, warm cloverleaf rolls dance with buttery comfort on your dinner table.
Bakeries often overlook this homemade treasure waiting to delight eager taste buds.
Gentle folds of dough create delicate petals resembling their namesake green leaf.
Each roll promises a tender interior that melts deliciously in your mouth.
Grandmothers’ kitchen secrets whisper through this simple yet magical recipe.
Home bakers can easily master these charming little bread companions.
Your dinner guests will marvel at these beautiful, golden-brown clusters straight from the oven.
Let’s transform basic ingredients into something extraordinary that sparks culinary joy.
Why Cloverleaf Rolls Are Soft, Buttery, And Irresistible
Ingredients List For Cloverleaf Rolls
Yeast and Activation Ingredients:Flour and Dry Ingredients:Liquid and Binding Ingredients:Step-By-Step Instructions For Cloverleaf Rolls
Step 1: Kickstart the Yeast Magic
In a cozy little bowl, blend these ingredients:Watch the mixture transform and bubble up like a science experiment for 5-10 minutes until it becomes wonderfully foamy.
Step 2: Create Magical Dough
Grab a large mixing bowl and combine:Pour in the bubbly yeast mixture along with:Knead the dough on a flour-dusted surface, working it with love until it becomes smooth and stretchy – about 8-10 minutes of delightful arm workout.
Step 3: First Dough Nap
Tuck the dough into a greased bowl like a cozy blanket. Cover with a soft towel and let it rest in a warm, draft-free spot. Watch it grow and double in size over about an hour.
Step 4: Roll and Shape Delights
Prepare a muffin tin with a light grease. Gently deflate the puffy dough and divide it into 36 tiny balls. Nestle three little dough balls into each muffin cup, creating adorable cloverleaf clusters.
Step 5: Final Rising Moment
Drape a light cloth over the rolls and let them puff up for another 30 minutes. They’ll become beautifully rounded and eager to meet the oven.
Step 6: Bake to Golden Perfection
Fire up the oven to 375F (190C). Slide in the muffin tin and bake until the rolls turn a gorgeous golden brown – about 12-15 minutes. The kitchen will smell absolutely heavenly!
Step 7: Finishing Touch
Brush the warm rolls with melted butter for an extra layer of deliciousness. Serve immediately and watch everyone’s eyes light up!
Tips To Get Light And Fluffy Cloverleaf Rolls
How To Store Cloverleaf Rolls Without Losing Freshness
Tasty Pairings With Cloverleaf Rolls
Fun Ways To Switch Up Cloverleaf Rolls
Cloverleaf Rolls Q&A Guide
Cloverleaf rolls are unique because they’re made by placing three small dough balls together in each muffin cup, creating a distinctive three-leaf shape that looks like a clover when baked.
Not at all! These rolls are beginner-friendly. As long as you can knead dough and follow simple instructions, you’ll be able to create beautiful, soft cloverleaf rolls with ease.
The two-rise process helps develop the rolls’ flavor and creates a light, fluffy texture. The first rise allows the yeast to develop, while the second rise ensures the rolls are puffy and tender before baking.
Yes! You can make the dough in advance and refrigerate it overnight for the first rise. Just let the dough come to room temperature and complete the shaping and second rise before baking.
Print
Cloverleaf Rolls Recipe
- Total Time: 2 hours 5 minutes
- Yield: 12 1x
Description
Warm, pillowy cloverleaf rolls dance with buttery elegance, inviting comfort to your dinner table. Homemade goodness wraps you in a comforting embrace, promising delightful moments of shared joy and delectable memories.
Ingredients
Main Ingredients:
- 3 ½ cups (875 ml) all-purpose flour
- 1 large egg
- ¾ cup (180 ml) warm milk (about 110°F)
- ¼ cup (60 ml) warm water (about 110°F)
Leavening and Seasoning:
- 2 ¼ teaspoons (7 g) active dry yeast (1 packet)
- 1 teaspoon salt
- ¼ cup (50 g) granulated sugar
Fats:
- ¼ cup (60 ml) unsalted butter, melted
- 2 tablespoons (30 ml) unsalted butter, melted (for brushing)
Instructions
- In a cozy vessel, combine tepid water with yeast and a hint of sugar, allowing the mixture to bloom and become frothy for approximately 7-8 minutes.
- Sift together dry ingredients in a spacious mixing bowl, creating a soft foundation for the dough.
- Gradually incorporate the activated yeast, warm milk, melted butter, and a whisked egg into the dry mixture, stirring until a cohesive, slightly sticky dough emerges.
- Transfer the dough onto a lightly dusted surface and knead rhythmically for 6-9 minutes, developing a smooth, elastic texture that springs back when gently pressed.
- Nestle the dough into a generously oiled bowl, draping a clean kitchen towel over the top to create a nurturing environment for rising, and allow it to double in volume within 45-60 minutes.
- Gently deflate the risen dough and divide it into 36 uniform segments, rolling each piece into delicate spheres.
- Prepare a muffin tin with a light coating of oil, then strategically place three miniature dough balls within each cup, forming charming cloverleaf clusters.
- Allow the shaped rolls to undergo a final proofing phase, becoming puffy and interconnected for approximately 25-35 minutes.
- Preheat the oven to 375°F, positioning the rack in the center for even baking.
- Slide the muffin tin into the heated oven and bake until the rolls transform into a golden, lustrous brown, typically 13-16 minutes.
- Immediately upon removal, brush the warm rolls with a generous layer of melted butter, enhancing their rich, glossy appearance.
- Serve these delectable rolls warm, inviting guests to pull apart the soft, interconnected segments.
Notes
- Ensure water temperature is between 105-110°F for perfect yeast activation, avoiding killing the yeast with heat.
- Use bread flour for higher protein content, creating more structure and fluffier rolls with better rise.
- For gluten-free variation, substitute all-purpose flour with a 1:1 gluten-free blend and add xanthan gum for better texture.
- Make ahead by refrigerating shaped rolls overnight, allowing slow rise for deeper flavor development before baking.
- Prep Time: 15 minutes
- Cook Time: 20 minutes
- Category: Dinner, Snacks
- Method: Baking
- Cuisine: American
Nutrition
- Serving Size: 12
- Calories: 150
- Sugar: 2 g
- Sodium: 100 mg
- Fat: 5 g
- Saturated Fat: 3 g
- Unsaturated Fat: 2 g
- Trans Fat: 0 g
- Carbohydrates: 22 g
- Fiber: 1 g
- Protein: 4 g
- Cholesterol: 20 mg
Emily Morgan
Food Critic & Kitchen Tips Specialist
Expertise
Global Food Exploration & Critique, Simple Kitchen Hacks & Time-Saving Tips, Presentation & Plating Techniques, Culinary Research & Storytelling.
Education
New York University
Emily Morgan has journeyed across the globe, collecting culinary secrets that turn everyday ingredients into impressive meals.
Based in Seattle and armed with a Journalism degree from NYU, she blends thorough research with a flair for presentation, ensuring every dish looks just as good as it tastes.
Focusing on fresh flavors, simple methods, and a bit of fun, Emily shows home cooks how to elevate their daily cooking without fancy gadgets or complex steps.