Corn Muffin Mix: Provides convenient sweetness and helps thicken pudding, opt for reliable brand.
For Seasoning:
Sugar: Optional sweetener that balances corn’s natural flavor, adjust to taste preferences.
Salt: Enhances overall taste profile, use fine sea salt for even distribution.
Pepper: Adds subtle warmth and mild spiciness, freshly ground gives best flavor.
Bake Tools For Creamy Corn Pudding
Large mixing bowl: Essential for combining all ingredients smoothly.
Whisk: Perfect for blending eggs, sour cream, and butter without lumps.
9×9-inch baking dish: Ideal for even baking and creating the classic corn pudding shape.
Measuring cups and spoons: Crucial for accurate ingredient proportions.
Spatula: Helpful for spreading mixture evenly and scraping bowl clean.
Oven mitts: Necessary for safely handling hot baking dish.
How To Make Corn Pudding The Cozy Way
Warm Up Your Kitchen Preheat the oven to a cozy 350F and lovingly coat your baking dish with a light butter layer.
Mix Magic Whisk eggs, sour cream, and melted butter together until they dance and blend smoothly.
Create Corn Symphony Fold in whole kernel corn, creamed corn, corn muffin mix, a pinch of sugar, salt, and pepper, stirring until everything connects perfectly.
Spread The Love Pour your corn mixture into the prepared dish, making sure it’s evenly distributed like a delicious blanket.
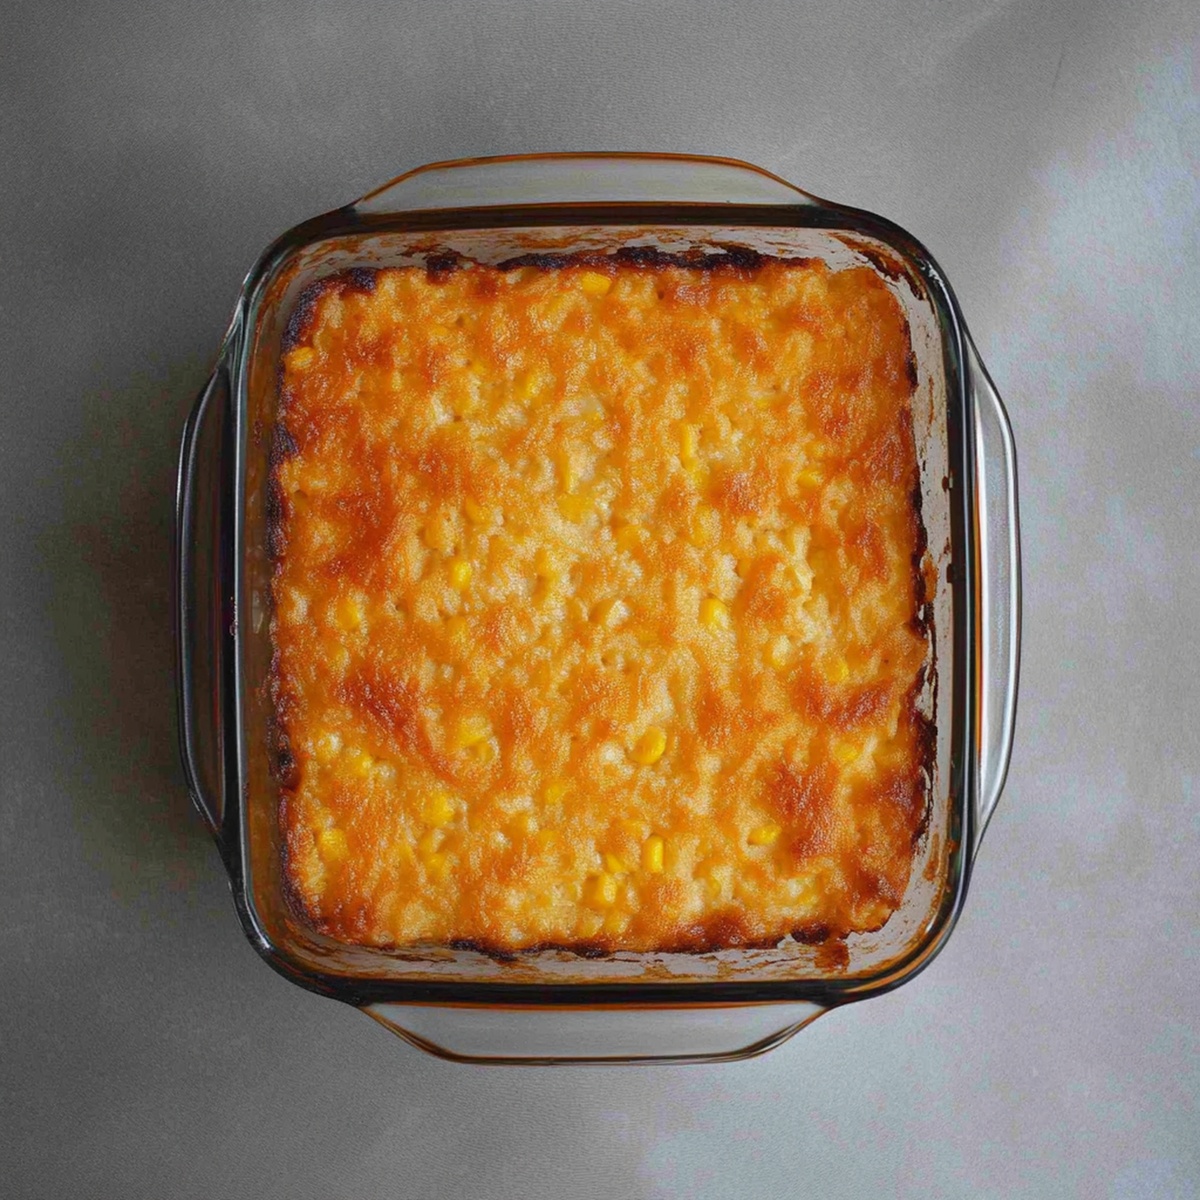
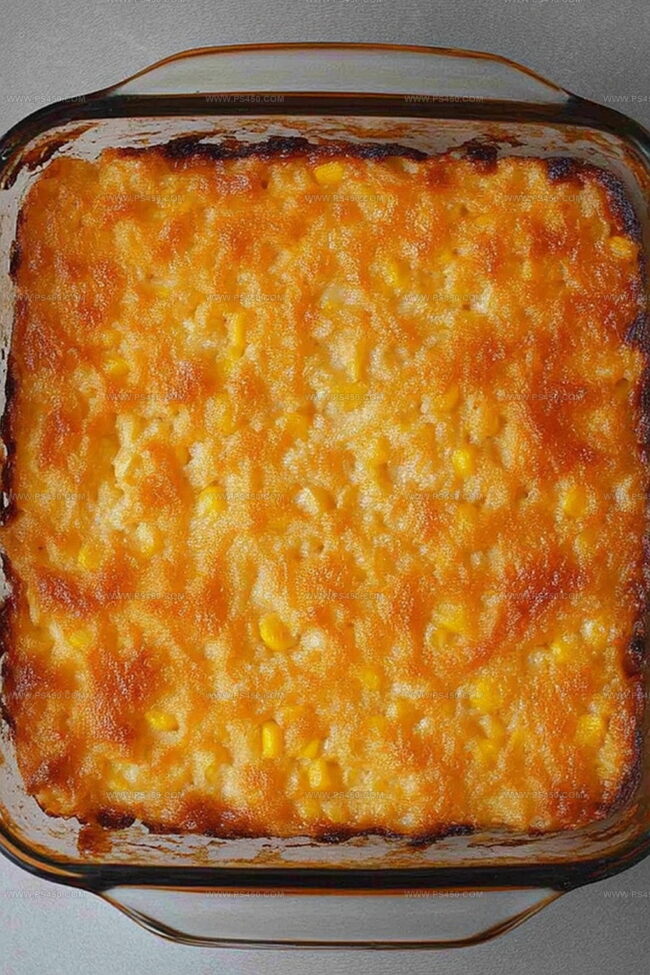
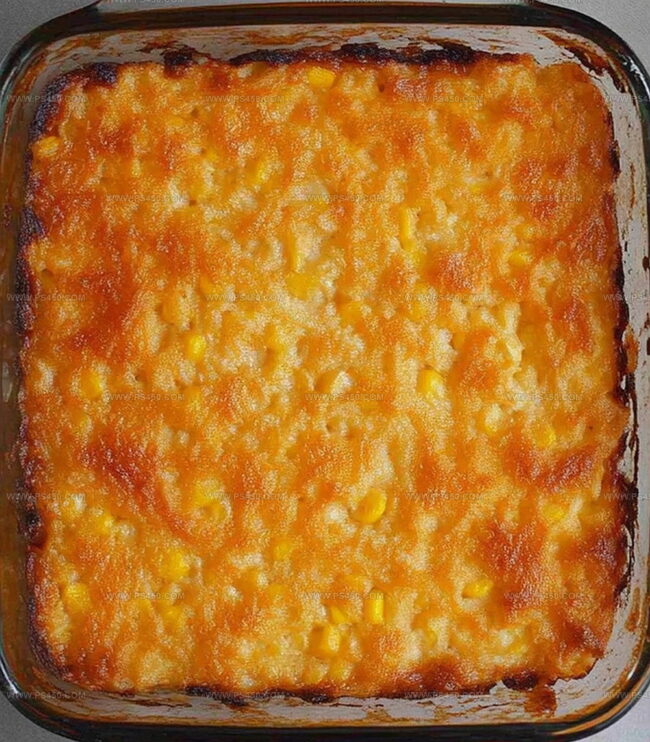
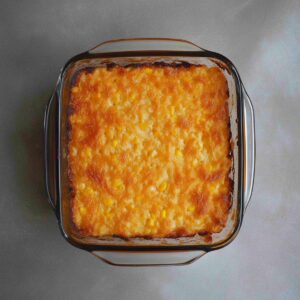
Bake To Perfection slide the dish into the oven and let it transform for 45-50 minutes, watching for a golden-brown top and a center that’s firm and tempting.
Rest And Serve Allow your corn pudding to relax for 5-10 minutes, letting the flavors settle and intensify before presenting this comforting side dish to eager guests.
Flavorful Tips For Classic Corn Pudding
Texture Hack: Fold in some shredded cheddar cheese for an extra-rich, melty dimension that elevates the entire dish.
Spice Lover’s Twist: Add diced jalapeños or a dash of cayenne pepper to give the corn pudding a subtle, warming heat that’ll make taste buds dance.
Make-Ahead Strategy: Prepare the entire mixture up to 24 hours in advance and refrigerate, then bake just before serving for maximum convenience and fresh-from-the-oven deliciousness.
Dietary Swap: For a gluten-free version, replace corn muffin mix with a gluten-free cornbread mix or almond flour to keep the recipe accessible for everyone.
Ways To Dish Out Corn Pudding With Care
Comfort Companion Pairings: Serve alongside roasted chicken or turkey for a heartwarming southern-style meal.
Brunch Brilliance: Top with crispy bacon bits and fresh chives for a delightful weekend breakfast centerpiece.
Picnic Perfect Presentation: Pack in a portable container for outdoor gatherings, adding a dollop of sour cream or salsa for extra zest.
Festive Side Kick: Garnish with fresh herbs like parsley or green onions to elevate the dish’s visual appeal during holiday dinners.
Storage Tips For Corn Pudding Goodness
Smart Refrigeration: Store leftover corn pudding in an airtight container in the refrigerator for 3-4 days. Keep the container sealed to maintain moisture and prevent absorbing other food odors.
Quick Freezing Strategy: Portion out individual servings in freezer-safe containers. Freeze for up to 2 months. Thaw overnight in the refrigerator and gently reheat in the oven at 325F to maintain texture.
Reheating Wisdom: Warm refrigerated corn pudding in the oven at 325F for 15-20 minutes, covering with aluminum foil to prevent excessive drying. Add a small splash of milk if the mixture seems too dry when reheating.
Make-Ahead Magic: Prepare the corn pudding mixture up to 24 hours in advance and store covered in the refrigerator. Mix ingredients thoroughly before baking and add 5-10 minutes to cooking time if bringing directly from cold storage.
Southern corn pudding emerges as a creamy comfort dish cherished across southern kitchens. Warm, cheesy, and rich, this side celebrates corn’s natural sweetness while delivering delightful nostalgia you’ll savor alongside roasted meats.
Ingredients
Scale
1 box (8.5 oz / 241 g) Jiffy corn muffin mix
1 (15 oz / 425 g) can whole kernel corn, drained
1 (15 oz / 425 g) can cream-style corn
1 cup sour cream
½ cup (1 stick / 113 g) unsalted butter, melted
2 large eggs
½ tsp salt
¼ tsp black pepper
1 tbsp sugar (optional, for a touch of extra sweetness)
Instructions
Preheat Preparation: Warm the oven to 350F (175C) and generously lubricate a 9-inch baking dish with cooking spray or butter to ensure seamless removal.
Base Blending: Whisk eggs, sour cream, and melted butter in a large mixing bowl until the mixture transforms into a silky, homogeneous texture with a consistent creamy appearance.
Corn Composition: Fold whole kernel corn, creamed corn, corn muffin mix, sugar, salt, and pepper into the liquid foundation, gently stirring to guarantee uniform distribution and complete integration of all components.
Baking Process: Carefully pour the corn-infused batter into the prepared dish, using a spatula to smooth the surface and create an even landscape for consistent heat circulation and cooking.
Culinary Transformation: Bake in the preheated oven for 45-50 minutes, monitoring the development of a rich golden-brown crust and a center that sets firmly, signaling perfect doneness.
Resting and Serving: Extract the corn pudding from the oven and allow a 5-10 minute settling period, which stabilizes the pudding’s structure and facilitates elegant, intact serving of this classic side dish.
Notes
Prevent Burning: Watch the corn pudding closely during the last 10 minutes of baking to avoid over-browning, as ovens vary in temperature and intensity.
Achieve Creamy Consistency: Whisk egg mixture thoroughly but fold corn ingredients gently to maintain a smooth, light texture without deflating the batter.
Customize Flavor Boosters: Enhance the dish by adding diced jalapeños, crispy bacon bits, or fresh herbs like chives for extra depth and personal touch.
Storage and Reheat Strategy: Store leftovers in an airtight container for 3-4 days and reheat gently in the oven at 300F to preserve moisture and prevent drying out.
Recipe Testing and Development, Kitchen Hacks and Time-Saving Tips, Flavor Pairing and Ingredient Selection, Engaging Food Writing and Storytelling
Education
Johnson & Wales University
Program: Bachelor of Science in Culinary Arts
Focus: A hands-on curriculum emphasizing farm-to-table cooking, local ingredient sourcing, and creative menu development. Students gained real-world restaurant experience, learning both classic techniques and modern approaches to sustainable cooking.
John Nicholson honed his skills at Johnson & Wales University, learning how to use fresh, local ingredients and down-to-earth techniques to make cooking simple and satisfying.
His recipes blend Southern comfort flavors with a modern touch, inviting everyone to cook with ease and confidence.
Living in Charleston, John takes cues from the city’s lively food scene, local markets, and seasonal produce. He’s all about making meals stress-free through easy tips, flavor pairings, and fun experiments in the kitchen
John Nicholson
Lead Writer & Recipe Developer
Expertise
Recipe Testing and Development, Kitchen Hacks and Time-Saving Tips, Flavor Pairing and Ingredient Selection, Engaging Food Writing and Storytelling
Education
Johnson & Wales University
John Nicholson honed his skills at Johnson & Wales University, learning how to use fresh, local ingredients and down-to-earth techniques to make cooking simple and satisfying.
His recipes blend Southern comfort flavors with a modern touch, inviting everyone to cook with ease and confidence.
Living in Charleston, John takes cues from the city’s lively food scene, local markets, and seasonal produce. He’s all about making meals stress-free through easy tips, flavor pairings, and fun experiments in the kitchen