Velvety Homemade Baked Mac and Cheese Recipe Everyone Loves
Comfort food reaches new heights with this irresistible baked mac and cheese that promises pure indulgence.
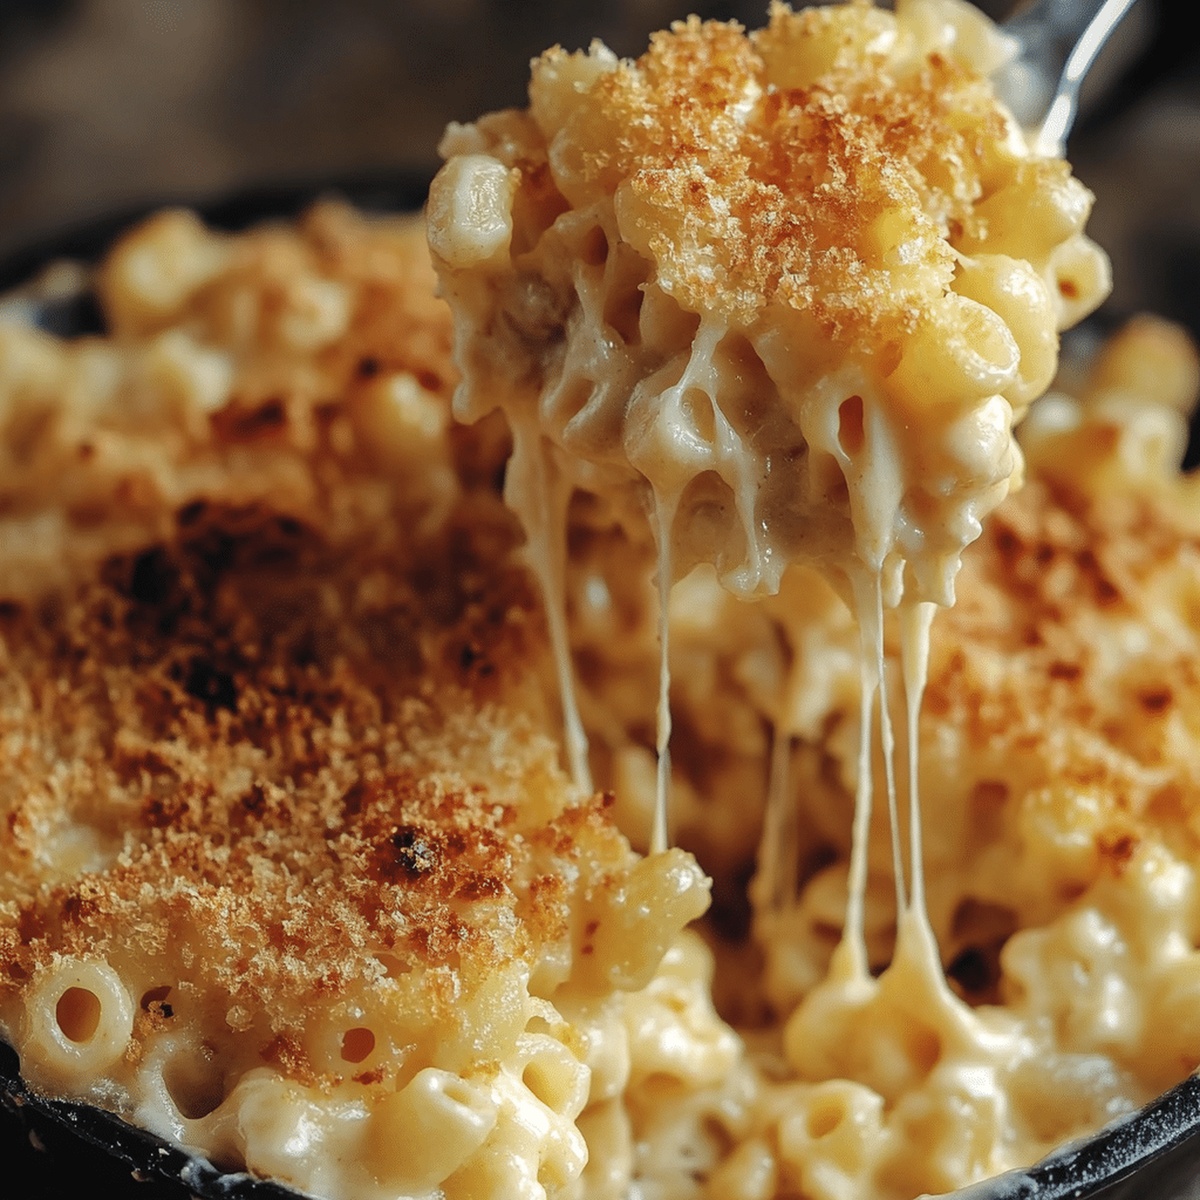
Melted cheese coats every single pasta curve with incredible richness and depth.
Sharp cheddar and creamy monterey jack blend seamlessly into a velvety sauce that hugs each macaroni noodle.
The golden breadcrumb topping adds a delightful crunch that elevates this classic dish from ordinary to extraordinary.
Pasta lovers will appreciate the perfect balance of textures and flavors in every single bite.
This recipe transforms simple ingredients into a crowd-pleasing masterpiece that everyone around the table will devour.
Prepare to be the culinary hero at your next gathering with this ultimate mac and cheese experience.
Quick Recipe Overview

Must-Have Items for Homemade Baked Mac and Cheese
For Pasta Base:For Cheese and Sauce Components:For Crispy Topping:Tools That Help Create Baked Mac and Cheese
Bake It Golden and Gooey, Just How You Want

Cook pasta in a pot of boiling water until tender. Drain and set aside, keeping a small amount of pasta water for later use.
Melt butter in a large pan over medium heat. Whisk in flour to form a smooth base. Cook briefly until golden. Gradually pour milk while stirring continuously. Allow sauce to thicken and bubble. Reduce heat and blend in shredded cheese until silky. Season with salt, pepper, and optional garlic powder. Adjust consistency with reserved pasta water if needed.
Combine cooked pasta with cheese sauce, ensuring every noodle gets coated in creamy deliciousness.
Melt remaining butter and mix with breadcrumbs to create a golden, crisp topping that will add texture to the dish.
Heat oven to 350F. Transfer cheesy pasta to a greased baking dish. Sprinkle breadcrumb mixture evenly on top. Bake for 20-25 minutes until surface turns golden and crisp. Optional: Broil for 2-3 minutes for extra crunchiness.
Allow mac and cheese to rest briefly before serving. Enjoy piping hot or save for delectable leftovers.
Add These Extras to Keep It Interesting
Serve It Piping Hot and Melty
Store It the Right Way
FAQs
The combination of sharp cheddar and gruyere creates a rich, complex flavor profile. Cheddar provides bold taste while gruyere adds a nutty, creamy dimension that elevates the entire dish.
Yes, simply substitute regular flour with gluten-free flour for the roux and use gluten-free breadcrumbs for the topping. These swaps won’t compromise the delicious taste and texture of the mac and cheese.
Always add cheese to the sauce off the heat and stir gradually. Using room temperature cheese and avoiding high heat helps maintain a smooth, creamy consistency without unwanted separation.
While you can use just one cheese, the combination creates a more complex and deeper flavor. If you prefer, you can substitute with similar hard cheeses like gouda or monterey jack for variety.
Print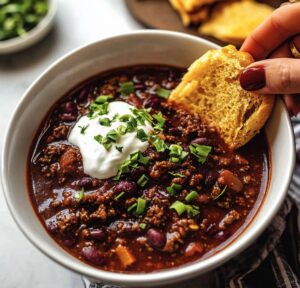
Slow Cooker Texas Style Chili Recipe
- Total Time: 6-7 hours 20 minutes
- Yield: 8 1x
Description
Hearty Lone Star State Chili simmers with robust beef and deep, smoky spices that tell stories of Texas tradition. Slow-cooked perfection brings comfort straight from southwestern kitchens to you.
Ingredients
Meats:
- 2 ½ pounds (1.1 kilograms) beef chuck roast, cut into 1 ½-inch cubes
Spices and Seasonings:
- ¼ cup chili powder
- 1 tablespoon ground cumin
- 1 teaspoon smoked paprika
- 1 teaspoon dried oregano
- ½ teaspoon cayenne pepper (optional, to taste)
- Salt and pepper, to taste
Cooking Ingredients:
- 1 tablespoon vegetable oil
- 1 medium onion, diced
- 3 garlic cloves, minced
- 1 (14.5 ounces/411 grams) can diced tomatoes
- 2 tablespoons tomato paste
- 2 cups beef broth
Optional Toppings:
- Chopped onions
- Cheddar cheese
- Jalapeno slices
- Sour cream
- Cornbread on the side
Instructions
- Prepare the beef by searing each cube in a hot skillet with oil, ensuring a deep golden-brown crust develops on all surfaces. This caramelization will enhance the chili’s rich flavor profile.
- In the same skillet, gently sweat the onions until they become translucent and fragrant, releasing their natural sweetness. Add minced garlic and briefly toast to unlock its aromatic essence.
- Transfer the seared meat and softened aromatics to the slow cooker, creating a robust foundation for the chili.
- Sprinkle a harmonious blend of spices across the ingredients – chili powder, cumin, paprika, oregano, and cayenne – creating a complex layer of warmth and depth.
- Pour in diced tomatoes, tomato paste, and beef broth, stirring thoroughly to distribute the spices and ensure every morsel is coated with the vibrant sauce.
- Allow the slow cooker to transform the ingredients, gently simmering on low heat for several hours until the beef becomes incredibly tender and the flavors meld into a cohesive, hearty dish.
- Once cooking is complete, ladle the chili into warm bowls and garnish with optional toppings like sharp cheddar cheese, crisp diced onions, sliced jalapeños, or a cooling dollop of sour cream.
- Serve immediately alongside warm cornbread or soft tortillas to complete this quintessential Texas-style comfort meal.
Notes
- Boost meat flavor by thoroughly patting beef dry before searing to ensure proper browning and develop deeper caramelization.
- Customize heat levels by adjusting cayenne pepper quantity – start with less and gradually increase for personalized spice tolerance.
- Consider using chuck roast instead of standard stew meat for more tender, melt-in-your-mouth texture and richer beef flavor.
- Make this recipe gluten-free by verifying broth ingredients and using certified gluten-free spices, ensuring no cross-contamination during preparation.
- Prep Time: 20 minutes
- Cook Time: 6-7 hours
- Category: Dinner, Lunch
- Method: Slow Cooking
- Cuisine: American
Nutrition
- Serving Size: 8
- Calories: 360
- Sugar: 4 g
- Sodium: 800 mg
- Fat: 18 g
- Saturated Fat: 7 g
- Unsaturated Fat: 9 g
- Trans Fat: 0 g
- Carbohydrates: 20 g
- Fiber: 3 g
- Protein: 30 g
- Cholesterol: 90 mg
John Nicholson
Lead Writer & Recipe Developer
Expertise
Recipe Testing and Development, Kitchen Hacks and Time-Saving Tips, Flavor Pairing and Ingredient Selection, Engaging Food Writing and Storytelling
Education
Johnson & Wales University
John Nicholson honed his skills at Johnson & Wales University, learning how to use fresh, local ingredients and down-to-earth techniques to make cooking simple and satisfying.
His recipes blend Southern comfort flavors with a modern touch, inviting everyone to cook with ease and confidence.
Living in Charleston, John takes cues from the city’s lively food scene, local markets, and seasonal produce. He’s all about making meals stress-free through easy tips, flavor pairings, and fun experiments in the kitchen