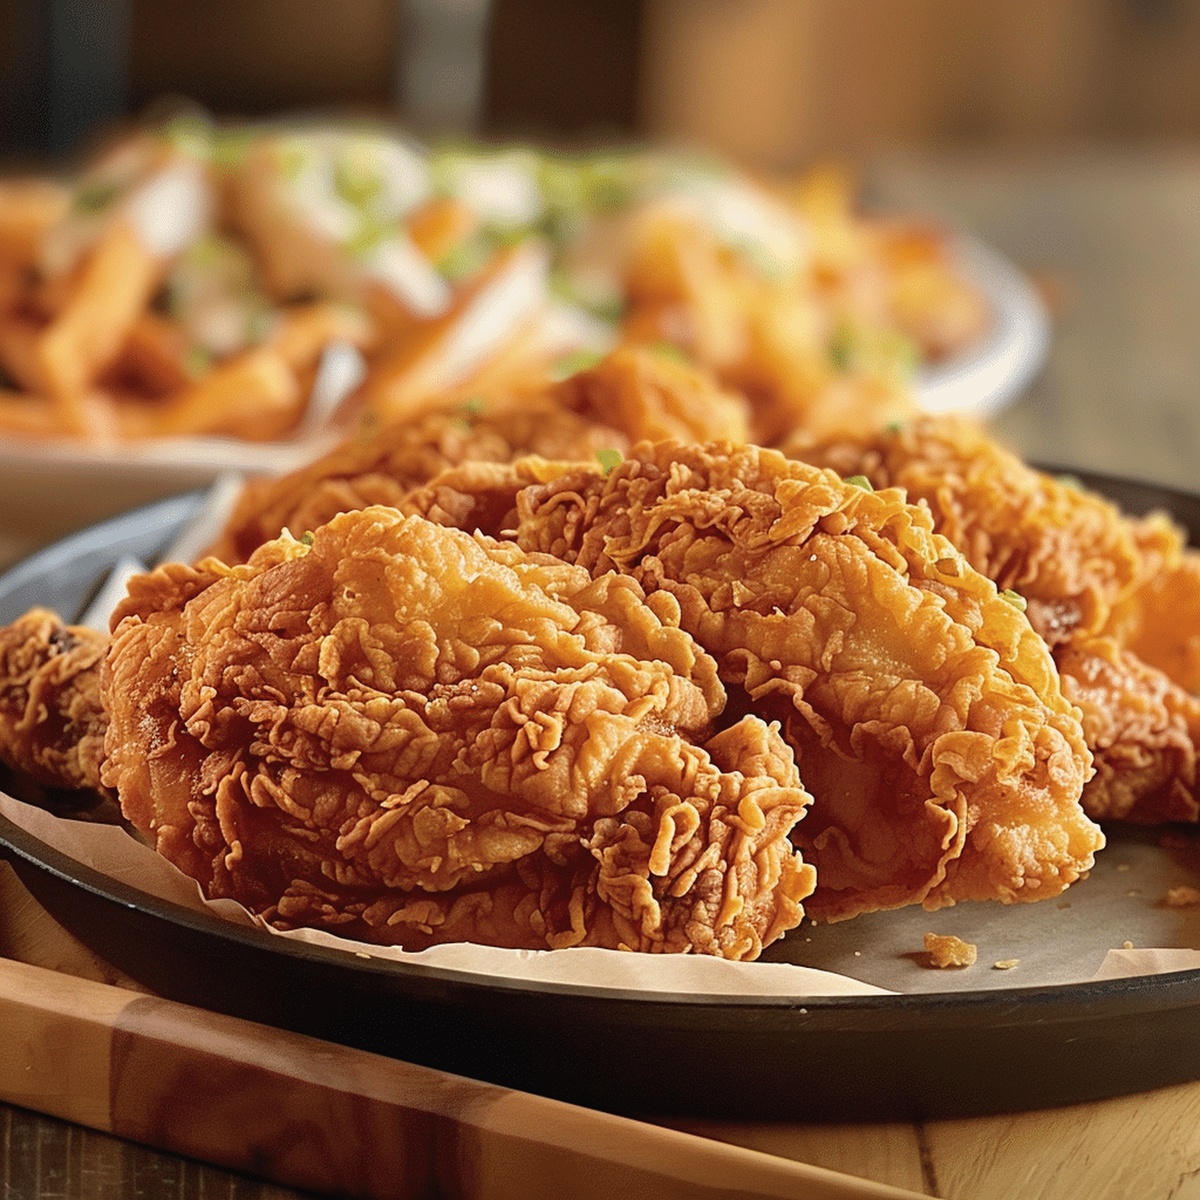
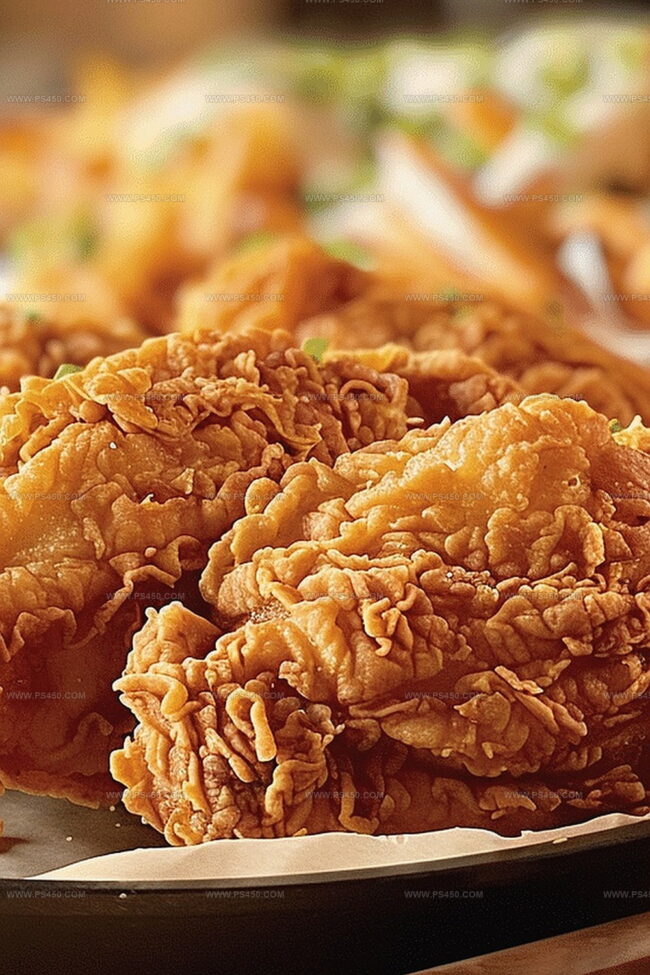
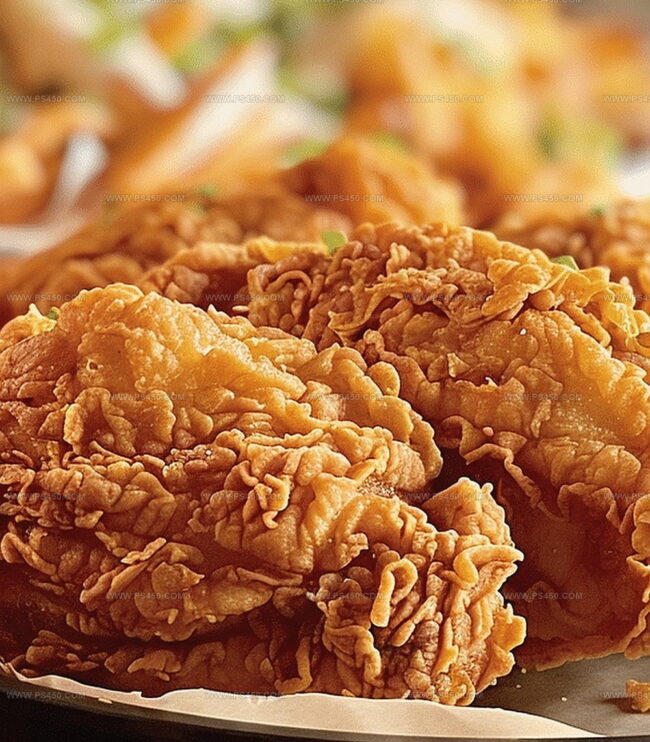
Crunchy Baked Fried Chicken Recipe With Oven Perfection
Southern-style crispy baked fried chicken delivers a mouthwatering crunch that rivals traditional deep-frying methods.
This simple technique lets you enjoy golden-brown, perfectly seasoned chicken without excess oil.
Every home cook dreams of achieving that irresistible crispy exterior and juicy interior.
Buttermilk and a blend of spices create a magical marinade that locks in flavor and tenderness.
The secret lies in a well-seasoned coating that transforms ordinary chicken into a crowd-pleasing masterpiece.
Baking instead of frying cuts down on calories while maintaining that classic comfort food satisfaction.
Prepare to savor every delectable bite of this healthier chicken classic that will have everyone asking for seconds.
Quick Recipe Overview
What You’ll Need for Baked Fried Chicken
For Marinade:For Coating:For Finishing:Tools for Getting Crispy Baked Chicken Results
Baked Fried Chicken: Cooking Made
Mix tangy buttermilk with zesty seasonings. Submerge chicken pieces completely, ensuring every inch gets seasoned. Allow flavors to mingle in the refrigerator for a minimum of one hour.
Crank up the oven to a sizzling 400F. Prep a baking sheet with a wire rack, giving a light spritz of cooking spray to prevent sticking.
Blend panko, cornflakes, Parmesan, and a dash of paprika in a shallow dish. This mixture will transform ordinary chicken into a crispy delight.
Shake off excess marinade from each chicken piece. Roll and press the chicken into the crunchy mixture, making sure every surface gets a thick, even coating.
Arrange coated chicken on the prepared rack. Give a quick spray of cooking oil for extra crispiness. Slide into the oven and bake until golden brown and internal temperature hits 165F, approximately 35-45 minutes.
Let the chicken rest briefly, then plate with your favorite accompaniments for a mouthwatering meal.
Flavor Boosts and Seasoning Suggestions for Baked Chicken
Ways to Serve Oven-Fried Chicken for Any Meal
Store Baked Chicken So It Stays Crisp
FAQs
Buttermilk tenderizes the chicken by breaking down proteins, making the meat incredibly soft and juicy. Its acidic nature helps the seasoning penetrate deeper into the chicken.
While you can substitute, buttermilk provides better flavor and tenderness. If needed, mix regular milk with a tablespoon of lemon juice or vinegar to mimic buttermilk’s properties.
Press the breadcrumb mixture firmly onto the chicken, and use a wire rack during baking. This allows hot air to circulate, preventing soggy bottoms and maintaining a crisp exterior.
Substitute with additional panko breadcrumbs or crushed crackers. The goal is to create a crunchy texture that adds extra crispiness to the chicken.
Print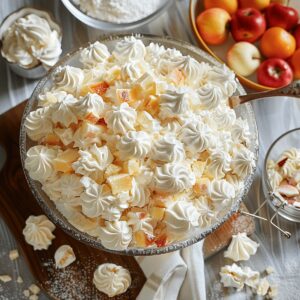
Crispy Junk Yard Salad Recipe
- Total Time: 3 hours 10 minutes
- Yield: 13 1x
Description
Junk Yard Salad combines unexpected ingredients from kitchen scraps into a delightful culinary creation. Hungry diners will discover a resourceful, budget-friendly meal that minimizes waste while delivering maximum flavor.
Ingredients
- 1 pkg (1 oz / 28 g) instant vanilla pudding mix (dry)
- 1 can (14 oz / 397 g) sweetened condensed milk
- 1 container (8 oz / 227 g) Cool Whip, thawed
- 1 can (21 oz / 595 g) cherry pie filling
- 1 can (20 oz / 567 g) crushed pineapple, drained
- 1 cup mini marshmallows
- Optional: 1 cup chopped pecans for added crunch
Instructions
- Mixing: In a large bowl, combine cherry pie filling and crushed pineapple, creating a vibrant fruity foundation for the dessert.
- Creaming: Pour sweetened condensed milk into the mixture, then sprinkle dry vanilla pudding mix, whisking thoroughly to eliminate lumps and develop a smooth, rich consistency.
- Folding: Gently incorporate mini marshmallows and Cool Whip, blending with a delicate touch to maintain the light, airy texture while ensuring even distribution of ingredients.
- Chilling: Transfer the prepared salad to a sealed container and refrigerate for at least three hours, allowing flavors to meld and intensify.
- Serving: Just before presentation, stir the chilled salad lightly to redistribute ingredients, then serve cold, revealing a delectable medley of creamy, fruity, and marshmallow elements.
Notes
- Chill Thoroughly: Refrigeration is crucial for developing rich, melded flavors, so allow at least 3-4 hours of cooling time, preferably overnight.
- Prevent Lumps: Whisk pudding mix gradually and vigorously to ensure smooth incorporation without clumpy textures.
- Control Sweetness: Adjust condensed milk quantity based on personal preference to balance overall sweetness level.
- Optional Variations: Substitute Cool Whip with whipped cream for a fresher, less processed alternative, or add chopped nuts for extra crunch and complexity.
- Prep Time: 10 minutes
- Cook Time: 3 hours
- Category: Lunch, Dinner, Appetizer, Snacks
- Method: Blending
- Cuisine: American
Nutrition
- Serving Size: 13
- Calories: 200
- Sugar: 25 g
- Sodium: 150 mg
- Fat: 6 g
- Saturated Fat: 3 g
- Unsaturated Fat: 2 g
- Trans Fat: 0 g
- Carbohydrates: 34 g
- Fiber: 1 g
- Protein: 2 g
- Cholesterol: 10 mg
John Nicholson
Lead Writer & Recipe Developer
Expertise
Recipe Testing and Development, Kitchen Hacks and Time-Saving Tips, Flavor Pairing and Ingredient Selection, Engaging Food Writing and Storytelling
Education
Johnson & Wales University
John Nicholson honed his skills at Johnson & Wales University, learning how to use fresh, local ingredients and down-to-earth techniques to make cooking simple and satisfying.
His recipes blend Southern comfort flavors with a modern touch, inviting everyone to cook with ease and confidence.
Living in Charleston, John takes cues from the city’s lively food scene, local markets, and seasonal produce. He’s all about making meals stress-free through easy tips, flavor pairings, and fun experiments in the kitchen