
Must-Try Honey Butter Chicken Recipe for Dinner
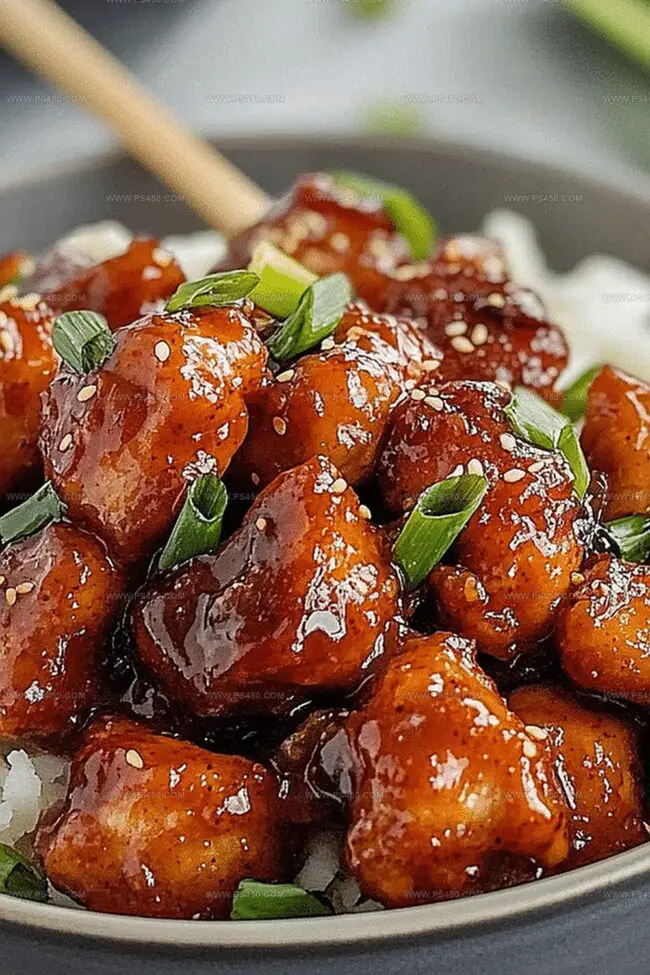
Tender chicken pieces drizzled with a golden honey butter sauce create an irresistible weeknight dinner that promises pure culinary magic.
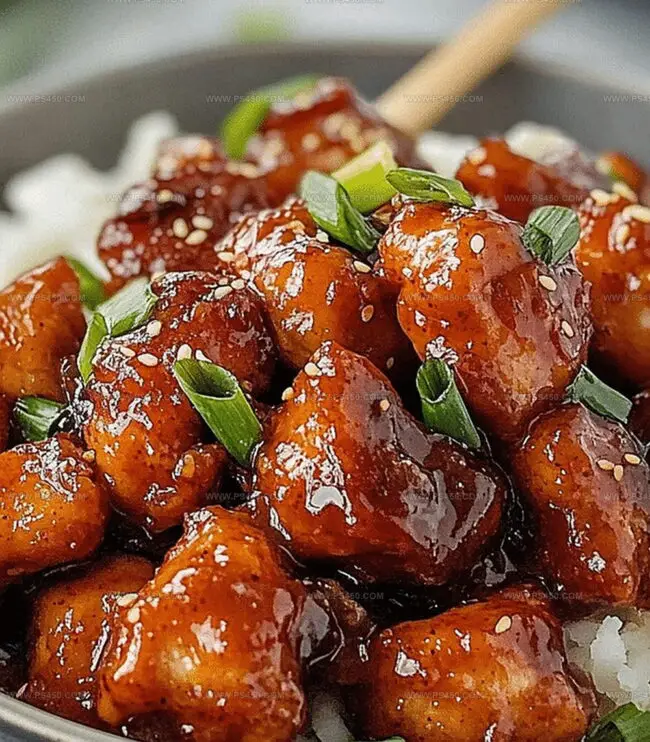
The crispy honey butter chicken blends sweet and savory flavors into one mouthwatering meal.
Succulent chicken gets coated in a perfectly seasoned breading that crackles with each bite.
Every forkful delivers a delightful crunch that melts into rich, buttery goodness.
Home cooks adore this simple yet impressive recipe that transforms basic ingredients into something extraordinary.
The aroma alone will draw everyone to the kitchen, eager to sample this delectable dish.
Savor every delicious moment of this crowd-pleasing chicken sensation.
Quick Recipe Overview
Ingredients That Make Honey Butter Chicken Special
For Coating:For Chicken Base:For Sauce:For Optional Garnish:Tools You’ll Need to Cook Honey Chicken Easily
How to Make Juicy Honey Butter Chicken
Grab your chicken and dust it with a sprinkle of seasoned flour until every piece looks perfectly dressed and ready to sizzle.
Heat up a skillet with a splash of olive oil and cook your chicken until it turns a beautiful golden brown, creating a crispy exterior that locks in all the yummy flavors.
Melt some butter in the same pan and dance in some minced garlic. Pour in honey, a dash of soy sauce, and a splash of vinegar, stirring until the sauce transforms into a glossy, clingy mixture that’ll make your taste buds dance.
Nestle the chicken back into the skillet, coating each piece in the liquid gold sauce. Let everything warm up and get friendly for a minute or two, allowing the flavors to mingle and create a mouthwatering masterpiece.
Slide your honey butter chicken onto a plate, maybe sprinkle some fresh herbs on top if you’re feeling fancy. Pair with fluffy rice or crisp veggies, and get ready to enjoy a meal that’ll have everyone asking for seconds.
Tips to Sweeten or Balance Honey Chicken Flavor
How to Serve This Sweet and Savory Dish
Best Ways to Keep Honey Chicken for Later
FAQs
Dredge the chicken in a flour mixture with salt and pepper before frying. This creates a light, crispy exterior that helps seal in the moisture and provides a delicious texture.
Absolutely! Chicken breasts work perfectly for this recipe. Just ensure they are evenly sized and pounded to a consistent thickness for even cooking.
White wine vinegar or apple cider vinegar are excellent choices. They add a subtle tangy flavor that complements the sweetness of the honey and richness of the butter.
No, this honey butter chicken is not spicy. It has a sweet and savory flavor profile with a rich, buttery sauce that’s mild and kid-friendly.
Print
Crispy Honey Butter Chicken Recipe
- Total Time: 25 minutes
- Yield: 5 1x
Description
Honey butter chicken combines succulent crispy chicken with a sweet and savory glaze that delights taste buds. Korean-inspired flavors create a memorable meal perfect for sharing with friends and family.
Ingredients
- 1 ½ lbs (680 grams) chicken thighs or breasts, boneless, skinless, cut into bite-sized pieces
- ¼ cup (57 grams) unsalted butter
- ⅓ cup (113 grams) honey
- ½ cup (60 grams) all-purpose flour
- 2 tbsps (30 ml) olive oil
- 2 tbsps (30 ml) soy sauce
- 1 tbsp (15 ml) apple cider vinegar (or rice vinegar)
- ½ tsp salt
- ¼ tsp black pepper
- 2 cloves garlic, minced
- Fresh parsley or chives, chopped (for garnish, optional)
Instructions
- Prepare Coating: Generously dredge chicken pieces in seasoned flour, creating a light, even layer that promises a crisp, golden exterior.
- Sear Chicken: In a spacious skillet heated with olive oil over medium flame, cook floured chicken until achieving a deep, appetizing brown color and ensuring complete internal doneness.
- Create Sauce Base: Without cleaning the skillet, reduce heat and melt butter, immediately adding minced garlic to develop a rich, fragrant foundation for the upcoming glaze.
- Combine Glaze: Whisk honey, soy sauce, and vinegar into the skillet, transforming the ingredients into a glossy, caramelizing sauce that will beautifully enrobe the chicken.
- Finish and Coat: Return cooked chicken to the simmering sauce, gently rotating pieces to ensure complete coverage and allowing flavors to harmonize for a brief moment.
- Serve and Garnish: Transfer glazed chicken to a serving platter, cascading any remaining sauce over the top and sprinkling with fresh chopped herbs for a vibrant, aromatic presentation.
Notes
- Flour Coating Technique: Shake off excess flour to prevent clumping and ensure a light, crispy exterior that doesn’t become heavy or greasy.
- Temperature Control: Use medium heat consistently to prevent burning the chicken or creating uneven browning, which can compromise the dish’s delicate flavor profile.
- Sauce Consistency Trick: Let the sauce simmer and reduce slightly to create a glossy, clingy texture that perfectly coats each chicken piece without becoming too runny.
- Dietary Adaptation Options: Swap regular flour with gluten-free alternatives for those with wheat sensitivities, and use low-sodium soy sauce to manage salt intake without sacrificing flavor depth.
- Prep Time: 10 minutes
- Cook Time: 15 minutes
- Category: Dinner, Snacks
- Method: Frying
- Cuisine: American
Nutrition
- Serving Size: 5
- Calories: 450
- Sugar: 23 g
- Sodium: 350 mg
- Fat: 20 g
- Saturated Fat: 6 g
- Unsaturated Fat: 14 g
- Trans Fat: 0 g
- Carbohydrates: 48 g
- Fiber: 1 g
- Protein: 21 g
- Cholesterol: 100 mg
John Nicholson
Lead Writer & Recipe Developer
Expertise
Recipe Testing and Development, Kitchen Hacks and Time-Saving Tips, Flavor Pairing and Ingredient Selection, Engaging Food Writing and Storytelling
Education
Johnson & Wales University
John Nicholson honed his skills at Johnson & Wales University, learning how to use fresh, local ingredients and down-to-earth techniques to make cooking simple and satisfying.
His recipes blend Southern comfort flavors with a modern touch, inviting everyone to cook with ease and confidence.
Living in Charleston, John takes cues from the city’s lively food scene, local markets, and seasonal produce. He’s all about making meals stress-free through easy tips, flavor pairings, and fun experiments in the kitchen