
Crunchy Pepperoni Pizza Roll-Ups Recipe: Fun Twist on a Classic
Weeknight dinners call for something quick and delicious with crispy pepperoni pizza roll-ups that promise excitement on your plate.
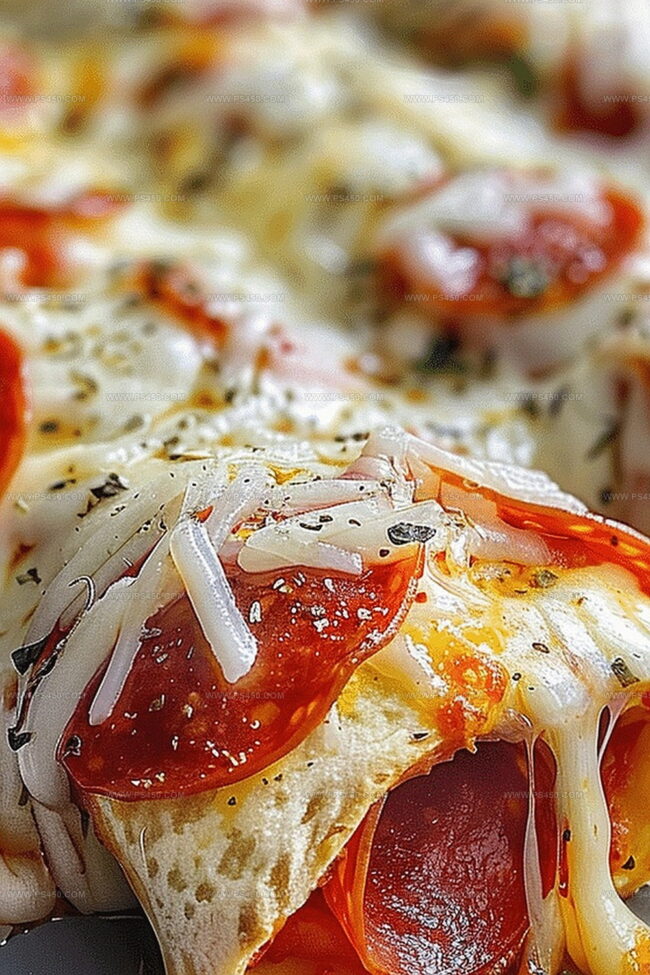
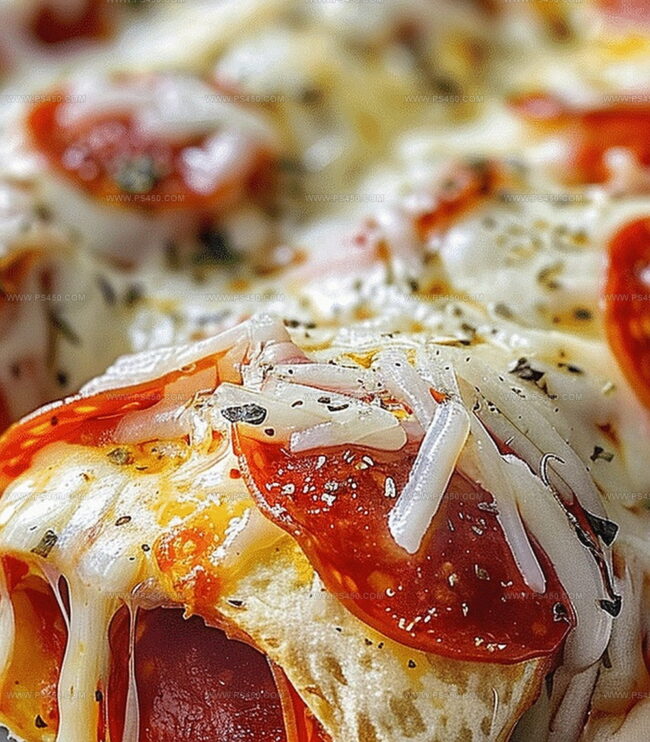
These handheld treats blend classic pizza flavors into a convenient, irresistible format.
Rolled and baked to golden perfection, each bite delivers a satisfying crunch and melted cheese experience.
Simple ingredients come together effortlessly, making this recipe a go-to for busy households.
The combination of zesty pepperoni, gooey mozzarella, and crisp exterior creates an instant crowd-pleaser.
Teens and adults alike will devour these roll-ups faster than you can say “dinner is served.” Prepare to transform an ordinary evening into a memorable meal that sparks smiles and satisfies hunger.
Quick Recipe Overview
Pepperoni Pizza Roll-Up Ingredients You’ll Need
For Dough Base:For Cheese and Protein:For Seasoning and Finishing:Kitchen Gear for Assembling Pizza Roll-Ups
How to Make Pepperoni Pizza Roll-Ups
Crank your oven to a toasty 375F and grab a baking sheet, lining it with parchment paper for easy cleanup.
Spread out your pizza dough on a clean counter, rolling it into a lovely rectangle that’s ready for delicious toppings.
Scatter mozzarella cheese across the dough, leaving a tiny border. Then drape pepperoni slices over the cheese like a tasty blanket.
Tightly roll the dough from one end into a perfect log, then chop it into bite-sized sections that look like mini flavor wheels.
Place each roll-up facing upward on the baking sheet. Brush with melted butter and sprinkle a mix of garlic powder, Italian seasoning, and Parmesan for an extra flavor punch.
Pop the baking sheet into the oven and let these beauties cook for 12-15 minutes until they turn a gorgeous golden brown and start bubbling with cheesy goodness.
Plate up your hot roll-ups with marinara sauce for dipping. Toss some fresh basil on top if you’re feeling fancy, and get ready for a taste explosion!
Sauces, Fillings, and Crust Tweaks to Try
Fun Ways to Plate and Serve Pizza Roll-Ups
Storage Tips for Leftover Pizza Snacks
FAQs
Yes, homemade pizza dough works perfectly. Just ensure it’s rolled out thin and even for the best results.
Choose either regular or mini pepperoni slices. Thinner slices tend to crisp up nicely and distribute more evenly in the roll-ups.
Slice the roll-ups with a sharp knife and place them cut side up. The cheese and fillings will help seal the edges during baking.
You can prepare the roll-ups and refrigerate them before baking. Just add an extra 2-3 minutes to the baking time when cooking from cold.
Print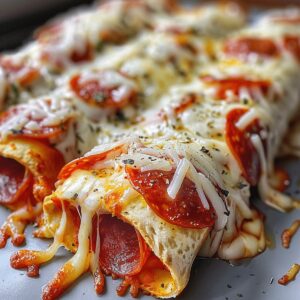
Crispy Pepperoni Pizza Roll-Ups Recipe
- Total Time: 35 minutes
- Yield: 5 1x
Description
Savory Cheesy Pepperoni Pizza Roll-Ups blend classic Italian flavors with convenient finger-food appeal. Crisp pizza dough wraps around zesty pepperoni and melted cheese, creating a crowd-pleasing snack perfect for game day or casual gatherings.
Ingredients
- 1 (16 oz / 454 g) ball of pizza dough (store-bought or homemade)
- 1 cup shredded mozzarella cheese
- ½ cup sliced pepperoni
- ¼ cup grated Parmesan cheese
- 1 tbsp melted butter
- 1 tsp Italian seasoning
- ½ tsp garlic powder
- 1 cup marinara sauce (for dipping)
Instructions
- Preparation: Lay out pizza dough on a floured surface, rolling into a precise rectangular shape with consistent thickness.
- Cheese Layer: Spread mozzarella across dough, leaving a small border around the edges to prevent spillage during rolling.
- Pepperoni Placement: Distribute pepperoni slices in an overlapping pattern to ensure even flavor coverage across the entire surface.
- Rolling Technique: Tightly roll the dough from the longer side, creating a compact cylinder that securely encases the cheese and pepperoni.
- Cutting Process: Slice the rolled log into uniform pinwheel segments, approximately one inch thick, revealing the spiraled interior.
- Baking Preparation: Arrange roll-ups cut-side upward on a parchment-lined baking sheet, allowing space between each piece for optimal heat circulation.
- Flavor Enhancement: Brush surfaces with melted butter and sprinkle with a mixture of garlic powder, Italian seasoning, and Parmesan cheese.
- Baking: Place in a preheated 375°F oven, baking for 12-15 minutes until achieving a golden-brown, crispy exterior with bubbling cheese.
- Serving: Immediately transfer to a serving plate, accompanying with marinara sauce and optional fresh basil garnish for an aromatic finish.
Notes
- Maintain Dough Consistency: Roll pizza dough evenly to prevent uneven cooking and ensure uniform thickness across the entire surface.
- Control Cheese Spread: Layer cheese sparingly near edges to prevent leakage and messy baking, keeping the roll-ups neat and contained.
- Optimize Pepperoni Placement: Slightly overlap pepperoni slices to maximize flavor distribution and create a more intense taste profile in each bite.
- Perfect Rolling Technique: Apply consistent, gentle pressure while rolling to create compact pinwheels that hold their shape during baking and prevent unraveling.
- Prep Time: 15 minutes
- Cook Time: 20 minutes
- Category: Snacks, Appetizer, Lunch
- Method: Baking
- Cuisine: Italian
Nutrition
- Serving Size: 5
- Calories: 360
- Sugar: 2 g
- Sodium: 900 mg
- Fat: 20 g
- Saturated Fat: 10 g
- Unsaturated Fat: 8 g
- Trans Fat: 0 g
- Carbohydrates: 30 g
- Fiber: 1 g
- Protein: 15 g
- Cholesterol: 40 mg
John Nicholson
Lead Writer & Recipe Developer
Expertise
Recipe Testing and Development, Kitchen Hacks and Time-Saving Tips, Flavor Pairing and Ingredient Selection, Engaging Food Writing and Storytelling
Education
Johnson & Wales University
John Nicholson honed his skills at Johnson & Wales University, learning how to use fresh, local ingredients and down-to-earth techniques to make cooking simple and satisfying.
His recipes blend Southern comfort flavors with a modern touch, inviting everyone to cook with ease and confidence.
Living in Charleston, John takes cues from the city’s lively food scene, local markets, and seasonal produce. He’s all about making meals stress-free through easy tips, flavor pairings, and fun experiments in the kitchen