Amazing Tater Tot Pizza Recipe With Golden Crunch
Weeknight dinners demand creativity, and this tater tot pizza bursts with unexpected flavor combinations that’ll make everyone at the table cheer.
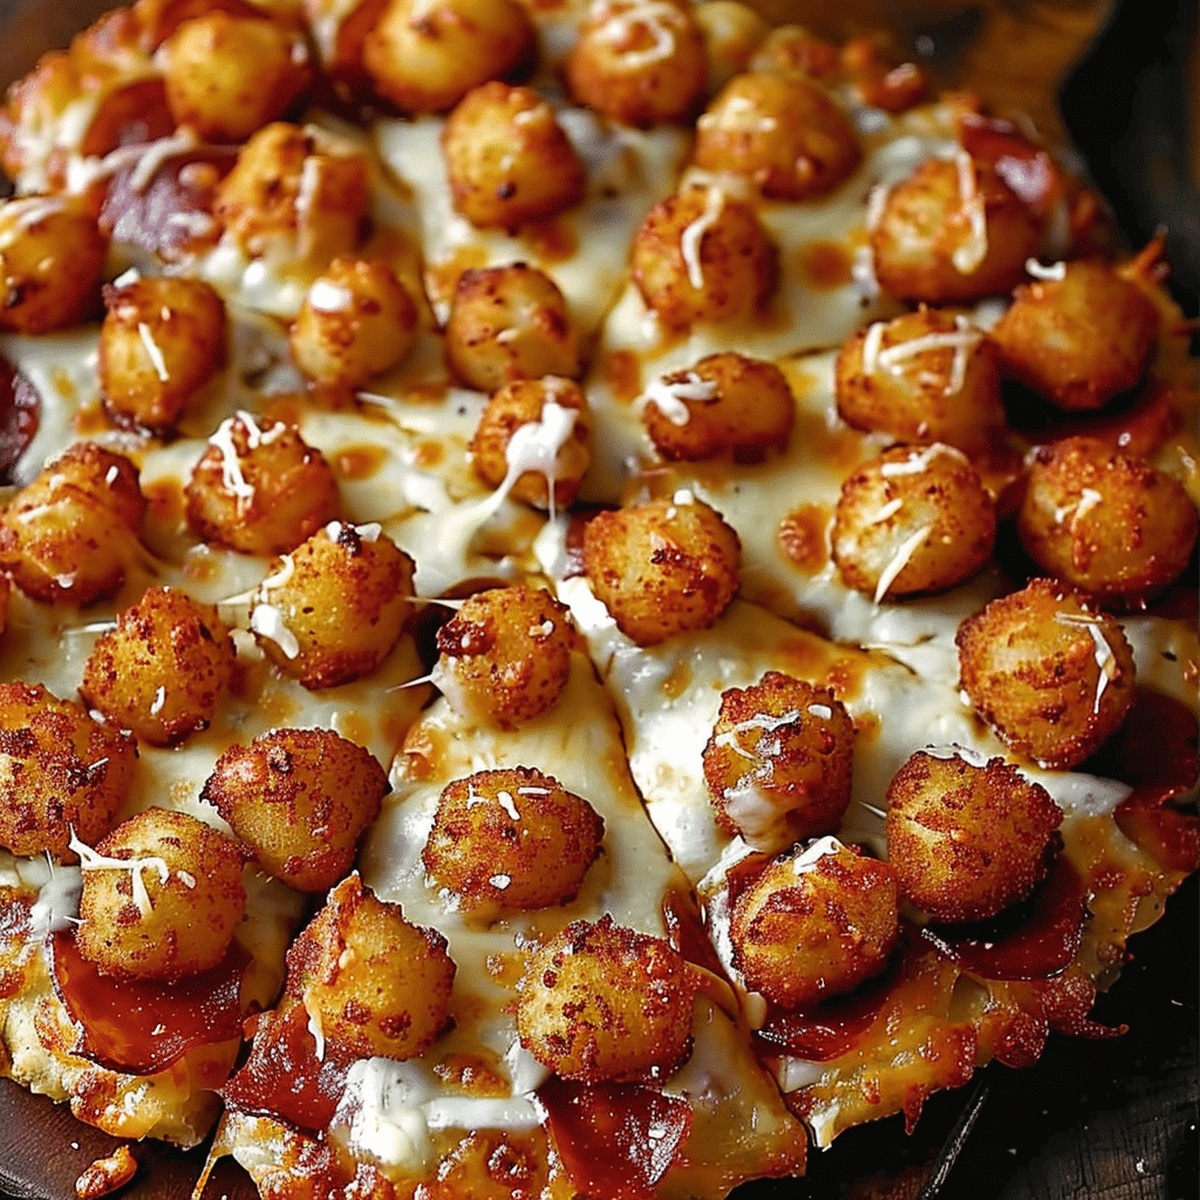
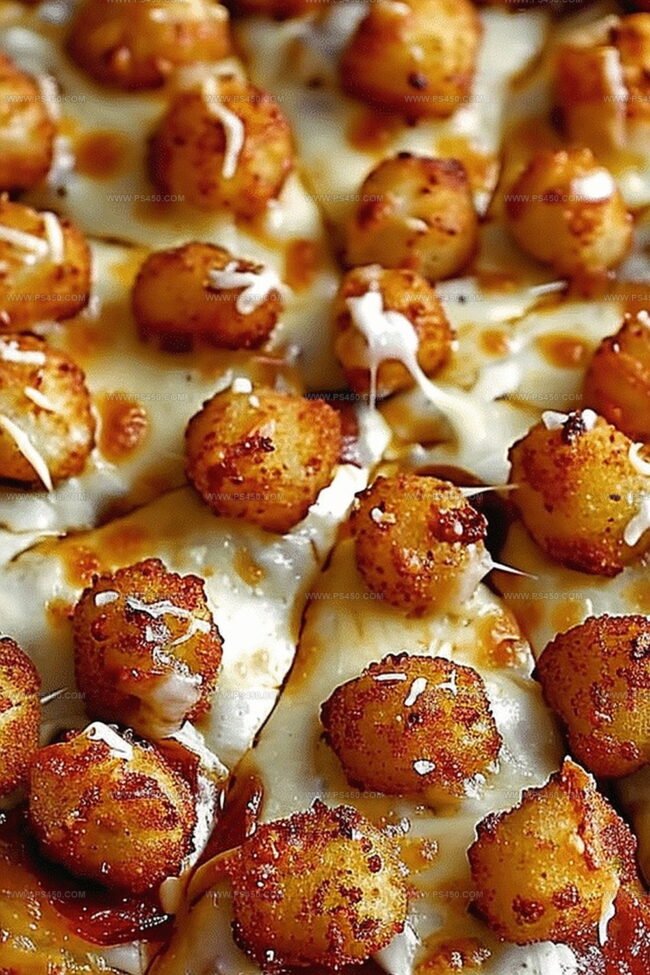
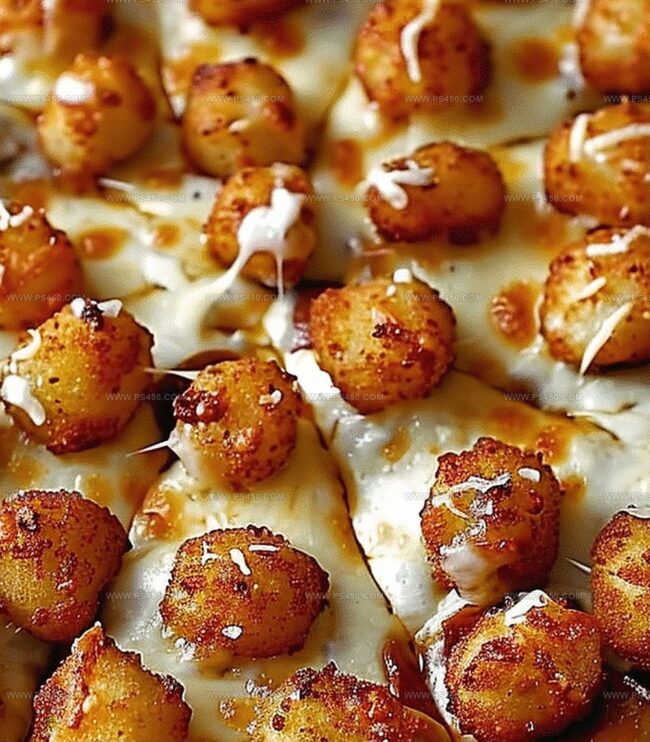
Melted cheese blankets a crispy tater tot crust in a mouthwatering dance of textures and tastes.
Comfort food meets innovation with this crowd-pleasing dish that transforms humble ingredients into something extraordinary.
Potatoes take center stage, creating a golden, crunchy base that rivals traditional pizza crusts.
Each bite promises a perfect blend of crispy tots, gooey cheese, and your favorite toppings.
Simple ingredients come together in a quick, satisfying meal that screams pure deliciousness.
Prepare to fall in love with a pizza experience that breaks all the classic rules.
Quick Recipe Overview
Ingredients for Delicious Tater Tot Pizza
For The Crust:For The Sauce And Seasonings:For The Toppings:Tools That Make Delicious Tater Tot Pizza to Assemble
How to Cook and Layer Delicious Tater Tot Pizza
Warm up your oven to a toasty 400F. Grab a large cast iron skillet and give it a light grease. Spread out thawed potato nuggets in a single layer, pressing them down firmly to form a solid foundation.
Slide the skillet into the oven and bake for 15 minutes until the potato nuggets start turning golden. Pull it out and press down again to ensure a sturdy base.
Drizzle your favorite tomato sauce across the potato crust. Sprinkle some zesty seasonings to amp up the taste. Add a generous layer of cheese, scatter pepperoni slices, and throw on any extra toppings that make your taste buds dance.
Crank up the oven temperature to 425F. Pop the skillet back in and bake for 10-15 minutes until the cheese becomes a melty paradise and the edges turn perfectly crisp.
Carefully remove from the oven and let it cool briefly. Shower with fresh herbs if you’re feeling fancy. Slice into wedges and dive into this potato-powered pizza adventure.
Topping Tips for Delicious Tater Tot Pizza
How to Serve Delicious Tater Tot Pizza for Family Meals
Keep Delicious Tater Tot Pizza Fresh After Baking
FAQs
Press the tater tots firmly before and after the initial baking. Use a spatula or spoon to compact them into a solid layer, creating a cohesive crust that won’t fall apart when serving.
No, make sure to thaw the tater tots first. Thawing helps them stick together better and creates a more even crust for your pizza base.
You can use a regular baking sheet with parchment paper. Just arrange the tater tots in a tight, single layer and press them together to create a crust-like foundation.
Pre-bake the tater tot crust until it’s partially crisp before adding sauce and toppings. This helps create a sturdy base that stays crispy even after adding wet ingredients.
Print
Crispy Tater Tot Pizza Recipe
- Total Time: 35 minutes
- Yield: 5 1x
Description
Crispy homemade Tater Tot Pizza combines classic comfort foods with creative culinary genius. Cheesy potato bites create a crunchy base that pizza fans will absolutely devour.
Ingredients
- 1 lb (454 g) frozen tater tots, thawed
- 8 oz (226 g) pepperoni slices (or other favorite toppings)
- 1 ½ cups shredded mozzarella cheese
- 1 cup marinara or pizza sauce
- ½ tsp Italian seasoning
- ¼ tsp garlic powder
- Salt, to taste
- Black pepper, to taste
- Fresh basil
- Grated Parmesan cheese
- Red pepper flakes
Instructions
- Crust Preparation: Distribute thawed tater tots uniformly across a large cast iron skillet, creating a seamless base with zero gaps.
- Initial Baking: Place skillet in a preheated oven at 400F (200C) for 15 minutes, pressing tots midway to establish a compact, crispy foundation.
- Flavor Layering: Spread marinara sauce evenly, then dust with garlic powder, Italian seasoning, salt, and pepper to enhance taste dimensions.
- Cheese and Topping Arrangement: Strategically sprinkle half the mozzarella cheese, layer pepperoni slices, then complete with remaining cheese to ensure comprehensive coverage.
- Final Baking: Increase oven temperature to 425F (220C) and bake 10-15 minutes until cheese melts into a luxurious golden bubble and crust achieves maximum crispiness.
- Presentation: Remove from oven, let cool briefly, optionally garnish with fresh basil and Parmesan, then slice into wedges for serving.
Notes
- Optimize Tater Tot Placement: Arrange tots tightly without gaps to create a solid, crispy pizza base that holds together perfectly.
- Compress for Structural Integrity: Use a spatula to firmly press tots, creating a uniform foundation that prevents crumbling and ensures even cooking.
- Control Moisture Carefully: Avoid excess sauce to prevent soggy crust; use a light, even layer of marinara to maintain the tater tot base’s crispiness.
- Customize for Dietary Needs: Swap pepperoni with vegetable toppings or plant-based alternatives for vegetarian options, and use dairy-free cheese for lactose-intolerant individuals.
- Prep Time: 10 minutes
- Cook Time: 25 minutes
- Category: Lunch, Dinner, Snacks
- Method: Baking
- Cuisine: American
Nutrition
- Serving Size: 5
- Calories: 400
- Sugar: 4 g
- Sodium: 800 mg
- Fat: 22 g
- Saturated Fat: 10 g
- Unsaturated Fat: 12 g
- Trans Fat: 0 g
- Carbohydrates: 36 g
- Fiber: 2 g
- Protein: 16 g
- Cholesterol: 40 mg
John Nicholson
Lead Writer & Recipe Developer
Expertise
Recipe Testing and Development, Kitchen Hacks and Time-Saving Tips, Flavor Pairing and Ingredient Selection, Engaging Food Writing and Storytelling
Education
Johnson & Wales University
John Nicholson honed his skills at Johnson & Wales University, learning how to use fresh, local ingredients and down-to-earth techniques to make cooking simple and satisfying.
His recipes blend Southern comfort flavors with a modern touch, inviting everyone to cook with ease and confidence.
Living in Charleston, John takes cues from the city’s lively food scene, local markets, and seasonal produce. He’s all about making meals stress-free through easy tips, flavor pairings, and fun experiments in the kitchen