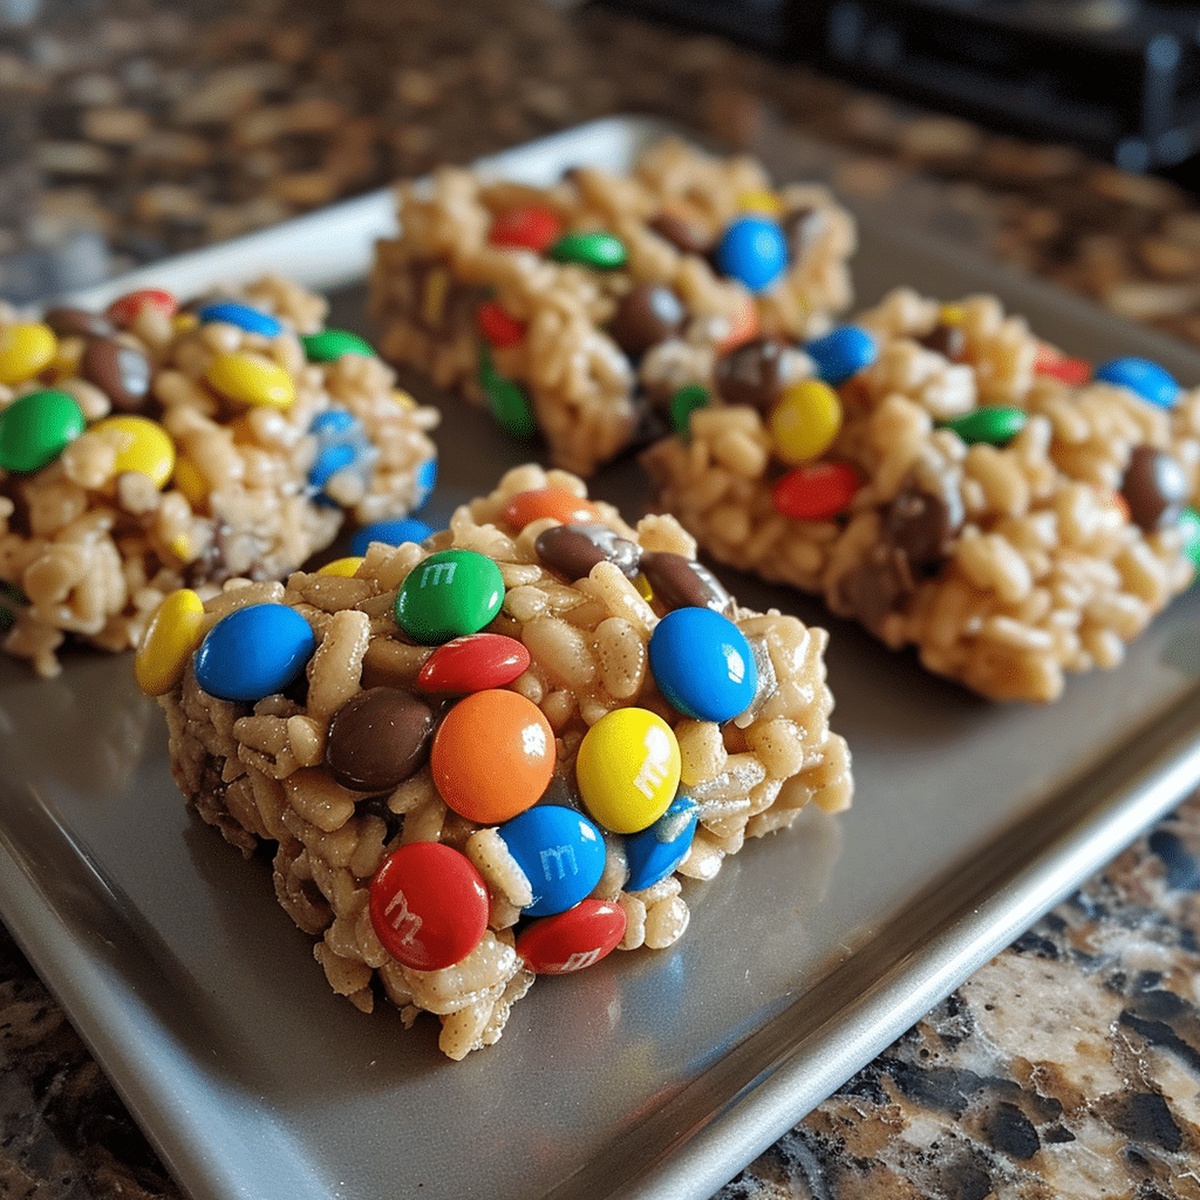
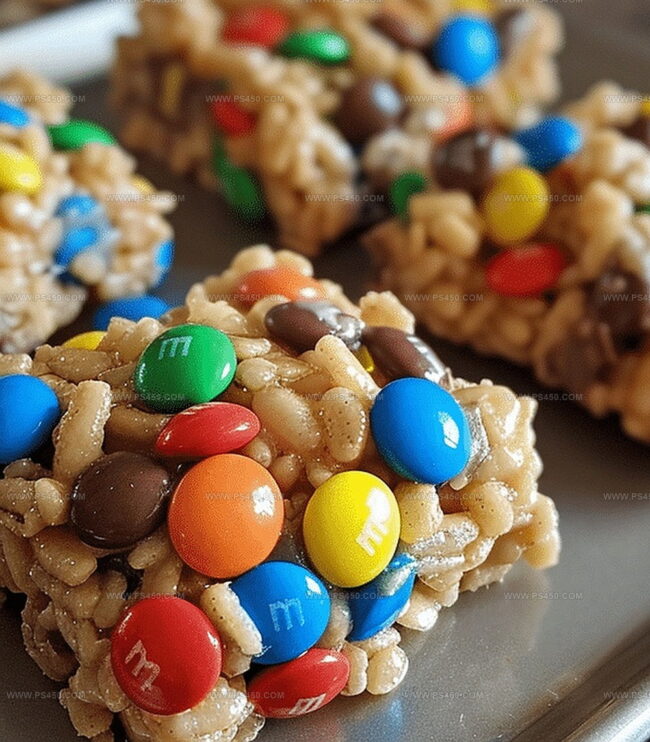
Colorful & Crunchy Peanut Butter Rice Krispie Treats with M&Ms Recipe
Melting marshmallows and creamy peanut butter create a nostalgic twist on the classic rice krispie treats with m&ms.
Sweet memories flood back with each bite of this irresistible dessert.
The smooth peanut butter blends perfectly with crispy rice cereal, adding depth and richness to every square.
Colorful m&ms dot the surface, bringing playful bursts of chocolate to the mix.
Kids and adults alike will fall in love with these decadent squares of pure joy.
The no-bake recipe comes together in minutes, making it a stress-free treat for any occasion.
Prepare to indulge in a dessert that promises to become an instant family favorite.
Quick Recipe Overview

Peanut Butter Rice Krispie Treats with M&Ms Ingredients
For Base Ingredients:For Crunch and Texture:For Color and Extra Sweetness:Optional Flavor Enhancers:Tools for Crafting These Colorful Krispie Treats
How to Make Peanut Butter Rice Krispies with M&Ms
Grab a 9×13 pan and coat it with a light layer of grease to ensure easy treat removal later.
Toss butter and peanut butter into a large saucepan, heating gently while stirring until they transform into a silky smooth mixture.
Drop marshmallows into the warm blend, stirring consistently until they melt completely and create a luscious, glossy texture.
Pull the pan off the heat and quickly fold Rice Krispies into the marshmallow mixture, ensuring every crisp piece gets coated with the sweet goodness.
Gently mix half the M&Ms into the treat mixture, maintaining their vibrant colors and preventing them from melting.
Transfer the sticky mixture into the prepared pan, pressing firmly with a spatula to create an even layer. Sprinkle remaining M&Ms across the top for a playful finish.
Let the treats rest at room temperature for 1-2 hours until they firm up. Slice into squares and enjoy the delightful combination of sweet, crunchy, and colorful treats!
Add-Ons and Mix-Ins for Peanut Butter Krispies
Serving Tips for These No-Bake Dessert Squares
Store Krispie Treats So They Don’t Harden
FAQs
Peanut butter adds a rich, creamy flavor and helps bind the ingredients together, creating a more indulgent and satisfying treat that’s different from traditional marshmallow-only versions.
Absolutely! You can substitute Rice Krispies with other crispy cereals like Cocoa Krispies, Fruity Pebbles, or generic crisp rice cereal while maintaining a similar texture and crunch.
Add the M&Ms gently and quickly when the mixture is not too hot. Fold them in at the end or sprinkle them on top to keep their shape and prevent color bleeding or melting.
Yes, these colorful and fun treats are perfect for children’s events, school parties, or family gatherings. Kids love the combination of sweet marshmallows, peanut butter, and colorful M&Ms.
Print
Crunchy Peanut Butter Rice Krispie Treats With M&Ms Recipe
- Total Time: 20 minutes
- Yield: 13 1x
Description
Creamy peanut butter rice krispie treats meld sweet nostalgia with colorful M&Ms for a playful dessert. Crunchy marshmallow squares deliver irresistible childhood memories in one delightful bite you cannot resist.
Ingredients
- 1 bag (10 oz / 283 g) mini marshmallows
- ¾ cup (177 ml) creamy peanut butter
- 6 cups rice krispies cereal
- 3 tbsps (45 ml) unsalted butter
- ½ tsp (2.5 ml) vanilla extract
- 1 cup (170 g) M&Ms (freeze for 30 minutes to prevent melting)
Instructions
- Preparation: Thoroughly coat a 9×13-inch pan with non-stick spray to guarantee seamless treat extraction.
- Melting: In a large saucepan, melt butter and peanut butter over medium heat, whisking until achieving a smooth, homogeneous liquid.
- Marshmallow Integration: Add mini marshmallows to the melted mixture, stirring continuously until completely dissolved and forming a glossy, uniform texture.
- Cereal Incorporation: Remove from heat and swiftly fold Rice Krispies cereal into the marshmallow blend, ensuring comprehensive coating of each crisp kernel.
- Candy Distribution: Gently fold half the M&Ms into the mixture, carefully preventing candy disintegration while creating a colorful blend.
- Molding: Transfer the mixture to the prepared pan, using a spatula or wax paper to compress evenly, creating a compact layer with precise edges.
- Decorative Topping: Sprinkle remaining M&Ms across the surface, crafting a vibrant and eye-catching exterior.
- Setting: Allow treats to solidify at room temperature for 1-2 hours, or accelerate the process by refrigerating until firm.
- Serving: Slice into consistent squares, revealing the crunchy, colorful interior ready for enjoyment.
Notes
- Butter Blending Technique: Whisk butter and peanut butter smoothly to prevent burning and ensure a uniform, silky texture without lumps.
- Marshmallow Melting Mastery: Stir marshmallows consistently over medium heat, removing immediately after complete dissolution to maintain optimal gooeyness and prevent scorching.
- Cereal Coating Trick: Fold Rice Krispies quickly and gently to prevent crushing, ensuring each piece gets evenly covered with the marshmallow mixture.
- Cool and Set Strategy: Let treats cool completely at room temperature or refrigerate for faster setting, which helps maintain crisp texture and prevents soggy edges.
- Prep Time: 10 minutes
- Cook Time: 10 minutes
- Category: Snacks, Desserts
- Method: None
- Cuisine: American
Nutrition
- Serving Size: 13
- Calories: 210
- Sugar: 15 g
- Sodium: 80 mg
- Fat: 9 g
- Saturated Fat: 3 g
- Unsaturated Fat: 4 g
- Trans Fat: 0 g
- Carbohydrates: 30 g
- Fiber: 1 g
- Protein: 3 g
- Cholesterol: 5 mg
John Nicholson
Lead Writer & Recipe Developer
Expertise
Recipe Testing and Development, Kitchen Hacks and Time-Saving Tips, Flavor Pairing and Ingredient Selection, Engaging Food Writing and Storytelling
Education
Johnson & Wales University
John Nicholson honed his skills at Johnson & Wales University, learning how to use fresh, local ingredients and down-to-earth techniques to make cooking simple and satisfying.
His recipes blend Southern comfort flavors with a modern touch, inviting everyone to cook with ease and confidence.
Living in Charleston, John takes cues from the city’s lively food scene, local markets, and seasonal produce. He’s all about making meals stress-free through easy tips, flavor pairings, and fun experiments in the kitchen