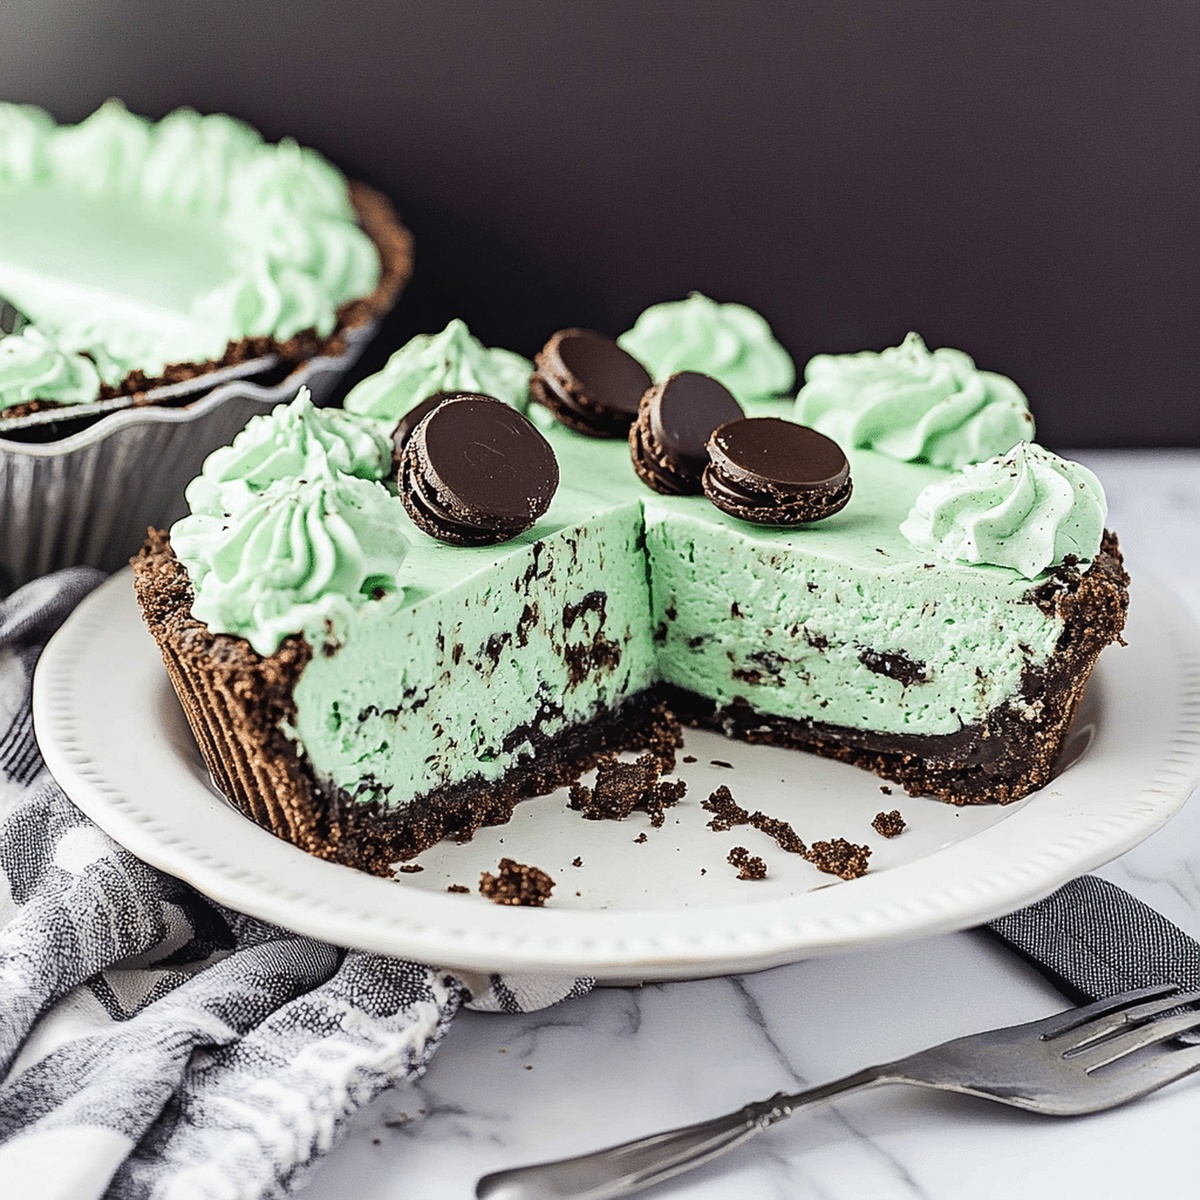
Grasshopper Pie Recipe with Creamy Mint Chocolate Swirls
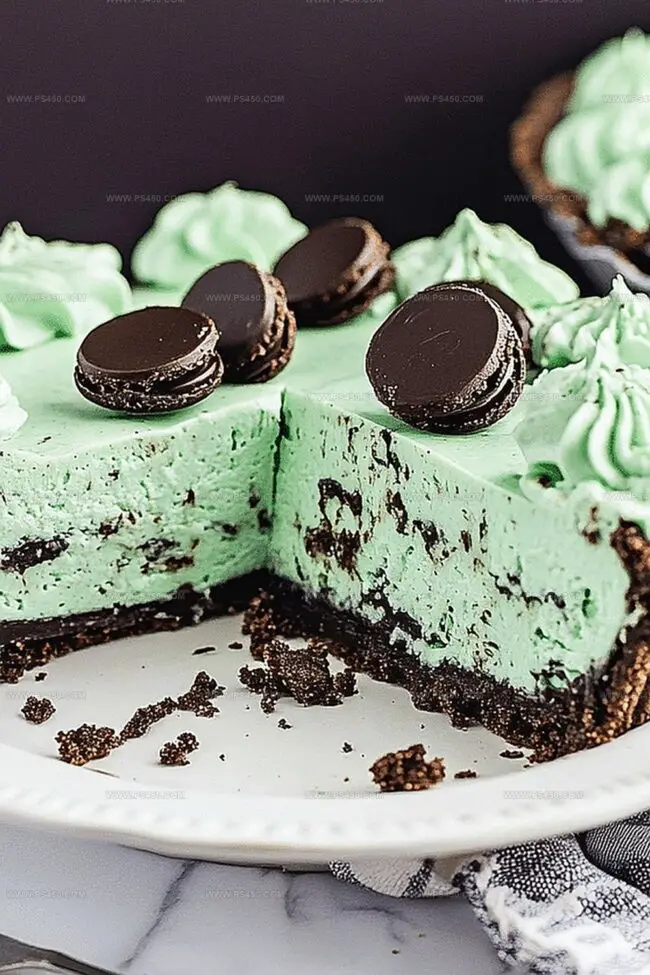
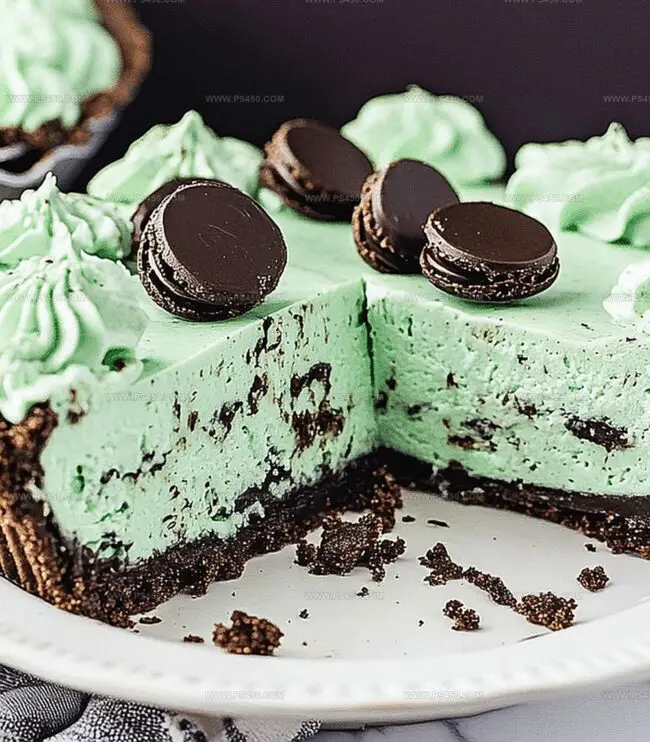
Chocolate cookie crusts cradle a silky mint cheesecake grasshopper pie that dances with cool, creamy elegance.
Cool mint and rich chocolate create an irresistible symphony of flavors.
Each slice promises a decadent escape from ordinary desserts.
The classic cocktail-inspired treat brings sophisticated sweetness to your table.
Whipped cream and chocolate shavings crown this spectacular pie with luxurious charm.
Craving a showstopping dessert that will impress everyone at the gathering?
Whip up this dreamy confection and watch smiles bloom around the table.
Quick Recipe Overview
Grasshopper Pie: What You’ll Need for That Minty Magic
For Crust:For Filling Base:For Texture and Lightness:Tools to Help Your Grasshopper Pie Set Just Right
Whip Up Grasshopper Pie for a No-Bake Treat
Crush chocolate cookies into fine crumbs and blend with melted butter. Press mixture firmly into pie dish, covering bottom and sides completely. Freeze crust while preparing filling.
Beat cream cheese and sugar until silky smooth. Blend in mint liqueur, creating a vibrant green color. Separately whip heavy cream until peaks form. Gently fold whipped cream into mint mixture, creating an airy, light texture.
Pour mint filling into frozen crust, spreading evenly with smooth motion. Refrigerate pie for minimum 4 hours, preferably overnight, allowing flavors to meld and filling to set perfectly.
Before serving, add optional decorative touches like dollops of whipped cream or sprinkled chocolate shavings. Slice pie and enjoy the cool, refreshing mint sensation.
Add Crunch or More Creaminess to Your Grasshopper Pie
Serve With Whipped Topping and Maybe a Wink
Chill and Store Grasshopper Pie Without the Sog
FAQs
The key ingredients include chocolate cookie crumbs, butter, cream cheese, sugar, crème de menthe (or peppermint extract), crème de cacao, heavy cream, and optional toppings like whipped cream or chocolate shavings.
Grasshopper Pie is a no-bake dessert that sets in the refrigerator, making it an easy and cool treat perfect for warm days or when you don’t want to use the oven.
Yes, you can substitute the crème de menthe with peppermint extract and green food coloring, and replace crème de cacao with vanilla extract to create a non-alcoholic version of the pie.
The pie needs to be refrigerated for at least 4 hours, but for the best texture and flavor, it’s recommended to refrigerate overnight before serving.
Print
Dreamy Grasshopper Pie Recipe
- Total Time: 4 hours 20 minutes
- Yield: 9 1x
Description
Grasshopper Pie delights dessert enthusiasts with classic mint chocolate flavors from mid-century American kitchens. Chocolate cookie crust and creamy filling showcase nostalgic culinary charm while delivering smooth, refreshing mint chocolate indulgence.
Ingredients
- 1 cup (240 ml) heavy whipping cream
- 8 oz (226 g) cream cheese, softened
- ½ cup (100 g) granulated sugar
- 2 cups chocolate sandwich cookie crumbs (about 20 cookies)
- ¼ cup (60 g) unsalted butter, melted
- ¼ cup (60 ml) creme de menthe liqueur
- ¼ cup (60 ml) creme de cacao liqueur (optional)
- 1 tsp peppermint extract (alternative to creme de menthe)
- 1 tsp vanilla extract (alternative to creme de cacao)
- A few drops of green food coloring (if using peppermint extract)
- Whipped cream
- Chocolate shavings
- Crushed chocolate cookies
Instructions
- Crust Preparation: Pulverize chocolate cookies and blend with melted butter until uniformly combined, then press the mixture comprehensively into a pie dish, covering bottom and sides completely.
- Crust Chilling: Transfer the prepared crust to the freezer, allowing it to solidify while preparing the filling components.
- Filling Base: Whip cream cheese and sugar using an electric mixer until achieving a smooth, creamy consistency, then integrate mint liqueur and chocolate liqueur thoroughly into the mixture.
- Cream Integration: Whip heavy cream until stiff peaks form, then gently fold into the mint-infused cream cheese mixture, creating a light, airy texture without deflating the whipped cream.
- Pie Assembly: Carefully pour the mint filling into the chilled chocolate crust, spreading evenly with deliberate, smooth motions to ensure uniform distribution.
- Setting and Chilling: Refrigerate the pie for a minimum of four hours or overnight, allowing flavors to meld and filling to set completely.
- Garnishing and Serving: Before presenting, optionally adorn with whipped cream rosettes, chocolate shavings, or crushed cookie fragments, then slice and serve the refreshing, decadent dessert.
Notes
- Crust Consistency Check: Press cookie crumbs firmly and evenly to prevent crumbly or uneven base that might fall apart when serving.
- Mint Intensity Control: Adjust mint liqueur or extract gradually, tasting between additions to prevent overwhelming flavor that masks chocolate undertones.
- Whipping Technique Master: Ensure cream is cold and bowl is chilled to achieve maximum volume and stable whipped cream peaks for light, airy texture.
- Chilling Precision: Allow minimum 4-6 hours refrigeration, preferably overnight, for filling to set completely and flavors to harmonize perfectly.
- Prep Time: 20 minutes
- Cook Time: 4 hours
- Category: Desserts, Snacks
- Method: None
- Cuisine: American
Nutrition
- Serving Size: 9
- Calories: 420
- Sugar: 25 g
- Sodium: 150 mg
- Fat: 30 g
- Saturated Fat: 18 g
- Unsaturated Fat: 8 g
- Trans Fat: 1 g
- Carbohydrates: 34 g
- Fiber: 2 g
- Protein: 4 g
- Cholesterol: 100 mg
John Nicholson
Lead Writer & Recipe Developer
Expertise
Recipe Testing and Development, Kitchen Hacks and Time-Saving Tips, Flavor Pairing and Ingredient Selection, Engaging Food Writing and Storytelling
Education
Johnson & Wales University
John Nicholson honed his skills at Johnson & Wales University, learning how to use fresh, local ingredients and down-to-earth techniques to make cooking simple and satisfying.
His recipes blend Southern comfort flavors with a modern touch, inviting everyone to cook with ease and confidence.
Living in Charleston, John takes cues from the city’s lively food scene, local markets, and seasonal produce. He’s all about making meals stress-free through easy tips, flavor pairings, and fun experiments in the kitchen