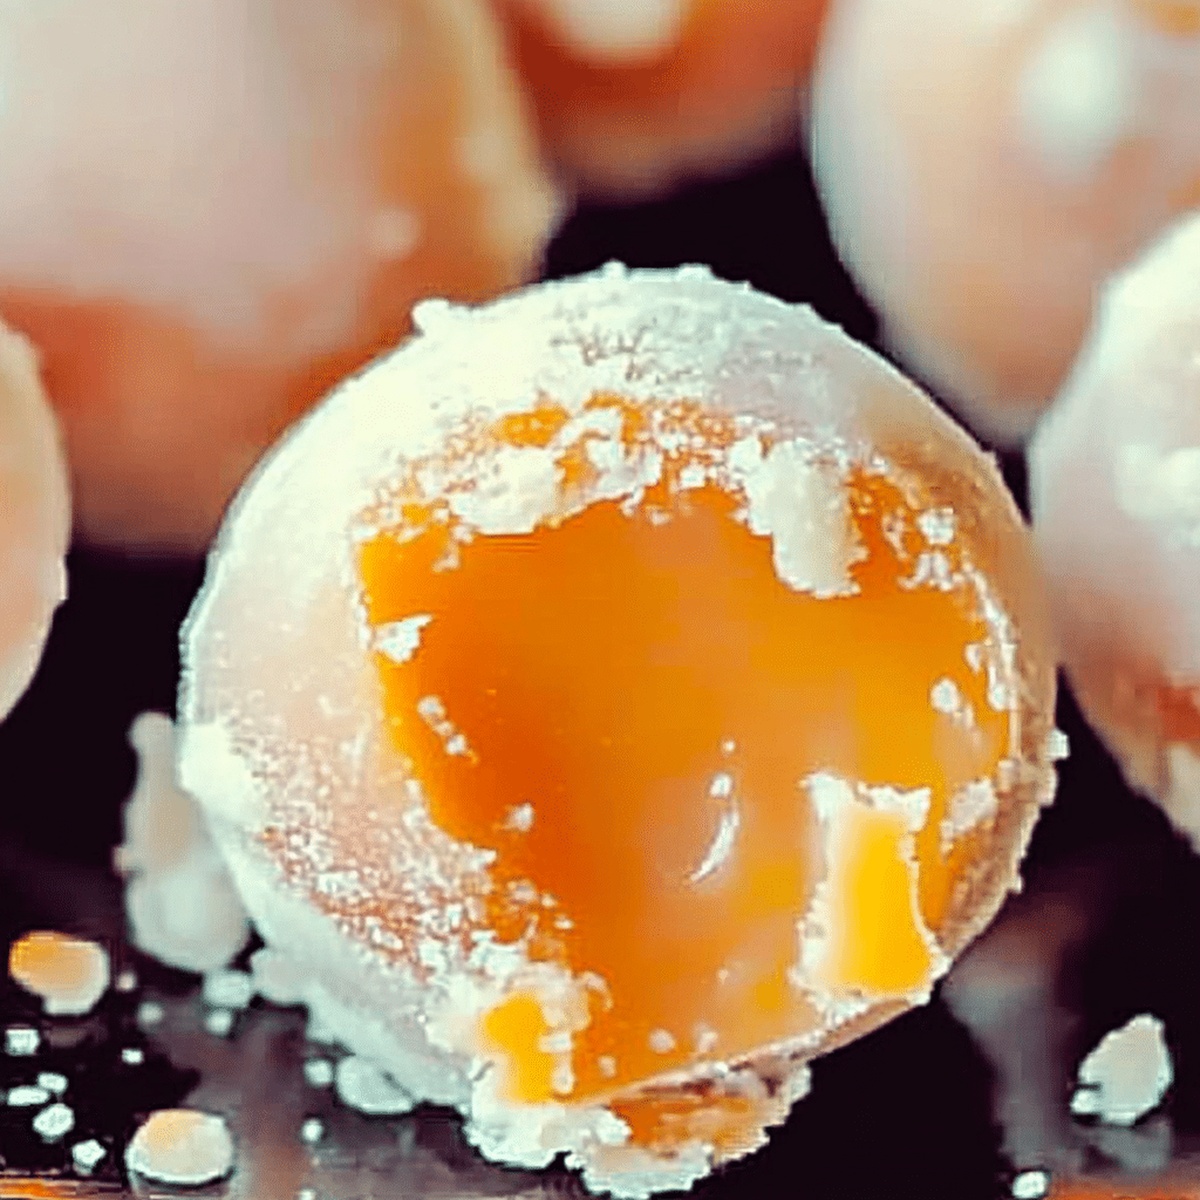
Orange Creamsicle Truffle Recipe That’s Sweet and Bright
Creamy chocolate melts together with tangy orange zest in these delightful orange creamsicle truffles that burst with nostalgic summer flavor.
The recipe combines simple ingredients for an irresistible sweet treat.
Cool and smooth textures dance on your palate with each bite.
Orange extract introduces a vibrant citrus punch that perfectly complements rich white chocolate.
Silky chocolate coating adds a luxurious finish to these delectable truffles.
Each truffle promises a moment of pure bliss and indulgence.
Prepare to savor a dessert that captures the essence of childhood memories in one decadent bite.
Quick Recipe Overview
Orange Creamsicle Truffles: Ingredient Breakdown
For Truffle Filling Base:For Flavor Enhancers:For Coating and Decoration:Tools for Rolling and Coating These Citrus Truffles
How to Make No-Bake Orange Creamsicle Truffles
Grab white chocolate chips and heavy cream in a microwave-safe bowl. Zap them in short bursts, stirring between each interval until everything transforms into a silky, smooth mixture. Avoid overheating to prevent chocolate disaster.
Add fresh orange zest, a splash of orange juice, and vanilla extract to your melted chocolate. Stir vigorously until the mixture becomes a vibrant, aromatic blend that screams summer refreshment.
Pop the mixture into the refrigerator for about 30 minutes until it firms up. Once chilled, use a small scoop to create adorable bite-sized balls. Roll them gently between your palms, creating perfect little spheres of creamy goodness.
Melt orange-flavored candy melts or white chocolate in the microwave. Carefully dunk each truffle, ensuring complete coverage. Let excess coating drip off for a clean, professional look.
Sprinkle some extra orange zest on top while the coating is still wet. Slide the truffles back into the refrigerator for a final 30-minute chill to set the delectable exterior.
Pull out these zesty treats and watch eyes light up! Store in a sealed container in the refrigerator, though they’ll likely vanish before the week is out.
Tips for Tangy,, and Sweet Bites
Serve These Truffles for Parties or Gifts
Keep Orange Creamsicle Truffles Smooth and Fresh
FAQs
These truffles are surprisingly easy to prepare, even for beginners. The process involves simple steps like melting chocolate, mixing ingredients, and dipping. Anyone with basic kitchen skills can successfully make them.
Yes, you can experiment with orange extract, orange liqueur, or orange oil if you don’t have fresh orange juice and zest. Each option will provide a slightly different intensity of orange flavor.
No special equipment is required. You’ll just need basic kitchen tools like a microwave, mixing bowl, cookie scoop or spoon, and a baking sheet. A fork or dipping tool helps with coating the truffles evenly.
Keep the truffles chilled between steps. If they start to soften, return them to the refrigerator for 10-15 minutes. Cold truffles are easier to handle and maintain their shape during coating.
Print
Dreamy Orange Creamsicle Truffles Recipe
- Total Time: 1 hour 35 minutes
- Yield: 13 1x
Description
Creamy orange creamsicle truffles provide a nostalgic dessert experience with sweet citrus notes. Rich chocolate and zesty orange combine for an irresistible homemade treat perfect for sharing with friends and family.
Ingredients
- 1 cup (240 ml) white chocolate chips
- ½ cup (113 g) unsalted butter
- 3 tablespoons (45 ml) heavy whipping cream
- ½ teaspoon (2.5 ml) orange extract
- 3 drops orange food coloring (optional)
- ¼ cup (30 g) powdered sugar (for coating)
Instructions
- Chocolate Melting: Combine white chocolate and heavy cream in a microwave-safe bowl, heating in short intervals and stirring until achieving a silky, uniform consistency.
- Flavor Infusion: Integrate orange zest, orange juice, and vanilla extract into the chocolate mixture, blending thoroughly to create a citrusy, aromatic base.
- Chilling Preparation: Refrigerate the mixture for 30 minutes until it firms up to a scoopable texture, allowing flavors to meld and solidify.
- Truffle Shaping: Employ a cookie scoop to form uniform centers, rolling each gently between palms to create smooth, symmetrical spheres.
- Coating Preparation: Melt orange candy melts or white chocolate chips, ensuring a glossy, even coating that will encase the truffle centers.
- Dipping and Decorating: Submerge each truffle in the molten coating, using a fork to ensure complete coverage, then garnish with a sprinkle of fresh orange zest while the surface remains soft.
- Final Setting: Chill the truffles for 30 minutes in the refrigerator, allowing the exterior to crisp and the interior to maintain its creamy consistency.
- Storage: Transfer the completed truffles to an airtight container, keeping them refrigerated to preserve their delicate texture and vibrant orange essence.
Notes
Prevent Chocolate Seizing: Melt chocolate and cream slowly at low power in microwave, stirring every 15 seconds to maintain smooth texture and avoid burning.
Control Consistency: Refrigerate mixture just until firm but scoopable, checking every 10 minutes to prevent over-hardening which makes rolling difficult.
Perfect Coating Technique: Use room temperature truffles when dipping, ensuring chocolate coating adheres smoothly without cracking or creating uneven surfaces.
Dietary Adaptation: Substitute white chocolate with dairy-free alternatives like coconut-based chips for vegan version, maintaining similar creamy consistency and flavor profile.
- Prep Time: 15 minutes
- Cook Time: 1 hour 20 minutes
- Category: Desserts, Snacks
- Method: Blending
- Cuisine: American
Nutrition
- Serving Size: 13
- Calories: 162
- Sugar: 12g
- Sodium: 25mg
- Fat: 10g
- Saturated Fat: 6g
- Unsaturated Fat: 4g
- Trans Fat: 0g
- Carbohydrates: 16g
- Fiber: 0g
- Protein: 1g
- Cholesterol: 30mg
John Nicholson
Lead Writer & Recipe Developer
Expertise
Recipe Testing and Development, Kitchen Hacks and Time-Saving Tips, Flavor Pairing and Ingredient Selection, Engaging Food Writing and Storytelling
Education
Johnson & Wales University
John Nicholson honed his skills at Johnson & Wales University, learning how to use fresh, local ingredients and down-to-earth techniques to make cooking simple and satisfying.
His recipes blend Southern comfort flavors with a modern touch, inviting everyone to cook with ease and confidence.
Living in Charleston, John takes cues from the city’s lively food scene, local markets, and seasonal produce. He’s all about making meals stress-free through easy tips, flavor pairings, and fun experiments in the kitchen