3-Ingredient Butter Cookies Recipe: Simple Joy in Every Bite
Sweet, crumbly butter cookies with a melt-in-your-mouth homemade butter cookies recipe dance between simplicity and pure indulgence.
These classic treats offer a delightful blend of rich, buttery flavors that instantly comfort your senses.
Crisp edges and soft centers make each bite a delectable experience.
Originating from European baking traditions, these cookies require minimal ingredients but deliver maximum satisfaction.
The secret lies in using high-quality butter and precise mixing techniques.
Baking these cookies fills your kitchen with an irresistible aroma that beckons everyone to the counter.
You’ll find yourself falling in love with this straightforward yet elegant recipe that promises to become a cherished favorite.
Quick Recipe Overview
Ingredients That Make 3 Ingredient Butter Cookies Melt in Your Mouth
For Butter and Sweetness:For Flour and Binding:For Optional Finishing:Tools for Quick Prep of 3 Ingredient Butter Cookies
How to Whip Up 3 Ingredient Butter Cookies in Minutes
Get your oven toasty at 350F and line a baking sheet with parchment paper for easy cleanup.
Grab your mixer and blend butter and sugar until they’re super fluffy and creamy, creating a dreamy mixture that looks light and soft.
Fold flour into the butter mixture, working it gently until a smooth dough forms. If the mixture seems dry, add a splash of milk to help everything stick together perfectly.
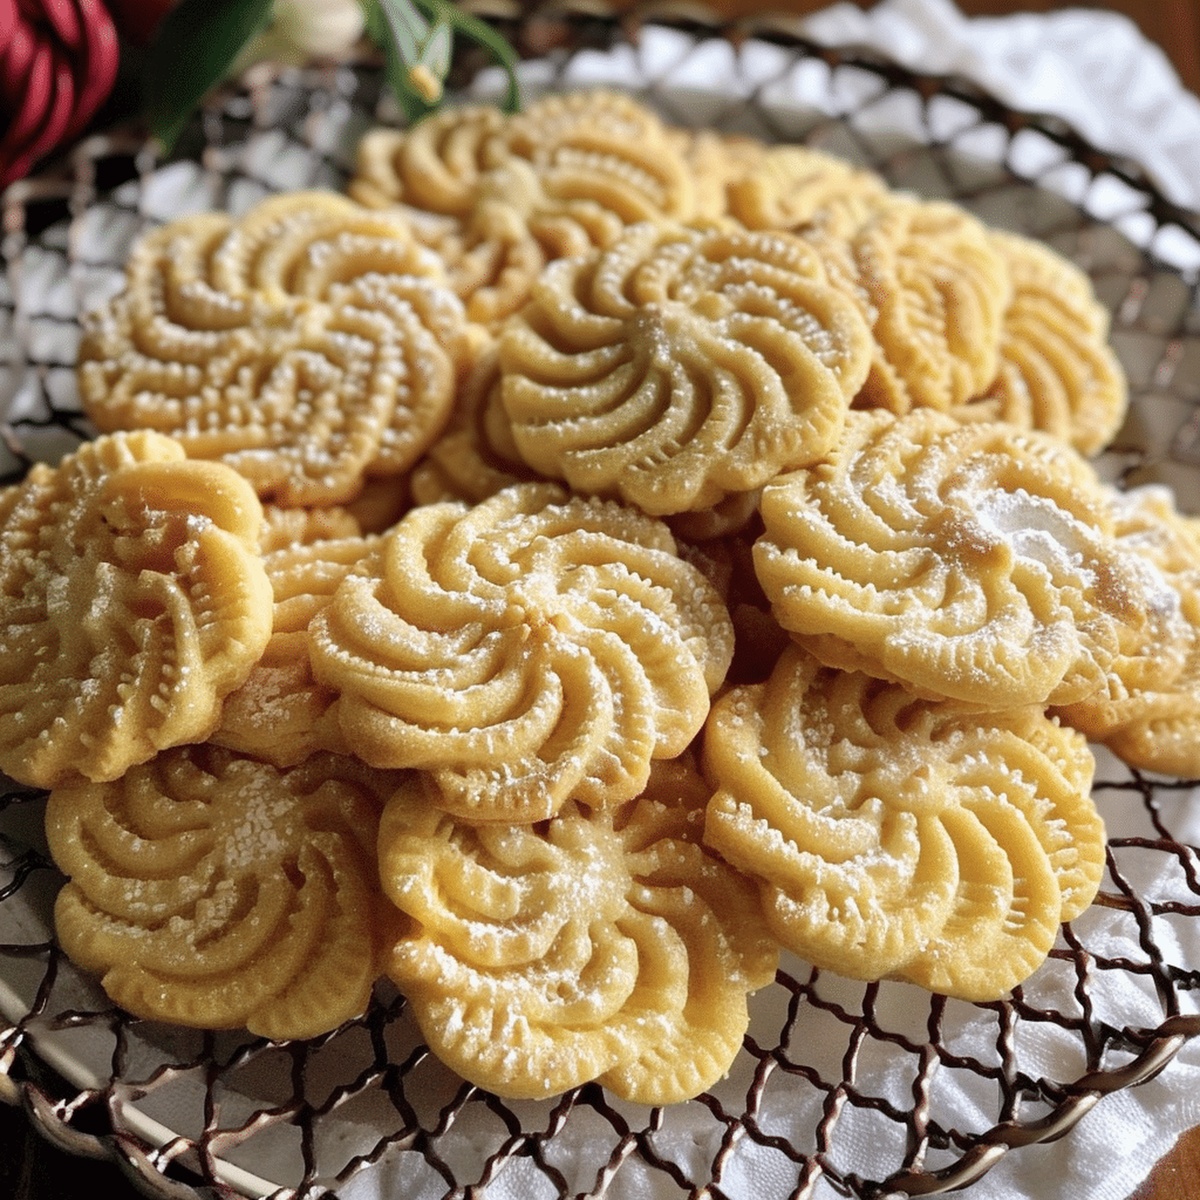
Roll small portions of dough into cute little balls. Place them on the baking sheet with some breathing room between each one. Use a fork to give each cookie a classic criss-cross design that looks homemade and charming.
Slide the tray into the oven and let the cookies bake until their edges turn a delicate golden color, about 10-12 minutes. This creates a melt-in-your-mouth texture that’s irresistible.
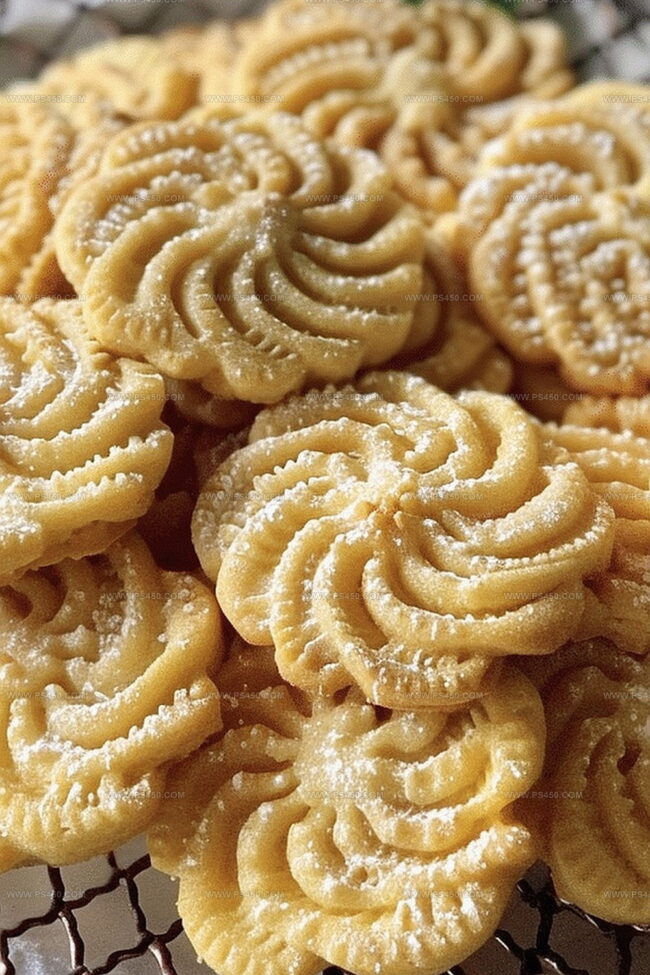
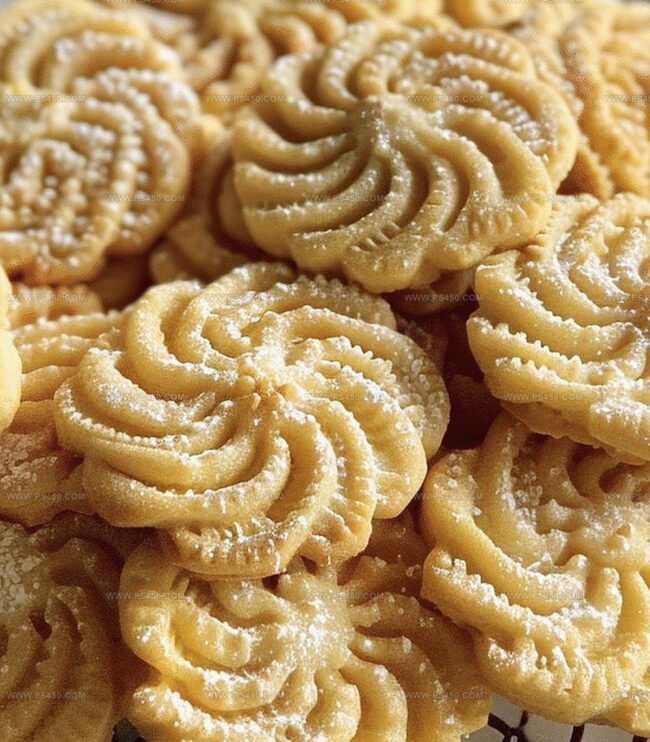
Let the cookies rest on the baking sheet for a few moments, then transfer to a cooling rack. For an extra touch of sweetness, sprinkle some powdered sugar on top before serving.
Tips to Add Flavor to Simple Butter Cookies
Serving 3 Ingredient Butter Cookies with Charm
Storage Tricks to Keep Butter Cookies Light and Buttery
FAQs
Yes, but reduce or omit any additional salt in the recipe. Salted butter might slightly alter the cookie’s flavor.
Chill the dough for 15-30 minutes before baking. Cold dough helps cookies maintain their shape and prevents excessive spreading.
Add 1-2 teaspoons of milk gradually until the dough comes together. Be careful not to add too much liquid, which can make the cookies tough.
Absolutely! Try adding vanilla extract, lemon zest, or almond extract for a subtle flavor enhancement. Start with 1/2 to 1 teaspoon of additional flavoring.
Print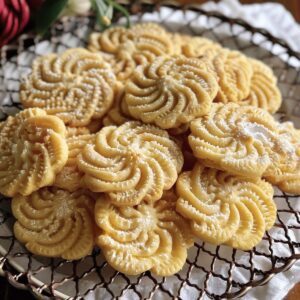
Effortless Butter Cookies Recipe
- Total Time: 22 minutes
- Yield: 25 1x
Description
Classic butter cookies from Denmark sparkle with simplicity and pure flavor. Rich ingredients combine effortlessly to create delicate, melt-in-your-mouth treats you will savor with each delightful bite.
Ingredients
- 1 cup (240 ml) unsalted butter, softened
- ½ cup (100 g) granulated sugar (or powdered sugar for a softer texture)
- 2 cups (240 g) all-purpose flour
- ¼ tsp salt
- 1 tsp vanilla extract
- ¼ cup (30 g) powdered sugar (for dusting)
- ½ cup (60 g) chopped nuts (optional)
Instructions
- Preheat Preparation: Position the oven rack to the center and warm to 350F (175C), then line a baking sheet with parchment paper for effortless cookie removal.
- Butter Fusion: Whip butter and sugar together until the mixture transforms into a fluffy, pale cream with a silky smooth consistency, ensuring all ingredients are thoroughly integrated.
- Dough Crafting: Incorporate flour into the butter mixture, gently folding until a cohesive dough emerges. If the texture seems too crumbly, introduce a minimal amount of milk to achieve the ideal pliable consistency.
- Shaping Technique: Craft uniform dough balls using a tablespoon, positioning them strategically on the prepared baking sheet with adequate spacing to allow for gentle spreading during baking.
- Decorative Imprinting: Gently press a fork across each dough ball, creating an elegant crosshatch pattern that not only enhances visual appeal but also promotes even heat distribution during baking.
- Baking Precision: Transfer the cookie-laden sheet into the preheated oven, monitoring for 10-12 minutes until the edges acquire a delicate golden hue, signaling perfect doneness.
- Cooling Protocol: Let the freshly baked cookies rest momentarily on the baking sheet to stabilize, then carefully transfer to a wire rack for complete cooling and optimal texture development.
- Serving Suggestion: Present the cookies in their classic form or elevate with a light snowfall of powdered sugar, adding a touch of refined sweetness to the simple yet delightful treat.
Notes
- Butter Temperature Matters: Use room temperature butter for smoother mixing and better cookie texture, avoiding cold or melted butter that can affect dough consistency.
- Gentle Mixing Technique: Mix flour gently to prevent gluten development, which could make cookies tough instead of delicately crisp and tender.
- Spacing Is Critical: Leave enough space between cookie dough balls (about 2 inches) to allow proper spreading and prevent cookies from merging during baking.
- Cooling Protocol: Let cookies rest on baking sheet briefly to set structure, then transfer to wire rack to prevent soggy bottoms and maintain crisp edges.
- Prep Time: 10 minutes
- Cook Time: 12 minutes
- Category: Desserts, Snacks
- Method: Baking
- Cuisine: American
Nutrition
- Serving Size: 25
- Calories: 144
- Sugar: 4.8 g
- Sodium: 1 mg
- Fat: 10.5 g
- Saturated Fat: 6.3 g
- Unsaturated Fat: 4.2 g
- Trans Fat: 0 g
- Carbohydrates: 15.9 g
- Fiber: 0.5 g
- Protein: 1.3 g
- Cholesterol: 31 mg
John Nicholson
Lead Writer & Recipe Developer
Expertise
Recipe Testing and Development, Kitchen Hacks and Time-Saving Tips, Flavor Pairing and Ingredient Selection, Engaging Food Writing and Storytelling
Education
Johnson & Wales University
John Nicholson honed his skills at Johnson & Wales University, learning how to use fresh, local ingredients and down-to-earth techniques to make cooking simple and satisfying.
His recipes blend Southern comfort flavors with a modern touch, inviting everyone to cook with ease and confidence.
Living in Charleston, John takes cues from the city’s lively food scene, local markets, and seasonal produce. He’s all about making meals stress-free through easy tips, flavor pairings, and fun experiments in the kitchen