Jolly Holiday Festive Christmas Cookie Bars Recipe Delight
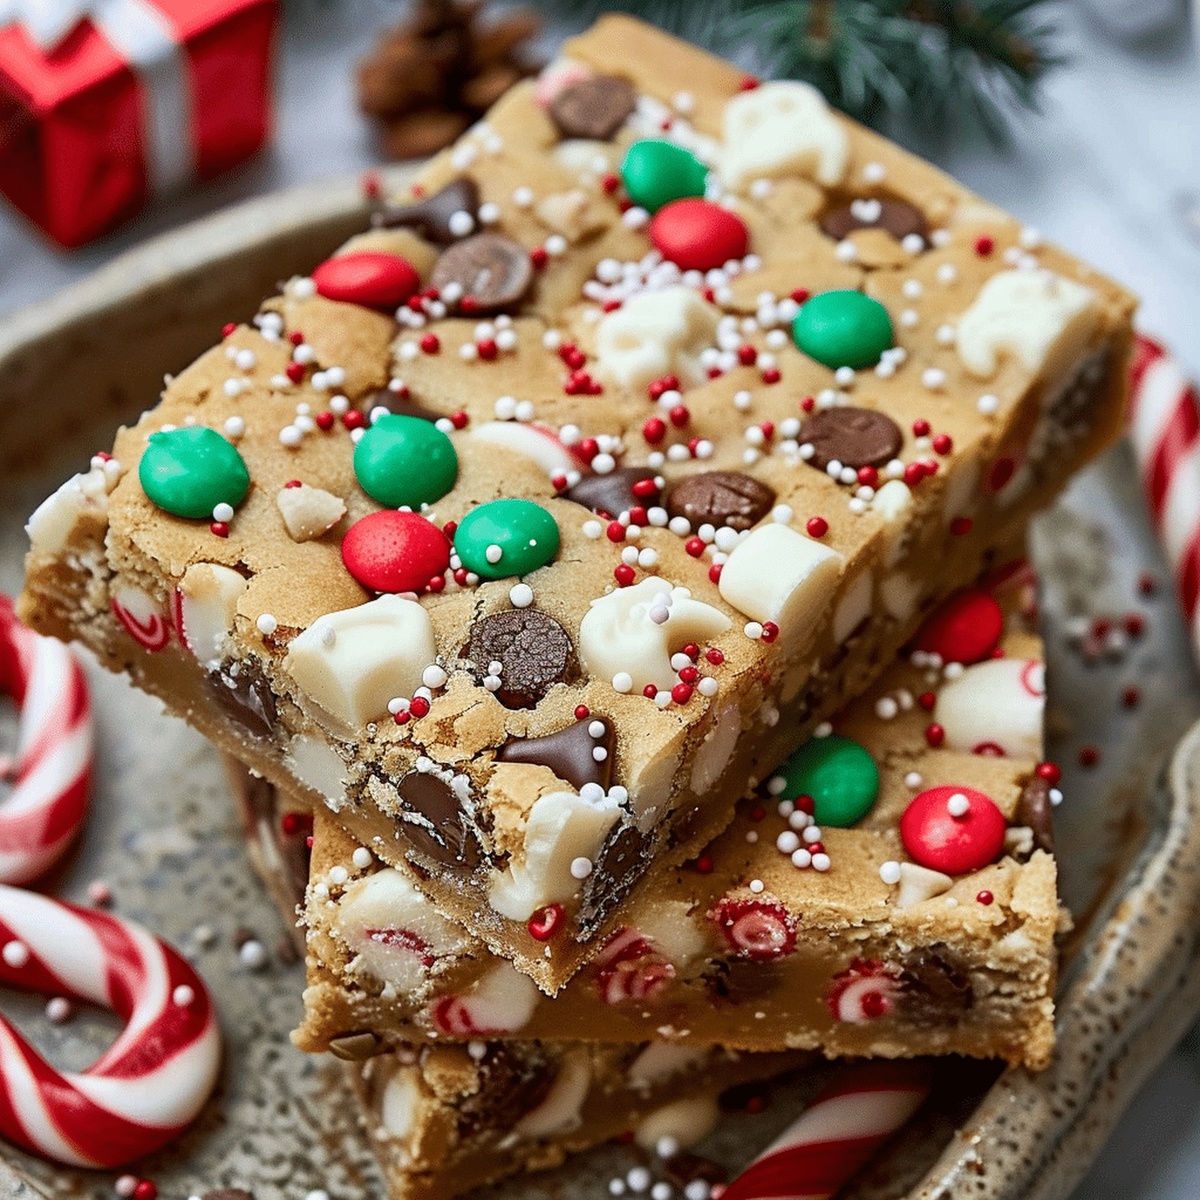
Christmas baking creates sweet memories that warm the heart, and these festive Christmas cookie bars bring delightful textures together in one irresistible treat.
Packed with holiday cheer, the cookie bars merge classic flavors that dance across your taste buds with delectable precision.
Rich chocolate chips and creamy vanilla blend seamlessly in this simple yet elegant dessert that celebrates seasonal joy.
Layers of buttery goodness meld into a soft, chewy base that crumbles perfectly with each bite.
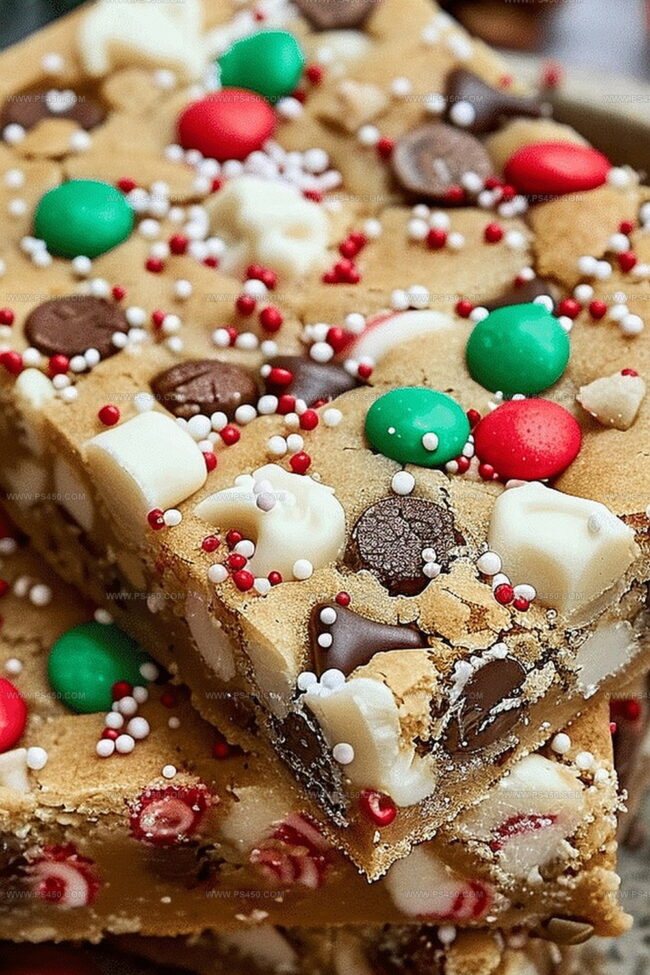
Sprinkled with colorful holiday decorations, these bars turn an ordinary afternoon into a magical moment of indulgence.
Bakers of all skill levels can craft these delicious bars that promise to become a cherished tradition at every holiday gathering.
Quick Recipe Overview
Ingredients for Sweet and Festive Christmas Cookie Bars
For Wet Ingredients:For Dry Ingredients:For Mix-Ins and Decorations:Tools That Make Christmas Cookie Bars a Holiday Hit
How to Bake and Cut Christmas Cookie Bars Just Right

Crank your oven to 350 degrees and grab a baking pan. Line it with parchment paper or give it a quick spray of cooking oil to prevent sticking.
Grab a big mixing bowl and blend butter with sugars until they look fluffy and light. Drop in eggs one by one, mixing thoroughly after each addition. Splash in some vanilla for extra flavor.
In a separate bowl, toss together flour, baking powder, and salt. Slowly combine these with your butter mixture, stirring gently until everything looks smooth.
Fold in chocolate chips and sprinkle some holiday cheer with colorful mix-ins. Spread the entire mixture evenly across your prepared pan, making sure it’s flat and even.
Slide the pan into the preheated oven. Bake for about 22 minutes until the edges turn golden and the center looks set. Your kitchen will smell amazing!
Let the bars cool completely in the pan. Once cooled, slice into delightful squares perfect for sharing with friends and family during the festive season.
Flavor and Sprinkle Ideas for Christmas Cookie Bars
Serve Christmas Cookie Bars with Cheer and Color
Storing Christmas Cookie Bars for Parties or Gifts
FAQs
Yes, you can swap or mix chocolate chips like milk, dark, or peanut butter chips to customize the flavor and create your own unique version of the cookie bars.
No, holiday sprinkles are optional. You can use regular rainbow sprinkles or skip them entirely if you prefer a more classic cookie bar look.
Look for lightly golden edges and a set center. When you gently press the middle, it should feel firm but not wet. A toothpick inserted in the center should come out with a few moist crumbs.
Absolutely! You can prepare the dough and refrigerate it for up to 2 days before baking. Baked bars stay fresh at room temperature in an airtight container for 3-4 days.
Print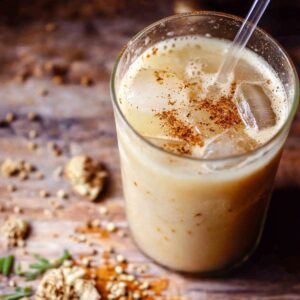
Iced Dandelion Chaga Latte Recipe
- Total Time: 55 minutes
- Yield: 1 1x
Description
Dandelion chaga latte brings earthy wisdom from forest floors to your morning ritual. Herbal notes dance with mushroom depth, offering wellness in each silky sip you’ll savor.
Ingredients
Main Ingredients:
- 1 teaspoons (1 teaspoons) roasted dandelion root (or 1 tea bag)
- 1 teaspoons (1 teaspoons) dried chaga chunks (or 1 tea bag)
- 1 ½ cups (355 milliliters) water
- ½ cup (120 milliliters) milk of choice (oat, almond, dairy, etc.)
Sweeteners and Spices:
- 12 teaspoons (12 teaspoons) maple syrup or honey (to taste)
- ¼ teaspoons (¼ teaspoons) cinnamon (optional)
Serving Component:
- Ice cubes
Instructions
- Prepare a robust herbal infusion by gently simmering dandelion root and chaga in water, allowing the earthy flavors to steep and release their deep, complex essence for approximately 15-20 minutes.
- Carefully strain the herbal decoction, eliminating any plant remnants to ensure a smooth liquid base for the latte.
- While the herbal liquid remains warm, introduce a touch of maple syrup or honey, stirring until completely integrated to create a harmonious sweetness.
- Optional aromatic enhancement can be achieved by incorporating a whisper of ground cinnamon into the warm mixture.
- Transfer the sweetened herbal brew to the refrigerator, allowing it to cool and develop its nuanced flavor profile for roughly 30 minutes or until thoroughly chilled.
- Select a tall glass and generously fill it with ice cubes, creating a frosty foundation for the beverage.
- Delicately pour the chilled herbal infusion over the ice, creating a mesmerizing cascade of deep amber liquid.
- Complete the latte by gently streaming milk into the glass, allowing the layers to naturally blend and create a marbled effect.
- Softly stir the components to marry the flavors, ensuring a uniform and refreshing drink.
- For an elegant finishing touch, garnish with a cinnamon stick or a light dusting of ground cinnamon, transforming the beverage into a sensory experience.
Notes
- Customize the sweetness by adjusting maple syrup or honey to suit your taste preferences.
- Experiment with alternative milk options like almond, oat, or coconut milk for different flavor profiles and dietary needs.
- Use freshly foraged or high-quality organic dandelion root and chaga for the most robust and authentic herbal tea experience.
- Enhance the latte’s medicinal properties by allowing the tea to steep longer, extracting more nutrients from the chaga and dandelion root.
- Prep Time: 5 minutes
- Cook Time: 20 minutes
- Category: Drinks, Snacks
- Method: Simmering
- Cuisine: American
Nutrition
- Serving Size: 1
- Calories: 120
- Sugar: 12 g
- Sodium: 50 mg
- Fat: 3 g
- Saturated Fat: 0.5 g
- Unsaturated Fat: 2.5 g
- Trans Fat: 0 g
- Carbohydrates: 24 g
- Fiber: 1 g
- Protein: 3 g
- Cholesterol: 0 mg
John Nicholson
Lead Writer & Recipe Developer
Expertise
Recipe Testing and Development, Kitchen Hacks and Time-Saving Tips, Flavor Pairing and Ingredient Selection, Engaging Food Writing and Storytelling
Education
Johnson & Wales University
John Nicholson honed his skills at Johnson & Wales University, learning how to use fresh, local ingredients and down-to-earth techniques to make cooking simple and satisfying.
His recipes blend Southern comfort flavors with a modern touch, inviting everyone to cook with ease and confidence.
Living in Charleston, John takes cues from the city’s lively food scene, local markets, and seasonal produce. He’s all about making meals stress-free through easy tips, flavor pairings, and fun experiments in the kitchen