Jolly Green Festive Grinch Oreo Balls Recipe for Holiday Fun
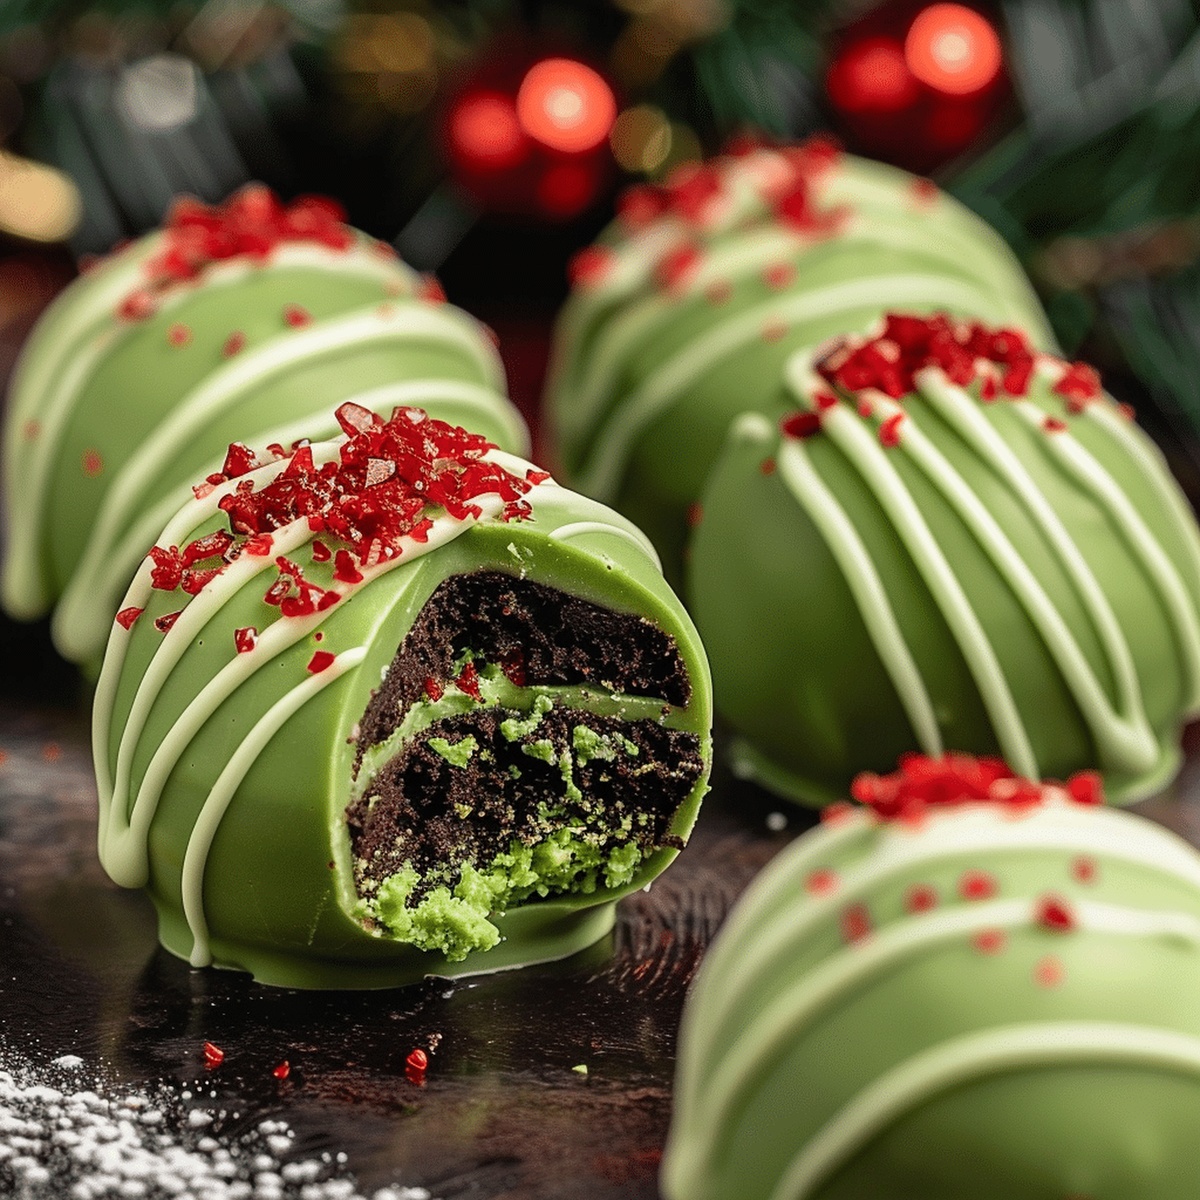
Decadent chocolate Oreo balls capture the playful spirit of the grinch-inspired holiday treat.
These cheerful green dessert bites blend creamy texture with whimsical charm.
Sweet cream cheese and crushed Oreos create a smooth, rich base for the festive confection.
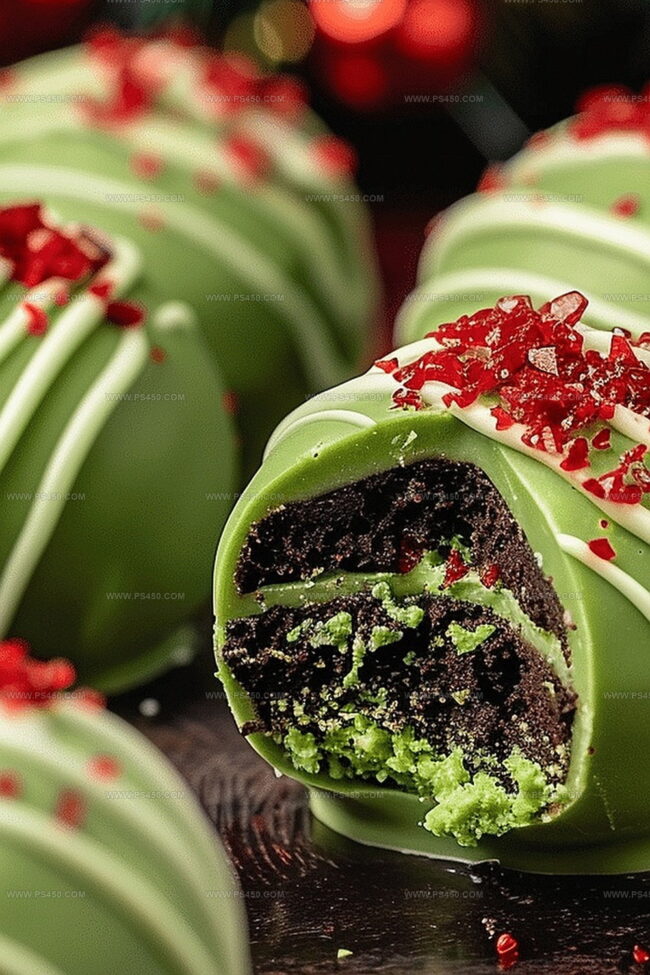
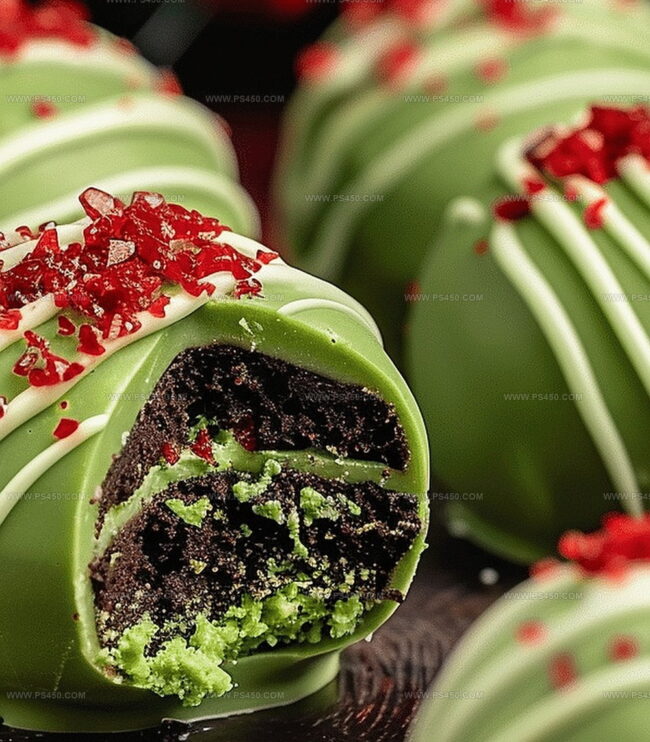
Each ball gets a vibrant green coating that hints at holiday mischief.
The sprinkle of red and white decorations adds a delightful touch of seasonal cheer.
Kids and adults alike will adore these simple yet stunning no-bake delights.
Prepare to spread some delicious holiday joy with these adorable Grinch-themed treats.
Quick Recipe Overview
Grinch Oreo Ball Ingredient List
For Cookie Base:For Coating and Decoration:For Optional Garnish:Tools to Shape and Chill Grinch Oreo Balls
How to Prepare These Festive No-Bake Treats
Pulverize Oreo cookies into fine crumbs using a food processor until they resemble soft sand.
Mix cookie crumbs with cream cheese until a smooth, consistent dough forms that holds together perfectly.
Roll the mixture into small round balls, placing them on a parchment-lined tray. Pop them into the freezer to firm up for about 20 minutes.
Melt white chocolate and blend in green food coloring until you achieve a vibrant Grinch-worthy shade of green.
Carefully dunk each chilled ball into the green chocolate, ensuring complete coverage. While chocolate is still wet, add a tiny red heart sprinkle on top for that classic Grinch charm.
Refrigerate the Oreo balls for one hour until chocolate sets completely. Serve these whimsical treats and watch everyone’s heart grow three sizes!
Fun Add-Ins and Decorations for Oreo Balls
Serve Grinch Oreo Balls with Holiday Flair
How to Keep Oreo Balls Chilled and Ready
FAQs
The main ingredients are Oreo cookies, cream cheese, white chocolate, green gel food coloring, and red heart sprinkles.
Yes, you can crush the Oreos in a sealed plastic bag using a rolling pin or the bottom of a heavy glass until they become fine crumbs.
These Oreo balls can be stored in an airtight container in the refrigerator for up to 5-7 days, maintaining their delicious flavor and texture.
Absolutely! Kids can help crush the Oreos, roll the balls, and add the sprinkles, making it a fun holiday baking activity for the whole family.
Print
Lucky Charms Cookies Recipe
- Total Time: 20 minutes
- Yield: 24 1x
Description
Lucky Charms Cookies offer a whimsical twist on classic comfort treats, blending childhood nostalgia with sweet indulgence. Marshmallow-studded dough creates playful bites that spark joy and delight for cookie enthusiasts seeking a magical dessert experience.
Ingredients
Main Ingredients:
- 2 large eggs
- 1 cup unsalted butter, softened
- 2 ½ cups all-purpose flour
- ¾ cup granulated sugar
- ½ cup brown sugar, packed
Wet Ingredients:
- 1 tablespoon vanilla extract
Dry and Flavor Ingredients:
- 1 teaspoon baking soda
- ½ teaspoon salt
- 1 cup white chocolate chips
- 1 ½ cups Lucky Charms marshmallows (plus extra for topping)
Instructions
- Prepare the kitchen workspace by heating the oven to 350F (175C) and lining a baking sheet with parchment paper for optimal cookie performance.
- Create a creamy foundation by vigorously whipping butter with granulated and brown sugars until the mixture becomes airy and pale, developing a fluffy texture that will enhance cookie softness.
- Introduce moisture and flavor by incorporating eggs and vanilla extract, blending thoroughly to create a smooth, cohesive base that will bind the cookie ingredients.
- Craft the dry mixture by carefully combining flour, baking soda, and salt in a separate vessel, then gradually integrate this powdery blend into the wet ingredients, mixing until just incorporated to maintain a tender cookie texture.
- Elevate the cookie’s personality by gently folding in white chocolate chips and colorful Lucky Charms marshmallows, ensuring even distribution throughout the dough for maximum flavor and visual appeal.
- Shape the cookies by dropping rounded tablespoon-sized portions onto the prepared baking sheet, positioning them with ample spacing to allow for gentle spreading during the baking process.
- Transform the cookies in the oven, baking for 9-11 minutes until the edges become golden and firm while maintaining a delightfully soft center.
- Complete the magical transformation by immediately adorning each freshly baked cookie with additional Lucky Charms marshmallows, creating a whimsical and eye-catching final touch that celebrates the playful nature of these treats.
Notes
- Customize marshmallow intensity by adjusting the amount of Lucky Charms marshmallows to match your sweetness preference.
- Chill the dough for 30 minutes before baking to prevent excessive spreading and create thicker, chewier cookies.
- Swap white chocolate chips with milk or dark chocolate for a different flavor profile that complements the marshmallow sweetness.
- Use gluten-free flour and ensure Lucky Charms are gluten-free to make this recipe suitable for those with gluten sensitivities.
- Prep Time: 10 minutes
- Cook Time: 10 minutes
- Category: Snacks, Desserts
- Method: Baking
- Cuisine: American
Nutrition
- Serving Size: 24
- Calories: 150
- Sugar: 10 g
- Sodium: 100 mg
- Fat: 7 g
- Saturated Fat: 4 g
- Unsaturated Fat: 2 g
- Trans Fat: 0 g
- Carbohydrates: 20 g
- Fiber: 0 g
- Protein: 2 g
- Cholesterol: 30 mg
John Nicholson
Lead Writer & Recipe Developer
Expertise
Recipe Testing and Development, Kitchen Hacks and Time-Saving Tips, Flavor Pairing and Ingredient Selection, Engaging Food Writing and Storytelling
Education
Johnson & Wales University
John Nicholson honed his skills at Johnson & Wales University, learning how to use fresh, local ingredients and down-to-earth techniques to make cooking simple and satisfying.
His recipes blend Southern comfort flavors with a modern touch, inviting everyone to cook with ease and confidence.
Living in Charleston, John takes cues from the city’s lively food scene, local markets, and seasonal produce. He’s all about making meals stress-free through easy tips, flavor pairings, and fun experiments in the kitchen