Sweet Snowball Cookies Recipe with Condensed Milk
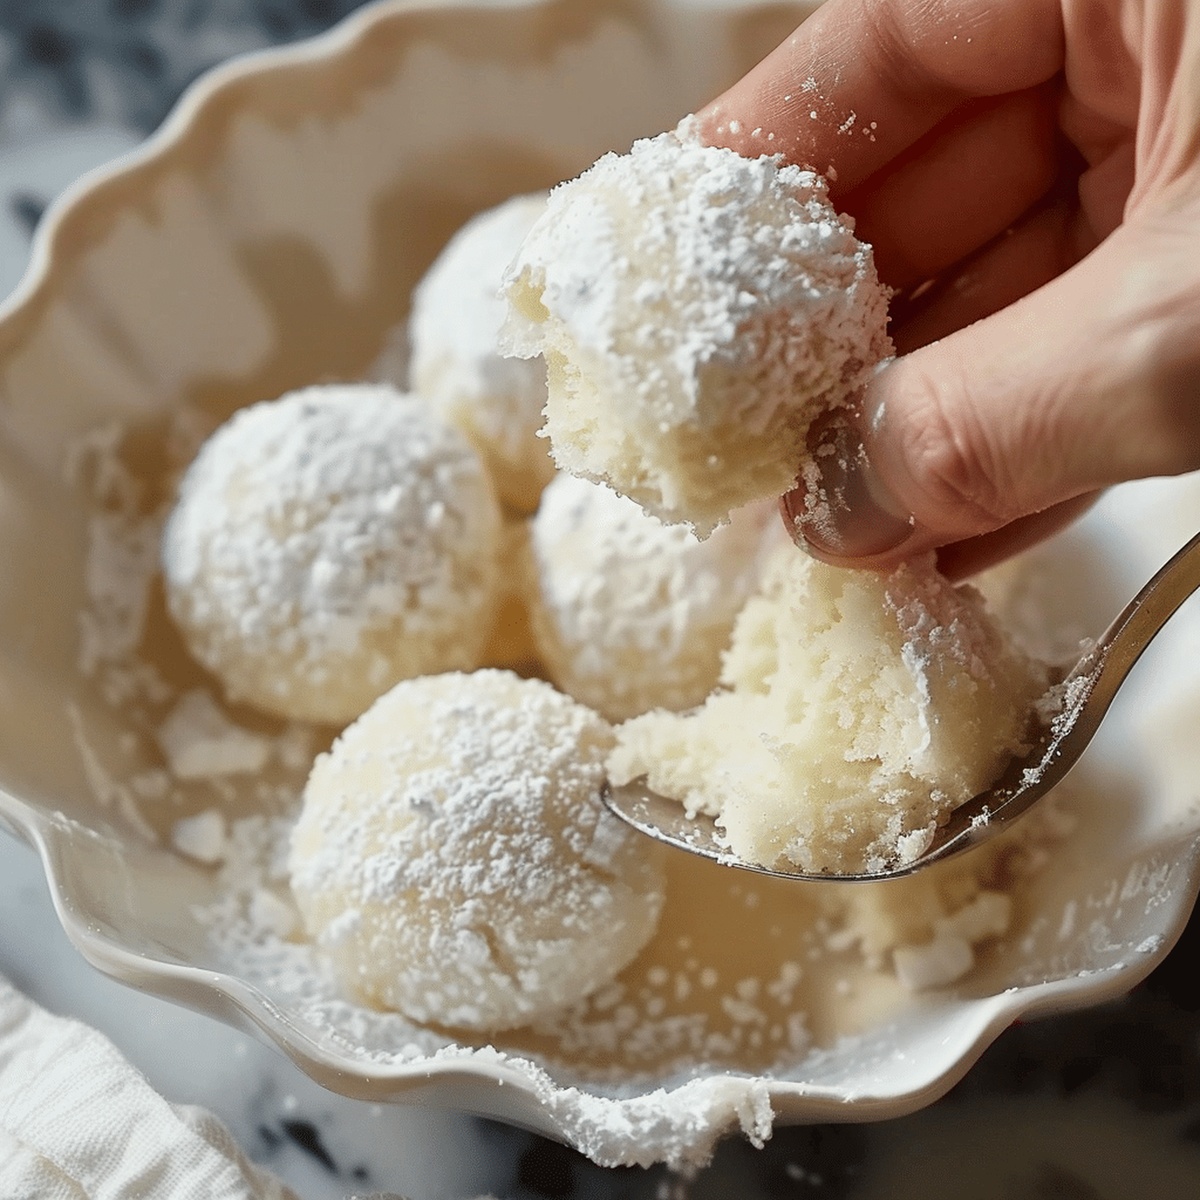
Soft, buttery cookies dusted with sweet powdered sugar and infused with condensed milk create a delightful winter treat that melts in your mouth.
These snowball cookies blend rich, creamy condensed milk with classic shortbread-style ingredients for an irresistible bite.
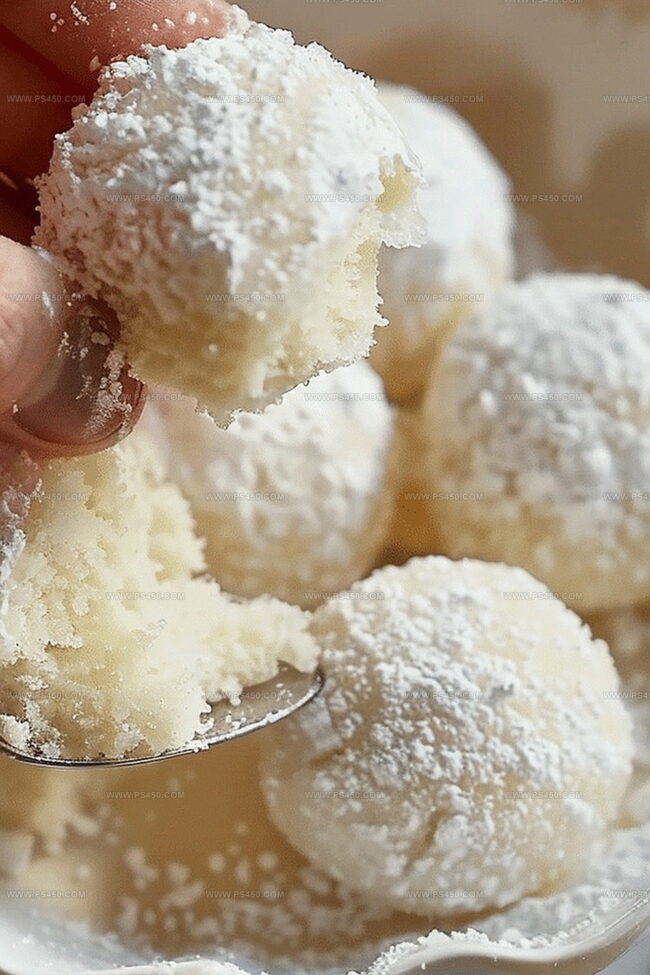
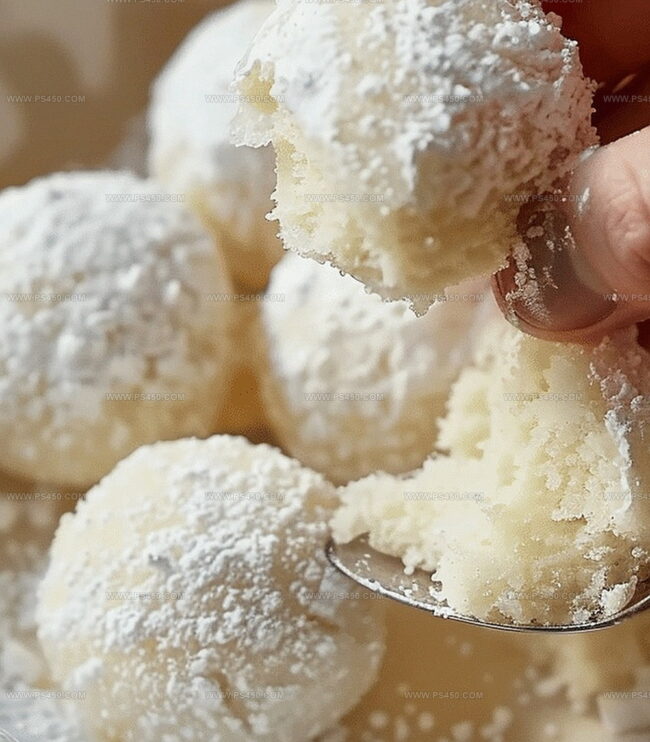
Each morsel brings a delicate, melt-in-your-mouth texture that feels like a gentle snow flurry.
The simple yet elegant recipe transforms basic pantry staples into elegant, crumbly cookies perfect for holiday gatherings.
Powdered sugar coating adds a festive touch to these delectable morsels.
The combination of butter, flour, and sweet condensed milk produces a heavenly, tender cookie that will charm everyone at the dessert table.
Bake these delightful snowballs and watch them disappear in moments.
Quick Recipe Overview
Snowball Cookie Ingredient List for a Soft Crumb
For Creamy Base:For Dry Ingredients:For Texture and Crunch:Kitchen Tools for Shaping Snowball Cookies
How to Prepare Sweetened Condensed Milk Cookies
Grab a roomy mixing bowl and transform softened butter into a silky smooth landscape. Pour in sweetened condensed milk and vanilla, blending until everything looks like a creamy dream. Gently incorporate flour and a whisper of salt, mixing just until combined. Fold in chopped nuts for a delightful crunch.
Wrap your dough in plastic and let it relax in the refrigerator for half an hour. This cool-down helps create perfect, rollable cookie texture.
Heat your oven to a toasty 350F. Line a baking sheet with parchment paper for easy cookie release.
Roll the chilled dough into adorable little balls, placing them comfortably apart on the baking sheet.
Slide the sheet into the oven and bake for 12-15 minutes. Look for golden bottoms while keeping tops pale and delicate.
Let cookies rest briefly, then roll each warm cookie in powdered sugar. Once completely cooled, give them another luxurious sugar dusting for thatal snowball look.
Serve these melt-in-your-mouth delights immediately or store in an airtight container for later snacking.
Roll, Bake, and Customize These Snowball Treats
Presenting Snowball Cookies with Holiday Charm
How to Store Snowball Cookies
FAQs
Yes, you can substitute the nuts with almonds, pecans, or walnuts based on your preference. Just chop them to a similar size for consistent texture.
No, you can use a hand mixer or even mix by hand with a wooden spoon. The key is to ensure the butter is softened and ingredients are well combined.
Chilling helps prevent the cookies from spreading too much during baking and makes the dough easier to handle. It also allows the flour to hydrate and enhances the flavor.
Look for lightly golden bottoms while the tops remain pale. The cookies should be set but not browned, which typically takes 12-15 minutes at 350F.
Print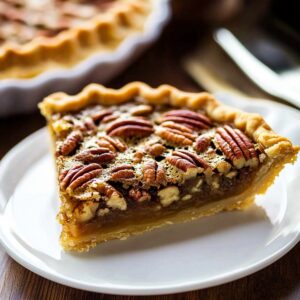
Easy Pecan Pie Recipe
- Total Time: 1 hour 5 minutes
- Yield: 8 1x
Description
Grandma’s classic Pecan Pie becomes a Southern comfort dessert that melts hearts with its rich, buttery caramel filling and perfectly crisp nutty topping. Warm slices paired with vanilla ice cream invite sweet memories of family gatherings and holiday cheer.
Ingredients
Main Ingredients:
- 1 ½ cups pecan halves
- 3 large eggs
- 1 cup light corn syrup
- 1 cup light brown sugar, packed
- ½ cup (1 stick) unsalted butter, melted
Crust:
- 1 9-inch pie crust, unbaked
Flavor Enhancers:
- 1 teaspoon vanilla extract
- ½ teaspoon salt
Instructions
- Warm the oven to a cozy 350°F (175°C), preparing a welcoming environment for the pie’s transformation.
- Gently unfurl the pie crust, nestling it into a 9-inch pie dish with delicate precision, creating artful crimped edges that embrace the upcoming filling.
- In a spacious mixing vessel, whisk together the golden corn syrup, rich brown sugar, velvety eggs, luxurious melted butter, fragrant vanilla extract, and a whisper of salt until the mixture achieves a harmonious, silky consistency.
- Fold the pecan halves into the lustrous filling, allowing them to become evenly distributed throughout the sweet landscape.
- Carefully cascade the filling into the waiting pie crust, ensuring an even distribution that promises a perfect slice.
- Slide the pie into the preheated oven, allowing it to bake for 50-55 minutes, watching for the center to set with a subtle, tantalizing jiggle when gently nudged.
- Patience is key – permit the pie to rest and cool for a full two hours, allowing the flavors to meld and settle into a divine dessert experience.
- When ready, slice and serve, revealing the luscious layers of nutty, caramelized perfection.
Notes
- Toast pecans lightly before adding to the filling to enhance their nutty flavor and provide a deeper, more complex taste profile.
- Cover pie edges with aluminum foil during baking to prevent excessive browning and ensure an evenly baked crust.
- Swap corn syrup with maple syrup or honey for a more natural sweetener option that adds unique depth to the traditional pecan pie flavor.
- Ensure eggs are at room temperature to help them blend more smoothly into the filling and create a more consistent texture.
- Prep Time: 10 minutes
- Cook Time: 55 minutes
- Category: Desserts
- Method: Baking
- Cuisine: American
Nutrition
- Serving Size: 8
- Calories: 436
- Sugar: 32 g
- Sodium: 160 mg
- Fat: 22 g
- Saturated Fat: 8 g
- Unsaturated Fat: 14 g
- Trans Fat: 0 g
- Carbohydrates: 54 g
- Fiber: 2 g
- Protein: 5 g
- Cholesterol: 92 mg
John Nicholson
Lead Writer & Recipe Developer
Expertise
Recipe Testing and Development, Kitchen Hacks and Time-Saving Tips, Flavor Pairing and Ingredient Selection, Engaging Food Writing and Storytelling
Education
Johnson & Wales University
John Nicholson honed his skills at Johnson & Wales University, learning how to use fresh, local ingredients and down-to-earth techniques to make cooking simple and satisfying.
His recipes blend Southern comfort flavors with a modern touch, inviting everyone to cook with ease and confidence.
Living in Charleston, John takes cues from the city’s lively food scene, local markets, and seasonal produce. He’s all about making meals stress-free through easy tips, flavor pairings, and fun experiments in the kitchen