
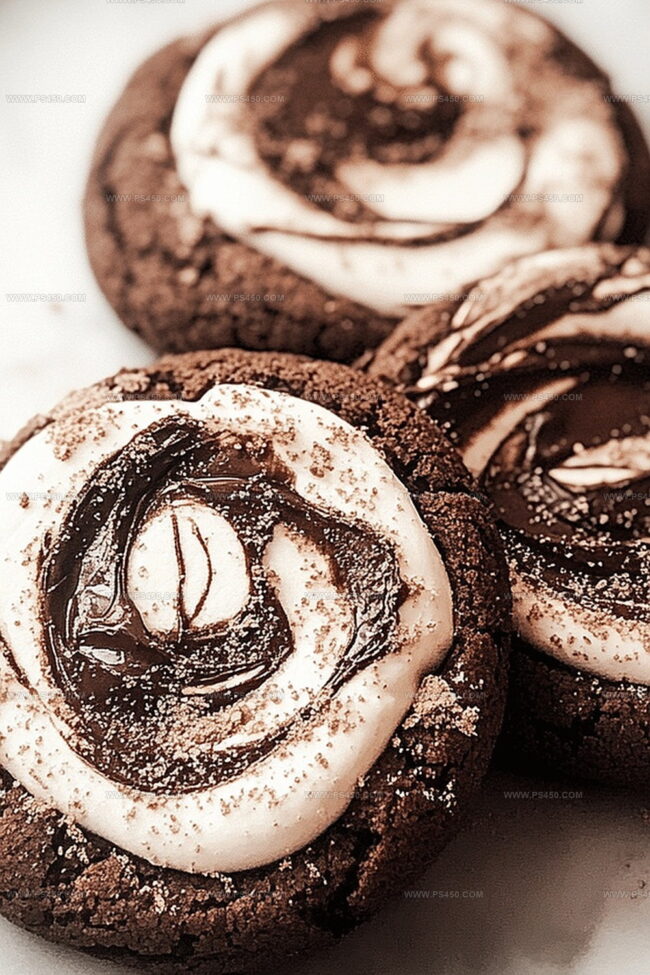
Marshmallow Chocolate Swirl Cookies Recipe
Soft, chewy cookies with a chocolate marshmallow swirl beckon from the cooling rack, promising pure indulgence.
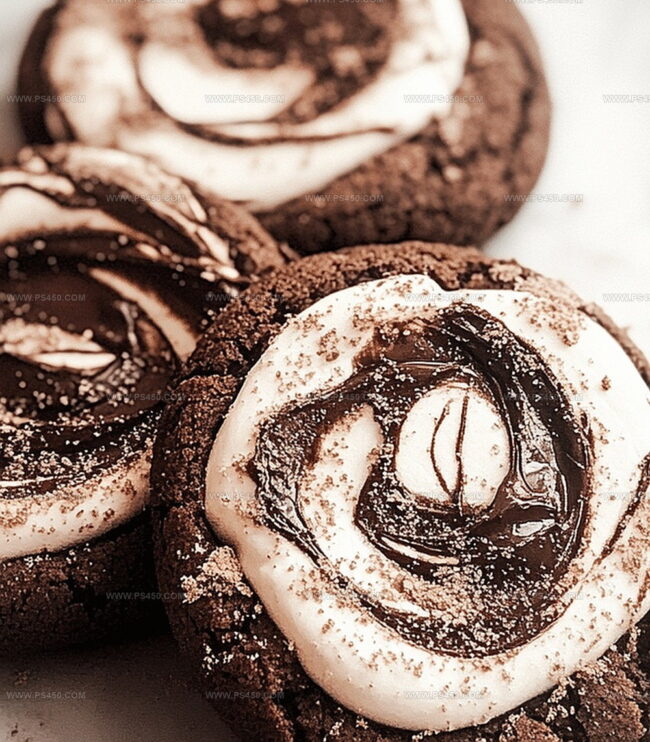
These decadent treats blend rich chocolate with gooey marshmallow in a perfect dance of flavors.
Each batch emerges from the oven with irresistible swirls that make mouths water instantly.
The recipe combines simple ingredients to create something extraordinary.
Chocolate lovers will swoon over the delicate marbling and melt-in-your-mouth texture.
Baking these cookies fills the kitchen with an intoxicating aroma that draws everyone near.
You’ll want to savor every sweet, chocolatey bite of these irresistible marshmallow-swirled delights.
Quick Recipe Overview
Key Ingredients for Chocolate Marshmallow Swirl Cookies
For Sweeteners and Binding:For Structural Ingredients:For Enriching and Texture Elements:Gear Up for Chocolate Marshmallow Swirl Cookies
How to Make Chocolate Marshmallow Swirl Cookies
Crank your oven to 350F and line a baking sheet with parchment paper for smooth cookie removal.
Whip softened butter with white and brown sugars until the mixture looks light and fluffy using an electric mixer.
Add eggs one at a time, mixing thoroughly after each. Splash in vanilla extract and blend until smooth.
Whisk flour, cocoa powder, baking soda, and salt in a separate bowl. Slowly incorporate these dry ingredients into the wet mixture, stirring gently.
Carefully fold mini marshmallows and chocolate chips into the dough, keeping their texture intact.
Scoop rounded dough balls onto the baking sheet, leaving space between each. Gently press down to flatten slightly for even baking.
Slide the tray into the oven and bake for 8-10 minutes. The edges should look set while centers remain soft.
Let cookies rest on the baking sheet briefly, then transfer to a wire rack. Grab a cold glass of milk and enjoy these gooey treats!
Tweaks & Tricks for Chocolate Marshmallow Swirl Cookies
Serving Up Your Chocolate Marshmallow Swirl Cookies
Keep Your Chocolate Marshmallow Swirl Cookies Fresh
FAQs
No, mini marshmallows work best because they distribute more evenly in the cookie dough and melt more consistently during baking. Regular marshmallows are too large and might create uneven pockets in the cookies.
It’s not necessary for this recipe. The dough is ready to use immediately after mixing, which makes these cookies quick and easy to prepare. Chilling might actually make the marshmallows harden and not integrate as well.
Flattening helps the cookies spread evenly and bake uniformly. Since these cookies have marshmallows and chocolate chips, a gentle press ensures they cook properly and maintain a consistent shape.
No, cocoa powder provides the chocolate flavor and helps with the cookie’s texture. Melted chocolate would change the dough’s consistency and might prevent the cookies from holding their shape during baking.
Print
Crispy Pebbles Cheesecake Tacos Recipe
- Total Time: 35 minutes
- Yield: 13 1x
Description
Scrumptious pebbles cheesecake tacos blend creamy dessert textures with playful Mexican-inspired presentation. Sweet graham cracker shells cradle rich cheesecake filling, inviting you to savor each delightful bite.
Ingredients
- 2 cups (480 ml) Fruity Pebbles cereal (or Cocoa Pebbles)
- 8 oz (226 g) cream cheese, softened
- 2 cups mini marshmallows
- 1 cup (240 ml) heavy whipping cream, cold
- 2 tbsps butter
- ½ cup (60 g) powdered sugar
- 1 tsp vanilla extract
- Extra Pebbles cereal
- Whipped cream (optional)
- Sprinkles (optional)
- White chocolate drizzle (optional)
Instructions
- Marshmallow Base Preparation: Melt butter in a medium saucepan over low heat, then gradually incorporate marshmallows, stirring until a smooth, glossy mixture forms.
- Cereal Shell Creation: Fold Fruity Pebbles into the warm marshmallow base, ensuring complete coverage of each cereal piece. While mixture remains pliable, drape approximately two tablespoons onto the back of a greased utensil to form curved taco shell shapes.
- Shell Setting: Position shells on a parchment-lined baking sheet, allowing them to cool and solidify at room temperature.
- Cheesecake Filling Development: Whip cream cheese until smooth, then blend in powdered sugar and vanilla extract until achieving a velvety consistency. In a separate bowl, whip heavy cream to stiff peaks, then gently fold into the cream cheese mixture to maintain its airy texture.
- Assembly and Finishing: Fill each Fruity Pebbles taco shell with the cheesecake mixture using a spoon or piping bag. Garnish with additional Fruity Pebbles, whipped cream, or preferred toppings. Chill briefly to set the filling and enhance flavor melding.
Notes
- Maintain Low Heat: Gently melt marshmallows to prevent burning and ensure smooth, even texture when creating taco shells.
- Work Quickly with Shells: Shape the Fruity Pebbles mixture while warm and pliable to achieve perfect curved taco shell forms.
- Gentle Folding Technique: Use a light, careful folding motion when mixing whipped cream into cream cheese to preserve airy, delicate texture.
- Chill for Best Results: Refrigerate assembled tacos briefly to help filling set and enhance flavor melding and structural integrity.
- Prep Time: 20 minutes
- Cook Time: 15 minutes
- Category: Desserts, Snacks
- Method: Mixing
- Cuisine: American
Nutrition
- Serving Size: 13
- Calories: 270
- Sugar: 20 g
- Sodium: 150 mg
- Fat: 18 g
- Saturated Fat: 11 g
- Unsaturated Fat: 7 g
- Trans Fat: 0 g
- Carbohydrates: 25 g
- Fiber: 1 g
- Protein: 3 g
- Cholesterol: 45 mg
John Nicholson
Lead Writer & Recipe Developer
Expertise
Recipe Testing and Development, Kitchen Hacks and Time-Saving Tips, Flavor Pairing and Ingredient Selection, Engaging Food Writing and Storytelling
Education
Johnson & Wales University
John Nicholson honed his skills at Johnson & Wales University, learning how to use fresh, local ingredients and down-to-earth techniques to make cooking simple and satisfying.
His recipes blend Southern comfort flavors with a modern touch, inviting everyone to cook with ease and confidence.
Living in Charleston, John takes cues from the city’s lively food scene, local markets, and seasonal produce. He’s all about making meals stress-free through easy tips, flavor pairings, and fun experiments in the kitchen