Cozy Homestyle Chicken & Dumplings Soup Recipe to Warm Your Soul
Comfort wafts through the kitchen with this classic chicken and dumplings soup that promises warmth in every spoonful.
Southern-style cooking brings soul-soothing flavors to your table with pure culinary magic.
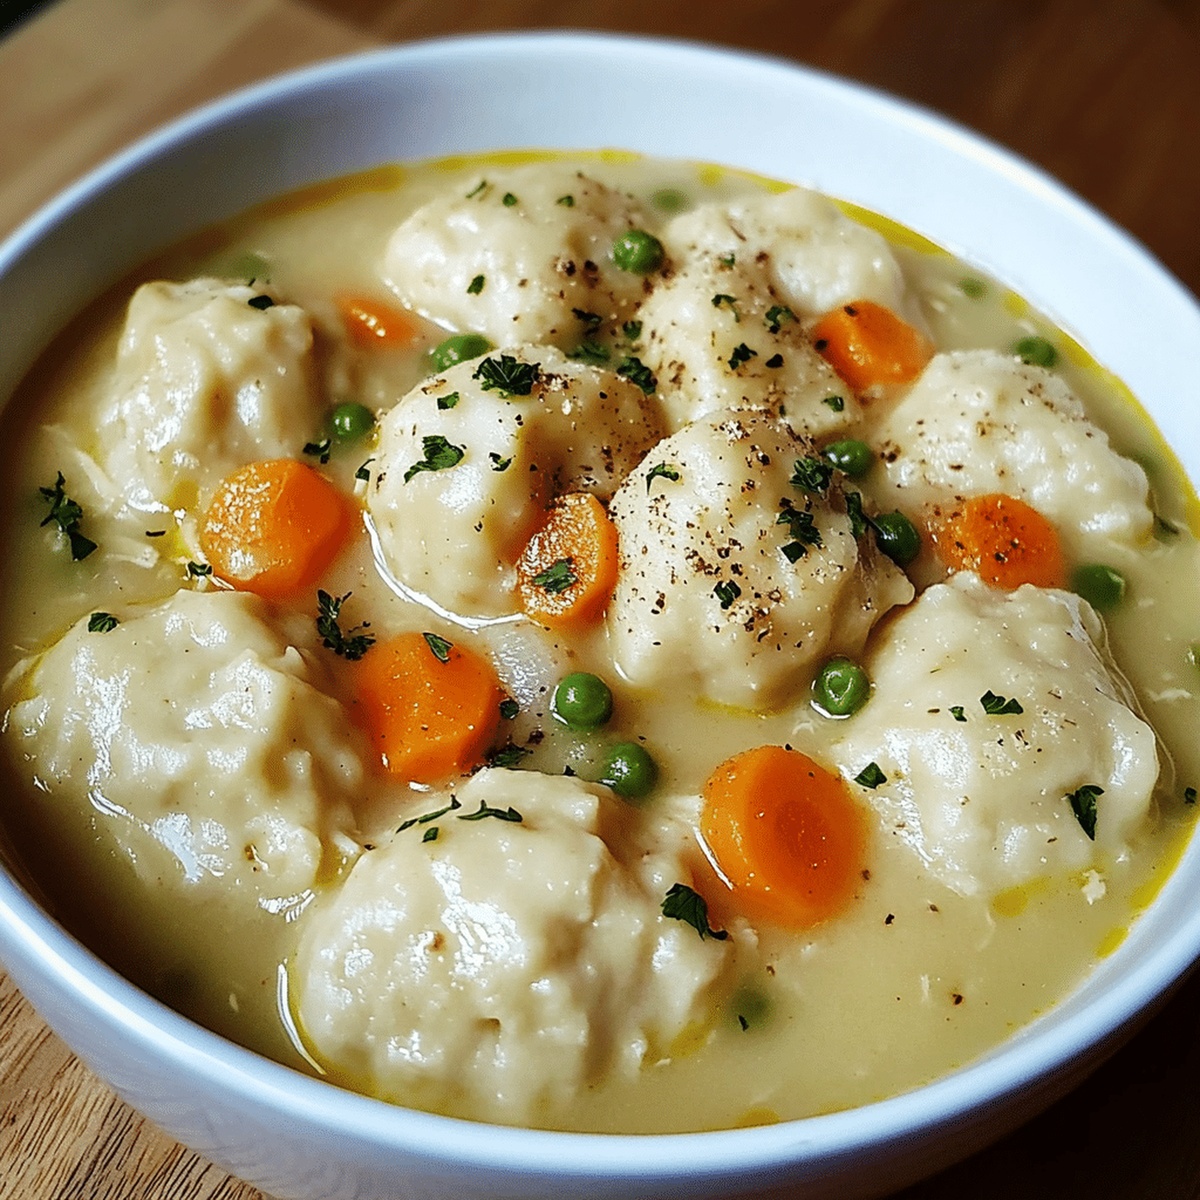
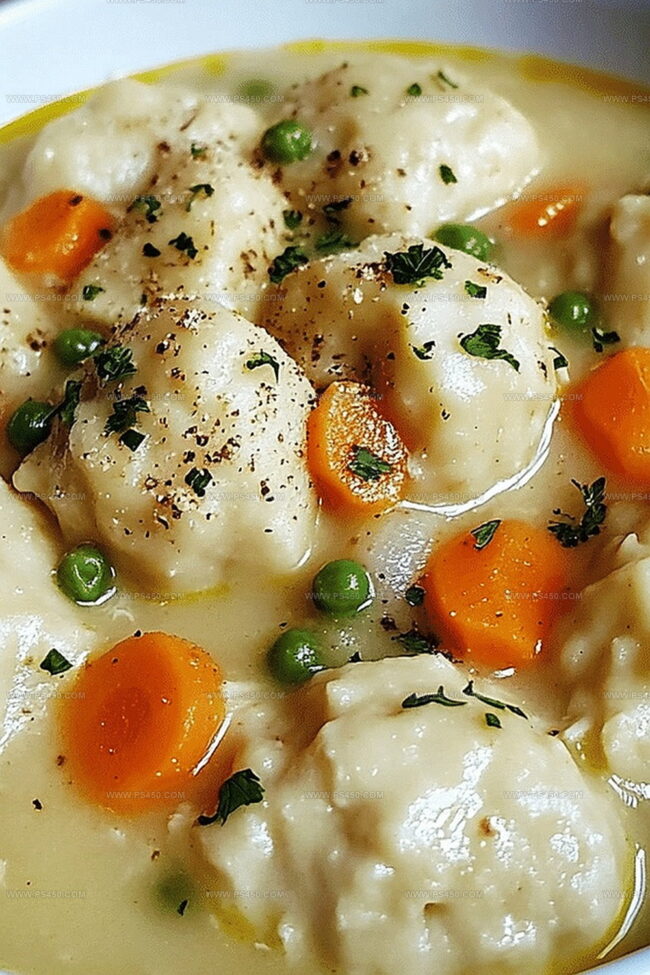
Tender chicken mingles with soft, pillowy dumplings in a rich, creamy broth that speaks of home and tradition.
Generations have cherished this recipe, passing down its delicious secrets from one cook to another.
Each ingredient is carefully selected to create a symphony of comfort and satisfaction.
Ladle this soup into bowls and watch as smiles spread across hungry faces, ready to savor every delightful bite.
Quick Recipe Overview
Chicken & Dumplings Soup Recipe Ingredient Rundown
For Soup Base:For Dumpling Ingredients:For Optional Garnish:Tools That Help With Chicken & Dumplings Soup Night
Cook Chicken & Dumplings Soup for a Cozy Meal

Heat olive oil in a large pot. Toss in diced onions, carrots, and celery. Cook until vegetables soften and release their delicious flavors, about 5 minutes.
Sprinkle in garlic and herbs. Let them dance around the pot and release their fragrant essence for one minute. Pour chicken broth and bring to a rolling boil.
Slide chicken pieces into the bubbling liquid. Lower heat and let chicken gently cook until tender and fully done, roughly 15 minutes.
Stir in sweet green peas and a splash of cream. Allow soup to return to a gentle simmer, creating a velvety texture.
Mix flour, baking powder, and herbs in a bowl. Pour in milk and melted butter. Stir until just combined, creating a rustic, thick batter.
Spoon dumpling mixture onto soup’s surface. Cover pot and let dumplings steam and grow for 15 minutes without peeking.
Check dumplings are cooked through. Ladle soup into warm bowls, ensuring each serving has chicken, vegetables, and pillowy dumplings. Sprinkle with fresh herbs if desired.
Tips for Tweaking Your Chicken & Dumplings Soup Flavor
How to Serve Chicken & Dumplings Soup Family-Style
Store Chicken & Dumplings Soup for Leftovers
FAQs
The key herbs are dried thyme, parsley, and rosemary. These herbs add depth and aromatic flavor to the soup, enhancing the overall taste profile of the dish.
Yes, you can substitute all-purpose flour with a gluten-free flour blend. Just ensure the blend has similar binding properties to create the right dumpling texture.
No, the heavy cream is optional. It adds richness and creaminess, but you can skip it if you prefer a lighter soup or want to reduce calories.
The chicken is fully cooked when it reaches an internal temperature of 165°F (74°C). In this recipe, simmering the chicken pieces for about 15 minutes should ensure they are thoroughly cooked.
Print
Air Fryer Crispy Broccoli Recipe
- Total Time: 15 minutes
- Yield: 4 1x
Description
Crispy air fryer broccoli delivers a crunchy, golden-green delight that elevates ordinary vegetables into a spectacular side dish. Garlic-infused and perfectly seasoned, this quick recipe promises a delectable experience that will make broccoli lovers rejoice with every bite.
Ingredients
Main Vegetables:
- 4 cups broccoli florets (about 1 head of broccoli)
Seasoning and Spices:
- 1.5 tablespoons (22 ml) olive oil
- 0.5 teaspoon garlic powder
- 0.5 teaspoon smoked paprika
- 0.5 teaspoon salt
- 0.25 teaspoon black pepper
- Red pepper flakes
Finishing and Serving:
- 2 tablespoons grated Parmesan cheese
- 1 teaspoon lemon juice
- Extra Parmesan cheese
- Ranch or yogurt dip for serving
Instructions
- Trim and cleanse the broccoli crowns, separating them into uniform, bite-sized clusters that will crisp evenly during cooking.
- Ensure the florets are thoroughly patted dry using clean kitchen towels, eliminating excess surface moisture to guarantee maximum crunchiness.
- Drizzle the broccoli pieces with premium olive oil, creating a light, even coating that will help seasonings adhere and promote caramelization.
- Sprinkle a balanced blend of garlic powder, smoked paprika, kosher salt, and freshly ground black pepper across the florets, massaging the spices gently to distribute thoroughly.
- Dust the seasoned broccoli with finely grated Parmesan cheese, which will melt and create delectable crispy edges during air frying.
- Activate the air fryer and preheat to 375°F, allowing the machine to reach optimal temperature for rapid, even cooking.
- Carefully arrange the seasoned broccoli in a single, uncrowded layer within the air fryer basket, ensuring each floret has sufficient space to crisp independently.
- Cook for approximately 8-10 minutes, pausing midway to gently shake the basket and promote uniform browning and crispiness.
- Monitor the broccoli’s transformation, looking for deep golden edges and a slightly charred appearance indicating perfect caramelization.
- Remove the crispy broccoli immediately, transferring to a serving plate to prevent continued cooking and preserve the ideal texture.
Notes
- Pat the broccoli completely dry to ensure maximum crispiness and prevent steaming instead of roasting in the air fryer.
- Use high-quality olive oil and freshly grated Parmesan for richer, more intense flavor that enhances the broccoli’s natural taste.
- Experiment with different seasoning blends like za’atar, curry powder, or chili flakes to create unique flavor profiles that suit your taste preferences.
- If following a dairy-free diet, replace Parmesan with nutritional yeast for a similar umami and cheesy flavor without compromising the crispy texture.
- Prep Time: 5 minutes
- Cook Time: 10 minutes
- Category: Snacks, Appetizer
- Method: Frying
- Cuisine: American
Nutrition
- Serving Size: 4
- Calories: 140
- Sugar: 2 g
- Sodium: 300 mg
- Fat: 11 g
- Saturated Fat: 1.5 g
- Unsaturated Fat: 9 g
- Trans Fat: 0 g
- Carbohydrates: 8 g
- Fiber: 4 g
- Protein: 6 g
- Cholesterol: 3 mg
John Nicholson
Lead Writer & Recipe Developer
Expertise
Recipe Testing and Development, Kitchen Hacks and Time-Saving Tips, Flavor Pairing and Ingredient Selection, Engaging Food Writing and Storytelling
Education
Johnson & Wales University
John Nicholson honed his skills at Johnson & Wales University, learning how to use fresh, local ingredients and down-to-earth techniques to make cooking simple and satisfying.
His recipes blend Southern comfort flavors with a modern touch, inviting everyone to cook with ease and confidence.
Living in Charleston, John takes cues from the city’s lively food scene, local markets, and seasonal produce. He’s all about making meals stress-free through easy tips, flavor pairings, and fun experiments in the kitchen