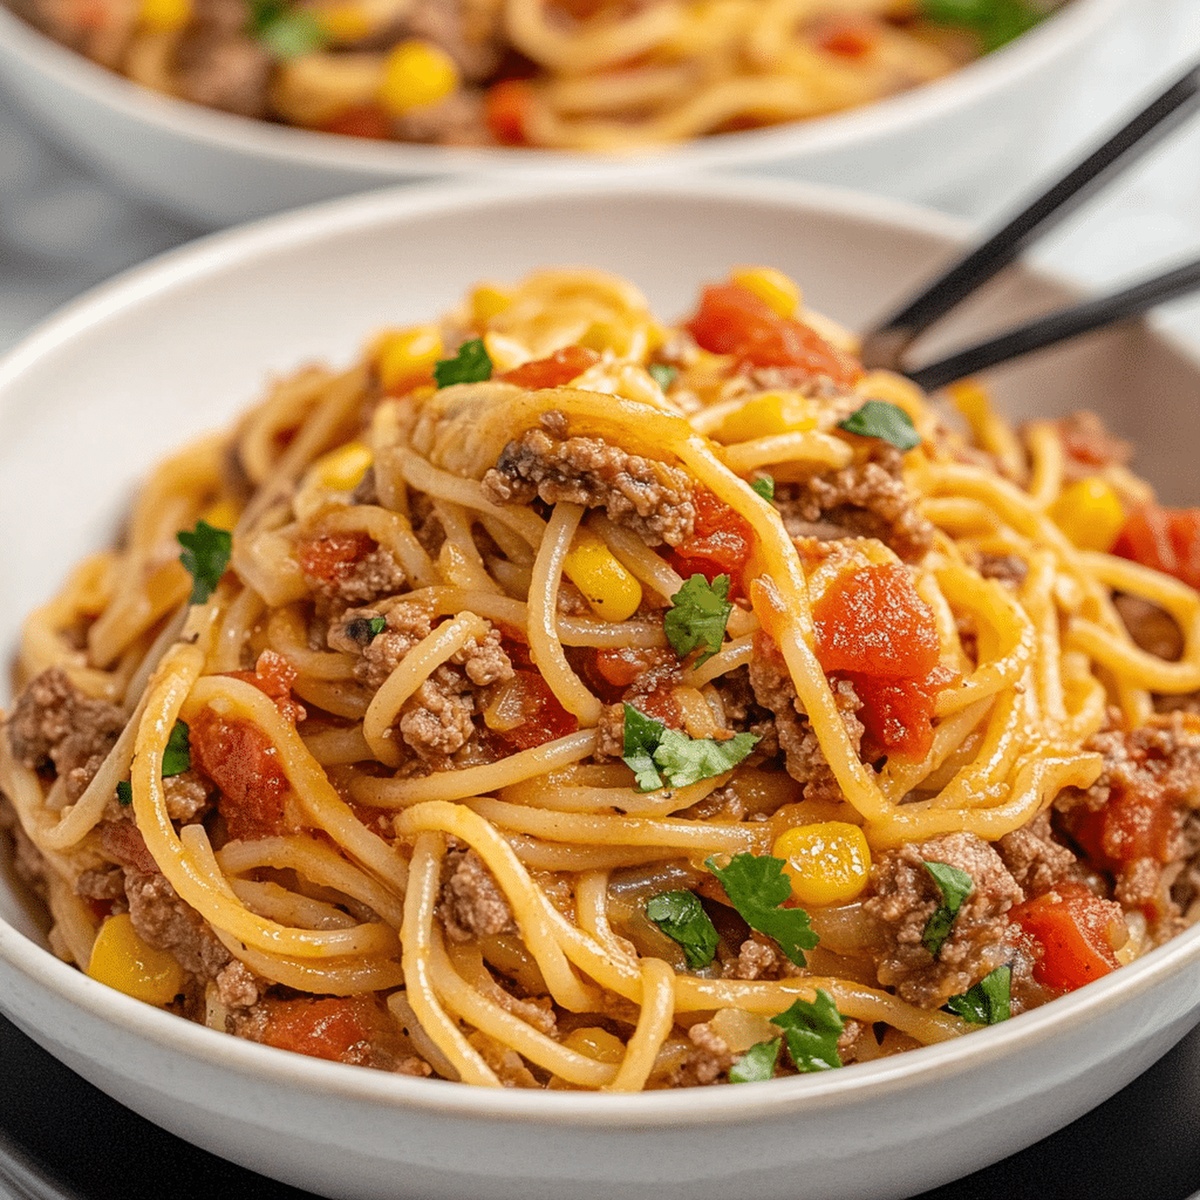
Flavorful Hearty Crockpot Taco Spaghetti Recipe For Cozy Nights
Comfort food reaches new heights with this crockpot taco spaghetti that blends Mexican and Italian flavors into one incredible dish.
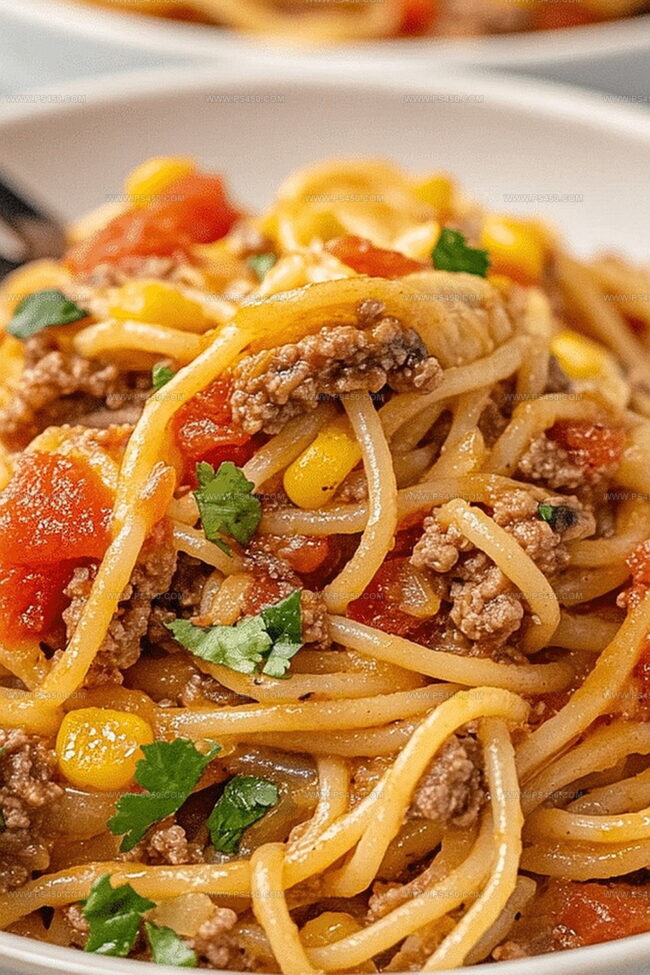
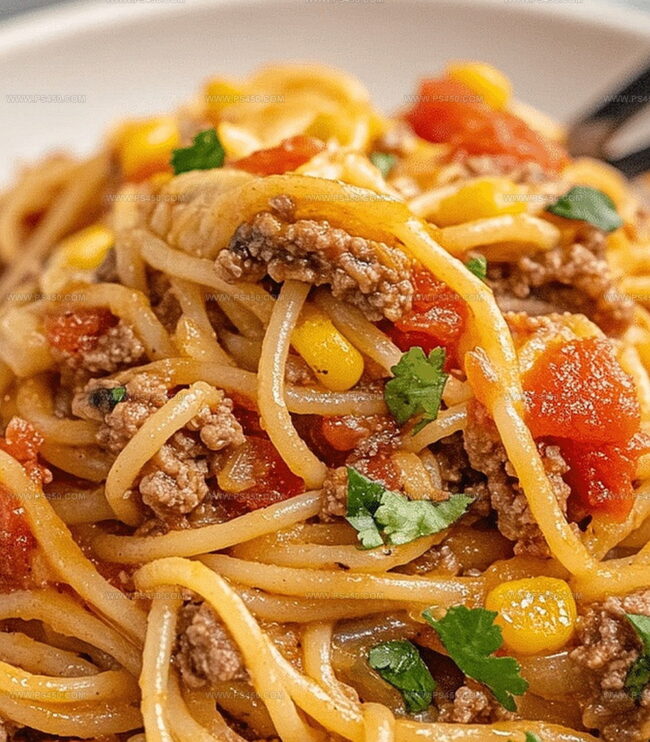
Creamy, cheesy, and packed with bold spices, this recipe delivers a satisfying meal in just a few simple steps.
Busy home cooks will love how effortlessly these ingredients come together for a crowd-pleasing dinner.
Ground beef adds rich protein while pasta soaks up the zesty seasonings and melted cheese.
The crockpot does most of the heavy lifting, allowing you to relax while a delicious meal simmers away.
Minimal prep and maximum flavor make this recipe a weeknight winner that will have everyone asking for seconds.
Prepare to transform your dinner routine with this mouthwatering fusion of classic comfort foods.
Quick Recipe Overview
Crockpot Taco Spaghetti Ingredient List
For Protein and Base:For Flavor Enhancers:For Creamy Finish:Tools to Slow Cook Taco Spaghetti Just Right
Making Taco Spaghetti in the Crockpot
Heat a skillet and cook ground beef with onions until perfectly browned. Mix in zesty taco seasoning for extra flavor.
Transfer beef mixture into crockpot. Pour in tomatoes, sauce, and broth to build a rich, tangy foundation.
Let everything bubble and blend on low heat for 4-5 hours, allowing flavors to dance together.
Break spaghetti into the crockpot, ensuring noodles swim in the delicious liquid. Cook for 20-25 minutes until perfectly tender.
Sprinkle shredded cheese and watch it transform into a creamy, gooey blanket covering the entire dish.
Top with fresh herbs and invite your favorite toppings to the party. Dish out this crowd-pleasing meal that combines Mexican and Italian flavors in one incredible pot.
Flavor Tweaks for Taco Spaghetti Fans
How to Serve Crockpot Taco Spaghetti
Storage Tips for Taco Spaghetti Leftovers
FAQs
Yes, ground turkey is a great lean alternative and works perfectly in this recipe. Just ensure it’s fully cooked and seasoned well.
No, you’ll break the spaghetti and add it directly to the crockpot. The liquid and cooking time will soften and cook the noodles completely.
The recipe has mild spice from the taco seasoning and Rotel tomatoes. If you want less heat, use mild Rotel or reduce the taco seasoning. For more spice, choose hot Rotel or add extra seasoning.
Absolutely! You can prepare the meat mixture and refrigerate it overnight. When ready to cook, add to the crockpot with remaining ingredients and follow the recipe instructions.
Print
Pulled Pork Pizza Recipe
- Total Time: 25 minutes
- Yield: 4 1x
Description
Savor hearty pulled pork pizza, where tender slow-cooked meat meets crispy crust and melted cheese. Rich southern barbecue flavors dance across this crowd-pleasing meal that you will devour slice by delicious slice.
Ingredients
Main Ingredients:
- 1 pound pizza dough (store-bought or homemade)
- 1 cup smoked pulled pork
- 1 ½ cups shredded mozzarella cheese
Cheese and Optional Toppings:
- ¼ cup shredded cheddar cheese
- ¼ cup red onion, thinly sliced
- ¼ cup pickled jalapenos
Sauce and Seasoning:
- ½ cup BBQ sauce
- 1 tablespoon olive oil
- 1 tablespoon cornmeal
- ½ teaspoon smoked paprika
- 2 tablespoons chopped fresh cilantro
Instructions
- Heat the cooking surface to an intense temperature, targeting 475F for a traditional oven or 450F on a wood-pellet grill to infuse smoky undertones.
- Transform the pizza dough into a thin, uniform canvas by gently rolling it across a flour-dusted workspace, ensuring a delicate texture and preventing adhesion with a sprinkle of cornmeal on the baking surface.
- Create a flavor foundation by lavishly coating the dough with tangy BBQ sauce, maintaining a subtle border around the edges, then strategically layer mozzarella cheese as the initial creamy base.
- Artfully distribute succulent pulled pork across the cheese, followed by crisp red onion rings and fiery pickled jalapeños for a balanced flavor profile.
- Complete the pizza’s architecture by generously scattering the remaining mozzarella and optional cheddar cheese, ensuring complete coverage for maximum melting potential.
- Slide the prepared pizza into the preheated cooking environment, allowing 12-15 minutes of transformative heat to crisp the crust and create bubbling, golden-brown cheese.
- Extract the pizza from the heat source, permitting a brief resting period to stabilize the molten toppings and concentration of flavors.
- Elevate the final presentation by garnishing with fresh, vibrant cilantro, then slice into shareable segments and serve immediately while at peak temperature and texture.
Notes
- Ensure your oven or pizza stone is thoroughly preheated to achieve a crispy, golden crust that doesn’t become soggy.
- Use cornmeal generously on the baking surface to create a professional-style non-stick base that adds a subtle textural crunch.
- For a gluten-free version, swap traditional pizza dough with cauliflower crust or use a gluten-free pizza base to accommodate dietary restrictions.
- Balance the rich pulled pork by adding fresh, bright elements like pickled jalapenos or a quick lime-cilantro slaw on top for contrasting flavors and textures.
- Prep Time: 10 minutes
- Cook Time: 15 minutes
- Category: Lunch, Dinner, Snacks
- Method: Baking
- Cuisine: American
Nutrition
- Serving Size: 4
- Calories: 540
- Sugar: 8 g
- Sodium: 900 mg
- Fat: 22 g
- Saturated Fat: 9 g
- Unsaturated Fat: 11 g
- Trans Fat: 0 g
- Carbohydrates: 56 g
- Fiber: 3 g
- Protein: 26 g
- Cholesterol: 60 mg
John Nicholson
Lead Writer & Recipe Developer
Expertise
Recipe Testing and Development, Kitchen Hacks and Time-Saving Tips, Flavor Pairing and Ingredient Selection, Engaging Food Writing and Storytelling
Education
Johnson & Wales University
John Nicholson honed his skills at Johnson & Wales University, learning how to use fresh, local ingredients and down-to-earth techniques to make cooking simple and satisfying.
His recipes blend Southern comfort flavors with a modern touch, inviting everyone to cook with ease and confidence.
Living in Charleston, John takes cues from the city’s lively food scene, local markets, and seasonal produce. He’s all about making meals stress-free through easy tips, flavor pairings, and fun experiments in the kitchen