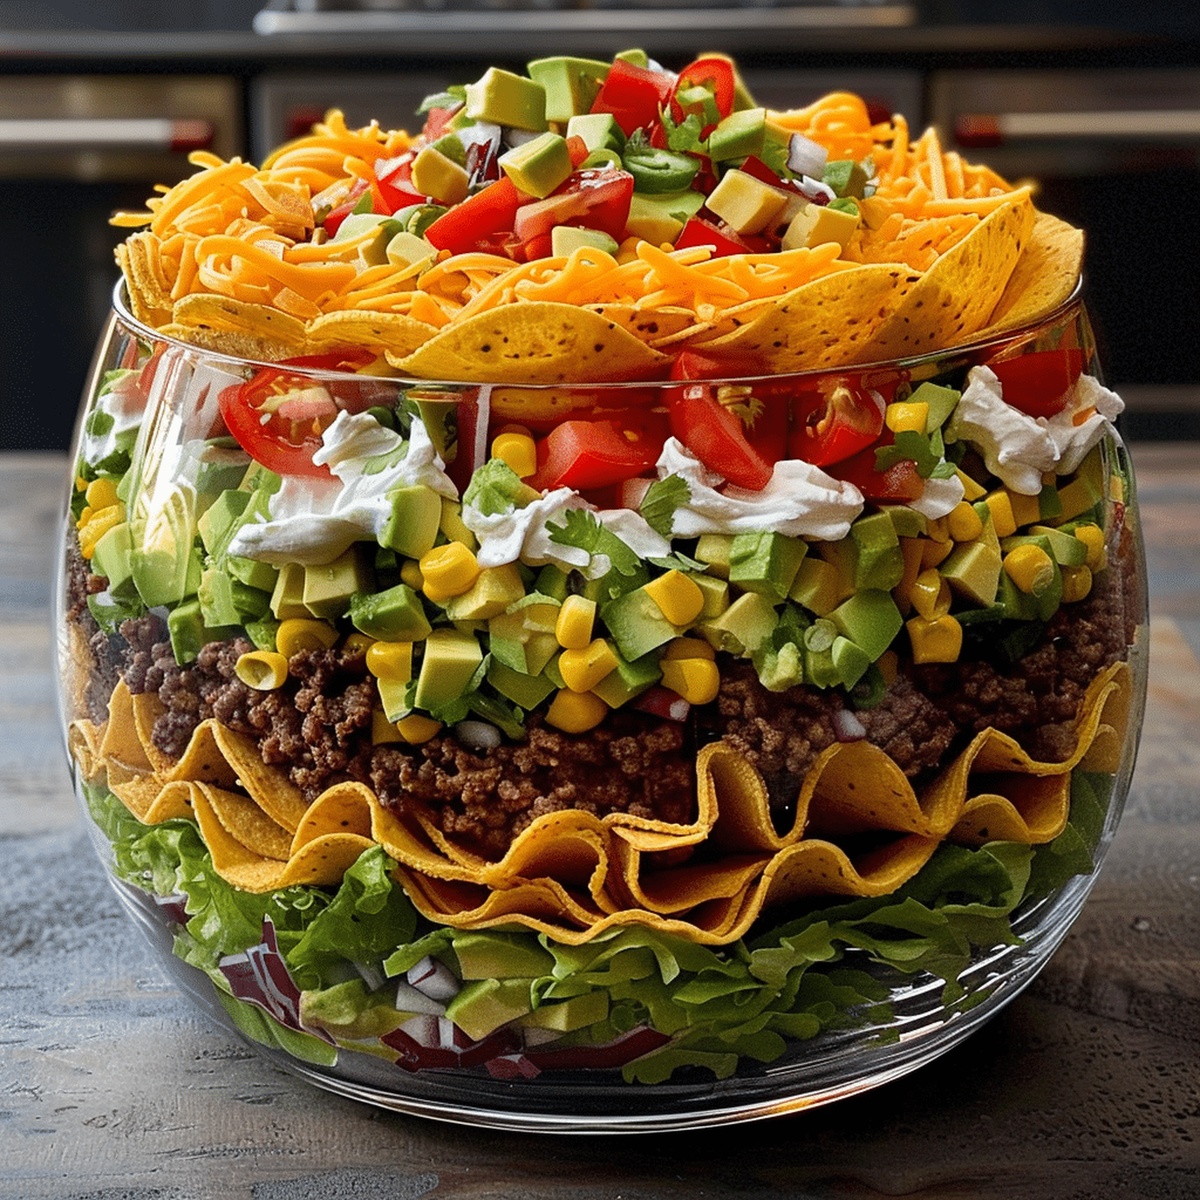
Seven-Layer Taco Salad Recipe Perfect for Sharing
Layering flavors becomes an art form with this mouthwatering seven-layer taco salad that promises pure culinary excitement.
Crisp lettuce, seasoned ground beef, and vibrant toppings create a colorful canvas of textures and tastes.
Each forkful brings a delightful crunch and burst of southwestern-inspired goodness.
The salad combines fresh ingredients that dance together in perfect harmony.
Sharp cheddar cheese and zesty salsa add depth and warmth to every bite.
Creamy sour cream and crunchy tortilla chips provide the ultimate finishing touch.
Prepare to savor a meal that transforms an ordinary dinner into a fiesta of flavors.
Quick Recipe Overview
Ingredients That Build a Great Taco Salad
For Protein Layer:For Creamy and Smooth Base:For Fresh Crunch and Topping:Gear You’ll Want for Layering Taco Salad Right
Instructions to Assemble a 7-Layer Taco Salad
Sizzle ground beef in a skillet over medium heat until completely cooked. Drain away extra grease and mix in zesty taco seasoning. Let the meat cool down slightly.
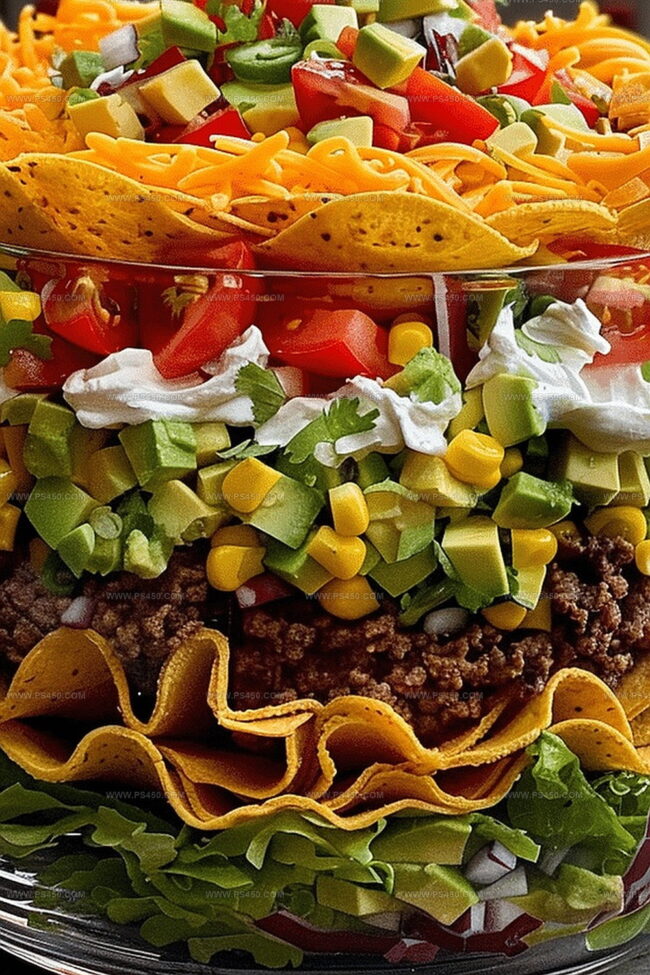
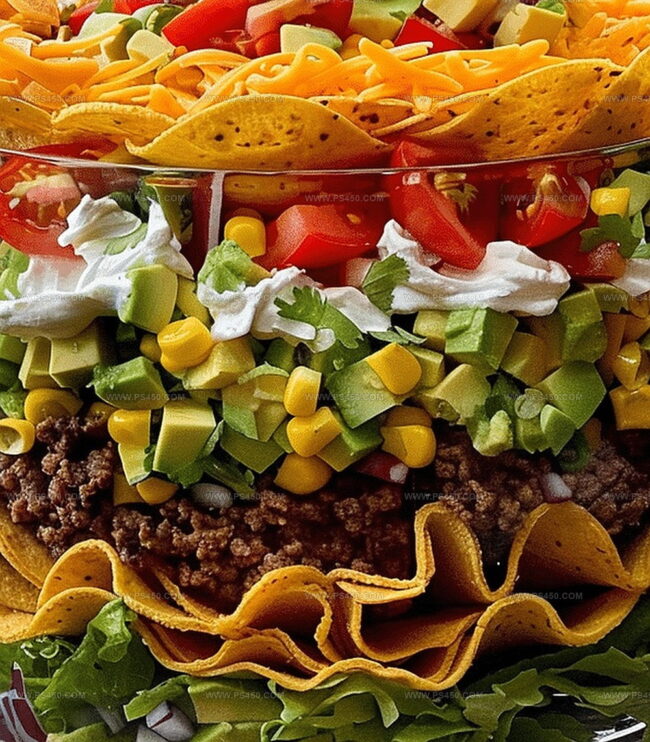
Spread creamy refried beans across the bottom of a clear serving dish as your first layer.
Gently place the seasoned beef over the beans. Dollop smooth sour cream on top, then add a generous spread of rich guacamole. Pour salsa evenly across the creamy surface.
Sprinkle crisp, chopped lettuce over the salsa. Shower the top with shredded cheddar cheese, followed by bright red tomato bits, dark sliced olives, and green onion rings.
Cover the colorful layers and pop into the refrigerator for one hour. This lets all the flavors dance together. When ready, grab some crunchy tortilla chips and dig into this delicious layered feast.
Topping Ideas to Change Things Up a Bit
How to Serve Taco Salad in Individual Portions
Keeping Taco Salad Fresh Without Getting Soggy
FAQs
Absolutely! You can prepare the entire salad up to 8 hours in advance. Just keep it refrigerated and covered until ready to serve. This actually helps the flavors blend together even more deliciously.
Yes! Replace the ground beef with black beans, plant-based meat crumbles, or extra firm tofu seasoned with taco spices. The layering method works great with any protein substitute.
Add some diced jalapeños between layers, use a hot salsa instead of mild, or sprinkle some red pepper flakes on top. You can also mix some hot sauce into the sour cream layer for an extra kick.
No problem! You can use any clear large serving dish or even a deep rectangular casserole dish. The key is having a container that lets you see the beautiful layers.
Print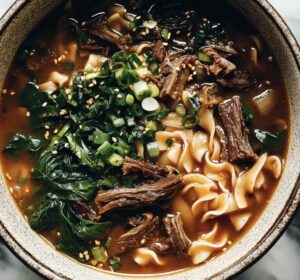
Instant Pot Spicy Short Rib Noodle Soup Recipe
- Total Time: 1 hour 15 minutes
- Yield: 4 1x
Description
Spicy Short Rib Noodle Soup elevates comfort dining with Korean-inspired depths of flavor. Hearty meat melts into rich broth, promising warmth and zesty excitement for home cooks craving bold, satisfying meals you’ll dream about.
Ingredients
Proteins:
- 2 pounds (1 kilogram) bone-in beef short ribs
- 2 cups baby bok choy or spinach
- 2 green onions, sliced
- Fresh cilantro, for garnish
Aromatics and Seasonings:
- 1 small onion, chopped
- 4 garlic cloves, minced
- 1 tablespoon ginger, grated
- 1 tablespoon gochujang (Korean chili paste) or sambal oelek
- 1 tablespoon soy sauce
- 1 tablespoon rice vinegar
- 1 tablespoon fish sauce (optional, but adds umami)
- ½ teaspoons chili flakes or chili oil (to taste)
- ½ teaspoons brown sugar or honey (optional to balance heat)
- Salt and pepper, to taste
Liquid and Noodles:
- 1 tablespoon oil (sesame or vegetable)
- 6 cups beef broth
- 68 ounces (2 kilograms) ramen noodles, udon, or rice noodles
- 1 cup sliced shiitake or cremini mushrooms (optional)
- Lime wedges & soft-boiled eggs (optional, for serving)
Instructions
- Prepare the protein by generously seasoning short ribs with salt and pepper. Activate the Instant Pot’s searing function and introduce oil, carefully browning the meat on all surfaces until a rich, caramel-colored exterior develops.
- Create an aromatic flavor foundation by sautéing finely chopped onions, minced garlic, and grated ginger. Incorporate gochujang, soy sauce, rice vinegar, fish sauce, chili flakes, and brown sugar, carefully deglazing the pot to capture all caramelized remnants.
- Reintroduce the seared short ribs into the pot and generously pour beef broth. Secure the lid and engage high-pressure cooking for three-quarters of an hour. Allow natural pressure dissipation for approximately ten minutes before releasing residual steam.
- Extract the short ribs and methodically separate tender meat from bones, discarding connective tissue and excess fat. Optionally, strain the deeply flavored broth to achieve a pristine clarity.
- Reactivate the Instant Pot’s sauté mode and introduce noodles and sliced mushrooms. Cook until noodles reach optimal tenderness. Gently fold in shredded meat and delicate bok choy or spinach, allowing greens to wilt slightly. Calibrate seasoning with additional salt, soy sauce, or chili oil to enhance depth.
- Transfer the steaming soup into serving vessels. Garnish with thinly sliced green onions, fresh cilantro, a perfectly prepared soft-boiled egg, and a vibrant lime wedge for a final, zesty touch.
Notes
- Ensure short ribs are at room temperature before searing to promote even browning and seal in maximum flavor.
- Choose high-quality, well-marbled short ribs for maximum tenderness and rich meaty taste in the soup.
- Create depth by toasting gochujang briefly before adding other liquid ingredients, which intensifies its complex spicy-sweet profile.
- Consider preparing broth a day ahead, allowing flavors to meld and develop more robust complexity overnight.
- Swap proteins easily by substituting short ribs with chicken thighs or beef chuck for different textural experiences.
- Use low-sodium broth to control salt levels, preventing an overly salty final dish.
- Gluten-free modification works perfectly by replacing regular noodles with rice noodles or zucchini spirals.
- Vegetarian adaptation possible by using mushroom broth, plant-based protein, and substituting fish sauce with miso paste.
- Control spice levels by adjusting chili flakes and gochujang quantity according to personal heat tolerance.
- Prep Time: 15 minutes
- Cook Time: 15 minutes
- Category: Dinner, Lunch, Snacks
- Method: Pressure Cooking
- Cuisine: Korean
Nutrition
- Serving Size: 4
- Calories: 553
- Sugar: 4 g
- Sodium: 1230 mg
- Fat: 26 g
- Saturated Fat: 8 g
- Unsaturated Fat: 16 g
- Trans Fat: 0 g
- Carbohydrates: 54 g
- Fiber: 3 g
- Protein: 34 g
- Cholesterol: 85 mg
John Nicholson
Lead Writer & Recipe Developer
Expertise
Recipe Testing and Development, Kitchen Hacks and Time-Saving Tips, Flavor Pairing and Ingredient Selection, Engaging Food Writing and Storytelling
Education
Johnson & Wales University
John Nicholson honed his skills at Johnson & Wales University, learning how to use fresh, local ingredients and down-to-earth techniques to make cooking simple and satisfying.
His recipes blend Southern comfort flavors with a modern touch, inviting everyone to cook with ease and confidence.
Living in Charleston, John takes cues from the city’s lively food scene, local markets, and seasonal produce. He’s all about making meals stress-free through easy tips, flavor pairings, and fun experiments in the kitchen