Robust Slow Cooker Potatoes Recipe: Cozy Comfort in Every Bite
Comfort finds its perfect match in this delectable slow cooker potatoes recipe that promises pure culinary bliss.
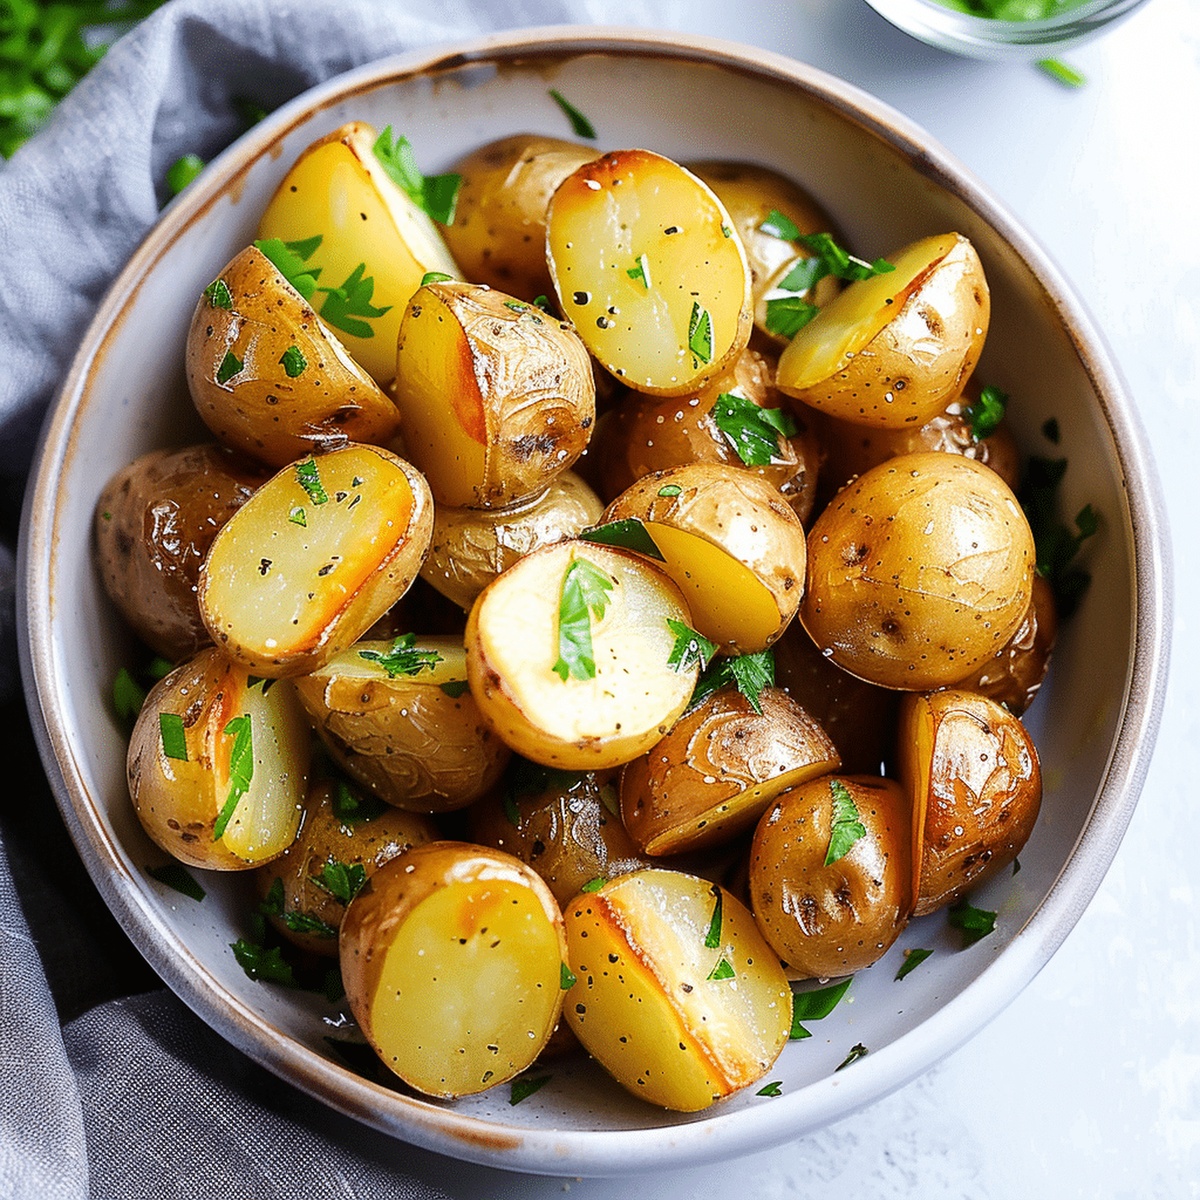
Tender, golden potatoes simmered in a rich, savory broth will make your taste buds dance with delight.
The magic of slow cooking infuses every bite with incredible depth and warmth.
Layers of flavor develop slowly, creating a dish that feels like a warm embrace on a chilly evening.
Each potato absorbs the surrounding seasonings, transforming into a mouthwatering masterpiece.
Simple ingredients come together effortlessly, making this recipe a go-to for busy home cooks.
Prepare to savor a side dish that will steal the spotlight at your next meal.
Quick Recipe Overview
Ingredients for Flavor-Packed Slow Cooker Potatoes
For Base Ingredients:For Seasoning Elements:For Finishing Touches:Tools That Help Make Slow Cooker Potatoes Effortless
How to Prep and Slow Cook Tender Potatoes
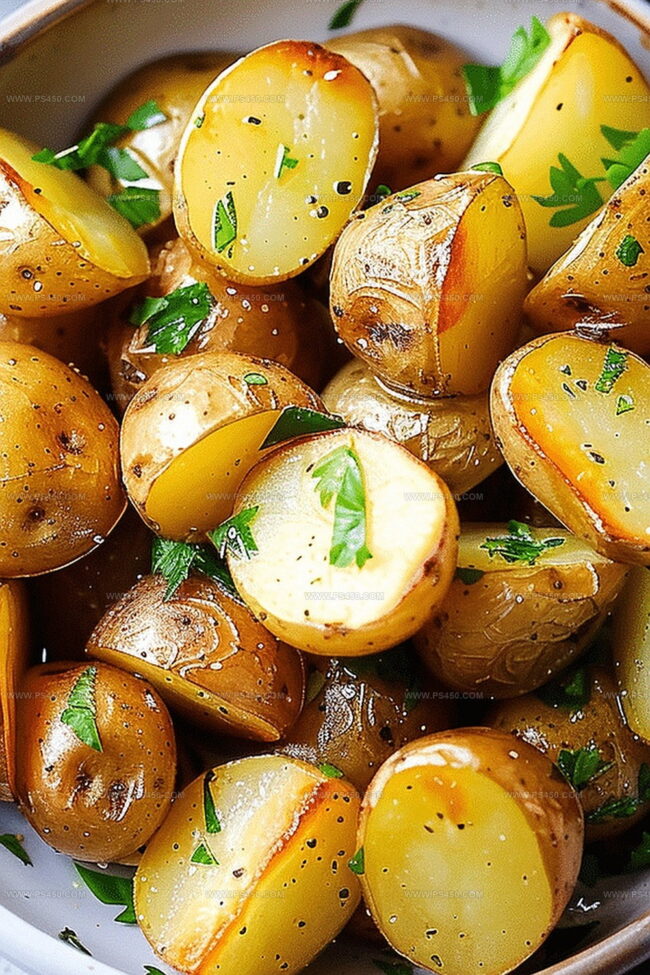
Clean baby potatoes thoroughly, removing any sprouts or blemishes. For larger potatoes, chop into uniform chunks to ensure even cooking.
Toss potatoes in a generous splash of olive oil, minced garlic, aromatic herbs, and a sprinkle of salt and pepper. Make sure every potato gets a flavor hug.
Spread seasoned potatoes in your slow cooker, creating a single layer that allows each potato to cook perfectly. Don’t stack them too densely.
Cover and let the slow cooker work its wonder. If you’re in a hurry, cook on HIGH for 2-3 hours. For a more relaxed approach, use LOW setting for 4-5 hours until potatoes are fork-tender and golden.
Shower your potatoes with freshly chopped herbs like parsley or chives. Serve piping hot alongside your favorite protein for a crowd-pleasing side dish that’ll have everyone asking for seconds.
Ways to Elevate Basic Slow Cooker Potatoes
Serve Slow Cooker Potatoes at Any Table, Any Time
Keep Slow Cooker Potatoes Fresh and Ready to Reheat
FAQs
Yes, you can use Yukon gold, red potatoes, or russet potatoes. Just ensure they’re cut into similar-sized pieces for even cooking.
No, you don’t need to peel baby potatoes or smaller potatoes. The skin adds nutrition and helps the potatoes hold their shape during slow cooking.
Absolutely! Root vegetables like carrots or onions work great. Just cut them into similar-sized pieces and add them with the potatoes for a complete side dish.
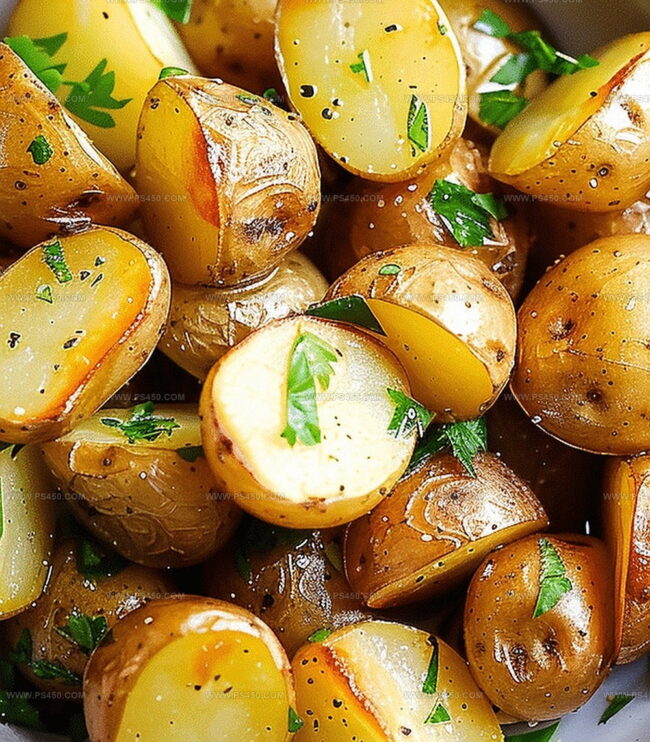
The potatoes are done when they’re easily pierced with a fork and have a soft, tender texture. They should be golden and slightly crispy on the outside.
Print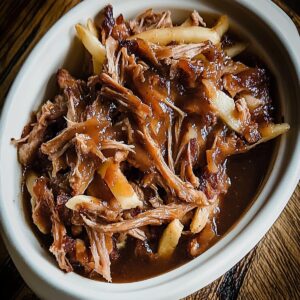
Smoked Pulled Pork Poutine Recipe
- Total Time: 8 hours 15 minutes
- Yield: 8 1x
Description
Hearty Canadian pulled pork poutine elevates comfort cuisine with smoky, rich layers of tender meat, crispy fries, and melting cheese curds. Savory culinary magic delivers a mouthwatering experience you’ll crave again and again.
Ingredients
Meat:
- 4.5 pounds pork shoulder (Boston butt)
- ¼ cup BBQ rub (your favorite blend)
- ½ cup BBQ sauce (optional, for tossing)
Spritzing and Flavor Liquids:
- 1 cup apple juice or chicken broth (for spritzing)
- 2 tablespoons olive oil
- Wood chips or pellets (hickory, apple, or cherry)
Gravy and Seasoning:
- 2 cups beef broth
- 3 tablespoons butter
- 3 tablespoons all-purpose flour
- 1 teaspoon Worcestershire sauce
- ½ teaspoon garlic powder
- ½ teaspoon black pepper
- ½ teaspoon salt
Poutine Components:
- 1.5 pounds frozen or homemade French fries
- 1.5 cups cheese curds (or chopped mozzarella)
- Chopped fresh parsley (for garnish, optional)
Instructions
- Prepare the smoker by calibrating the temperature to a precise 225°F, selecting aromatic wood chips like hickory, apple, or cherry to infuse rich, smoky essence into the meat.
- Massage the pork shoulder with a light coating of olive oil, then generously distribute the BBQ rub, ensuring complete and even coverage across the entire surface.
- Carefully position the seasoned pork onto the smoker grates, allowing it to absorb the wood’s delicate flavors. Maintain moisture by periodically misting with apple juice or savory broth every 60 minutes.
- Monitor the internal temperature closely. When the pork reaches 165°F, encase it securely in butcher paper or aluminum foil to retain its succulence and continue the smoking process.
- Continue smoking until the internal temperature climbs to 200-205°F, which typically requires an additional 2-3 hours of patient cooking.
- Remove the meat from the smoker and allow it to rest for half an hour, enabling the juices to redistribute throughout the muscle fibers.
- Using two forks, gently pull and shred the tender meat into delicate strands. Optionally, drizzle with a complementary BBQ sauce to enhance the flavor profile.
Notes
- Choose wood chips carefully for a subtle, complex smoky flavor that complements the pork without overpowering other ingredients.
- Use a meat thermometer to ensure precise internal temperature, preventing dry or undercooked meat during the smoking process.
- Consider making the pulled pork ahead of time and storing it in the refrigerator, which allows flavors to develop and makes assembly easier.
- Experiment with different BBQ rubs or create a homemade blend to personalize the pulled pork’s taste profile and make the dish uniquely yours.
- Prep Time: 15 minutes
- Cook Time: 8 hours
- Category: Lunch, Dinner, Snacks
- Method: Smoking
- Cuisine: Canadian
Nutrition
- Serving Size: 8
- Calories: 650
- Sugar: 5 g
- Sodium: 800 mg
- Fat: 30 g
- Saturated Fat: 12 g
- Unsaturated Fat: 18 g
- Trans Fat: 0 g
- Carbohydrates: 70 g
- Fiber: 4 g
- Protein: 28 g
- Cholesterol: 90 mg
John Nicholson
Lead Writer & Recipe Developer
Expertise
Recipe Testing and Development, Kitchen Hacks and Time-Saving Tips, Flavor Pairing and Ingredient Selection, Engaging Food Writing and Storytelling
Education
Johnson & Wales University
John Nicholson honed his skills at Johnson & Wales University, learning how to use fresh, local ingredients and down-to-earth techniques to make cooking simple and satisfying.
His recipes blend Southern comfort flavors with a modern touch, inviting everyone to cook with ease and confidence.
Living in Charleston, John takes cues from the city’s lively food scene, local markets, and seasonal produce. He’s all about making meals stress-free through easy tips, flavor pairings, and fun experiments in the kitchen