
Amish Peanut Butter Cream Pie Recipe for Dessert Fans
Creamy, decadent Amish peanut butter cream pie will make your taste buds dance with pure delight.
This classic dessert blends smooth, rich flavors that melt right into your mouth.
Sweet peanut butter whispers nostalgic memories of homemade treats shared around farmhouse tables.
Each slice promises a perfect balance of velvety filling and flaky crust that beckons you closer.
Simple ingredients transform into an extraordinary dessert that feels like a warm culinary hug.
The silky texture and deep nutty notes create a truly irresistible experience.
No bakery could craft a pie quite as enchanting as this homemade treasure.
Quick Recipe Overview
Amish Peanut Butter Cream Pie Ingredient Checklist
For Pie Crust:For Cream Filling:For Topping and Garnish:Tools to Help You Make Amish Peanut Butter Cream Pie
How to Prepare a Silky Amish Peanut Butter Cream Pie
Create a delectable topping by blending peanut butter with powdered sugar until it forms a delightful crumbly mixture. Set this golden garnish aside for the grand finale.
In a saucepan, combine sugar, cornstarch, and salt. Slowly pour in milk, whisking until silky smooth. Cook over medium heat, stirring constantly until the mixture transforms into a thick, bubbling delight. Thisal process takes about 8-10 minutes.
Remove from heat and gently fold in beaten egg yolks. Return to heat for one more minute, creating a luxurious custard. Pull off the stove and stir in peanut butter and vanilla until the mixture becomes impossibly smooth and creamy.
Pour the luscious peanut butter custard into a pre-baked pie crust. Let the pie cool to room temperature, then park it in the refrigerator for 3-4 hours until the filling sets like a dream.
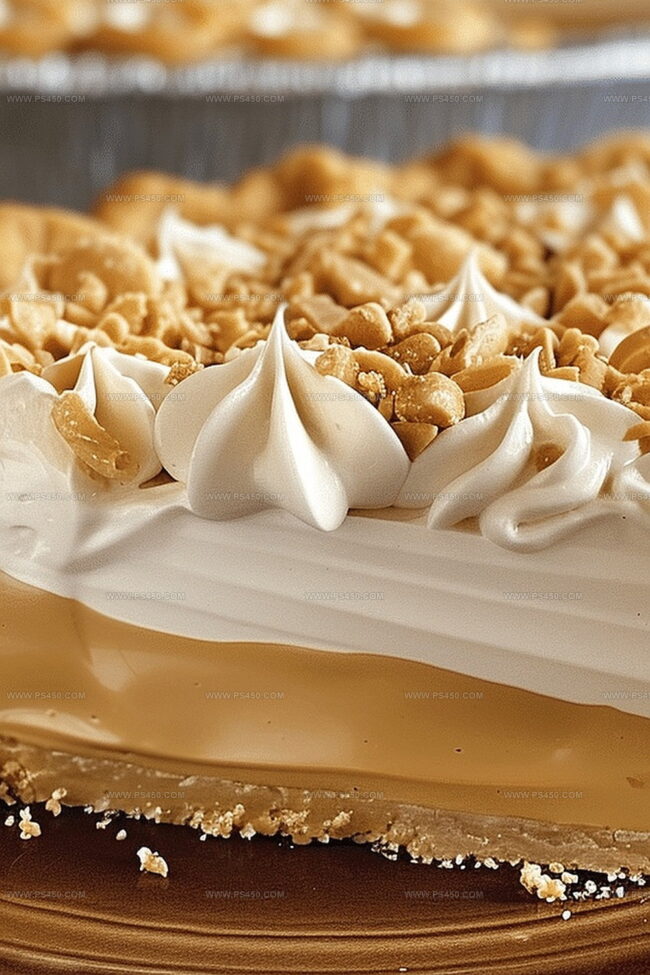
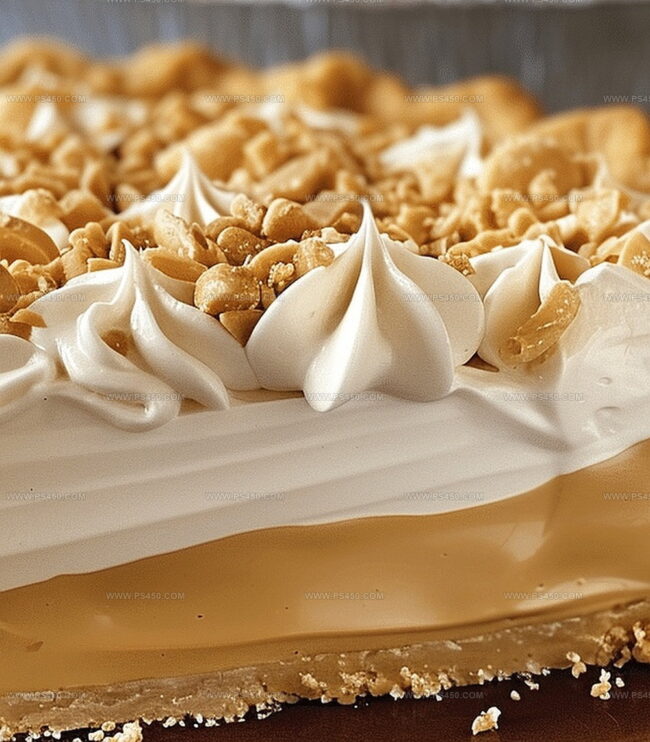
Just before serving, crown the pie with a billowy layer of whipped cream. Sprinkle the reserved peanut butter crumble on top for a showstopping finish that’ll make mouths water.
Flavor Twists for This Sweet Amish Pie
Serving the Amish Peanut Butter Cream Pie with Style
Tips to Store It Without Losing That Texture
FAQs
Yes, you can substitute almond or cashew butter for a unique twist, but the flavor profile will change slightly from the traditional Amish recipe.
Unfortunately, this recipe contains egg yolks in the custard filling, so it’s not safe for those with egg allergies. You’ll need to find an alternative egg-free cream pie recipe.
The pie will stay fresh for 3-4 days when stored in an airtight container in the refrigerator. After that, the texture and flavor may start to deteriorate.
A pre-baked graham cracker or traditional butter pie crust works wonderfully. The graham cracker crust adds a nice complementary flavor to the peanut butter filling.
Print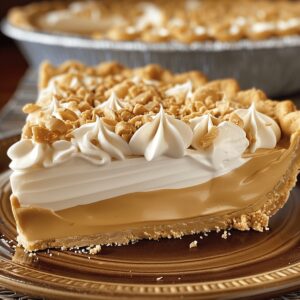
Heavenly Amish Peanut Butter Cream Pie Recipe
- Total Time: 30 minutes
- Yield: 9 1x
Description
Luscious Amish Peanut Butter Cream Pie delivers a nostalgic Midwestern dessert experience with rich, creamy layers. Silky peanut butter filling nestled in a flaky crust promises pure comfort for those craving classic homestyle sweetness.
Ingredients
- 1 pre-baked 9-inch (23 cm) pie crust (store-bought or homemade)
- 2 cups (480 ml/16 fl oz) whole milk
- 4 large egg yolks
- ½ cup (120 g/4.2 oz) creamy peanut butter
- ½ cup (100 g/3.5 oz) granulated sugar
- 1 ½ cups (360 ml/12 fl oz) heavy cream
- ½ cup (100 g/3.5 oz) powdered sugar
- 2 tbsps butter
- ¼ cup (30 g/1 oz) cornstarch
- ¼ tsp salt
- 1 tsp vanilla extract
- ¼ cup (30 g/1 oz) powdered sugar
Instructions
- Prepare Crumble: Blend peanut butter with powdered sugar to create a delicate, grainy mixture for final garnish.
- Create Filling Base: Combine sugar, cornstarch, and salt in a medium saucepan, forming a foundational dry ingredient mixture.
- Develop Custard: Gradually whisk milk into dry ingredients, eliminating potential lumps and establishing a smooth liquid base. Heat over medium, stirring consistently to prevent scorching, allowing the mixture to thicken and bubble gently for 8-10 minutes.
- Integrate Eggs: Remove from heat, carefully fold in beaten egg yolks, then return briefly to ensure food safety and proper integration.
- Finalize Custard: Remove from heat, incorporate peanut butter and vanilla extract, transforming the mixture into a uniform, silky filling.
- Assemble Pie: Pour the peanut butter custard into a pre-baked pie crust, distributing evenly.
- Chill and Set: Cool to room temperature, then refrigerate for 3-4 hours until filling is completely set.
- Garnish and Serve: Top with a generous layer of whipped cream and sprinkle the reserved peanut butter crumbs across the surface for a delightful textural finish.
Notes
- Control Cornstarch Carefully: Add milk slowly and whisk constantly to prevent lumps, ensuring a silky-smooth custard base without any grainy texture.
- Monitor Heat Precisely: Maintain medium heat while stirring continuously to avoid scorching, allowing the filling to thicken gradually without burning.
- Temperature Management: Cool the pie completely at room temperature before refrigerating, preventing condensation and maintaining the perfect creamy consistency.
- Egg Safety Protocol: Temper egg yolks by slowly incorporating hot custard to prevent scrambling, ensuring a smooth, safe, and creamy filling.
- Prep Time: 20 minutes
- Cook Time: 10 minutes (plus chilling)
- Category: Desserts
- Method: Simmering
- Cuisine: American
Nutrition
- Serving Size: 9
- Calories: 405
- Sugar: 24 g
- Sodium: 155 mg
- Fat: 28 g
- Saturated Fat: 15 g
- Unsaturated Fat: 11 g
- Trans Fat: 0 g
- Carbohydrates: 36 g
- Fiber: 1 g
- Protein: 6 g
- Cholesterol: 90 mg
John Nicholson
Lead Writer & Recipe Developer
Expertise
Recipe Testing and Development, Kitchen Hacks and Time-Saving Tips, Flavor Pairing and Ingredient Selection, Engaging Food Writing and Storytelling
Education
Johnson & Wales University
John Nicholson honed his skills at Johnson & Wales University, learning how to use fresh, local ingredients and down-to-earth techniques to make cooking simple and satisfying.
His recipes blend Southern comfort flavors with a modern touch, inviting everyone to cook with ease and confidence.
Living in Charleston, John takes cues from the city’s lively food scene, local markets, and seasonal produce. He’s all about making meals stress-free through easy tips, flavor pairings, and fun experiments in the kitchen