
Holiday Cookie Recipe for the Merriest Christmas Treats
The aroma of freshly baked Christmas cookies wafting through the heavenly Christmas cookies recipe kitchen instantly transports you to childhood memories of festive cheer.
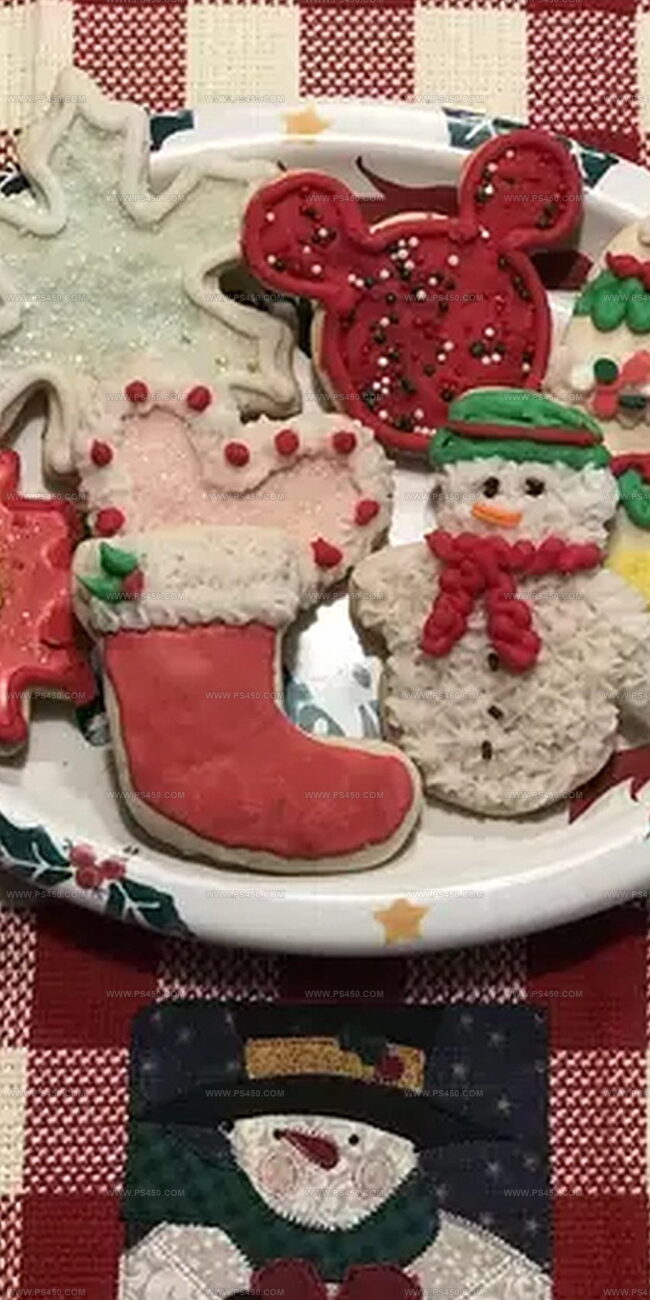
Delicate and buttery, these treats sparkle with a magic that captures the spirit of the holiday season.
Sweet sugar crystals dance across golden-brown edges, promising a melt-in-your-mouth experience.
Every baker knows the joy of creating something truly special during Christmas.
Generations of families have shared this cherished recipe, passing down love in each carefully crafted morsel.
Rich with tradition and warmth, these cookies are more than just a dessert—they’re a celebration of connection and joy.
Gather your ingredients and let the baking begin.
Quick Recipe Overview
Ingredients That Make Soft Christmas Cookies So Loved
For Creamy Base:For Dry Mixture:For Frosting and Decoration:Tools for Baking Soft Christmas Cookies That Stay Chewy
How to Mix and Bake Soft Christmas Cookies

Grab your mixing bowl and blend softened butter with sugar until it becomes light and airy. Crack in an egg, splash some vanilla, and stir in sour cream until everything looks smooth and creamy.
In another bowl, mix flour, baking powder, baking soda, and salt. Slowly fold these dry ingredients into your butter mixture, stirring gently until everything just comes together.
Scoop out rounded portions of dough onto lined baking sheets. Use the bottom of a glass to gently press each mound, creating soft, even circles.
Slide your cookie trays into a preheated oven. Watch carefully for 10-12 minutes until edges turn a delicate golden color. Let cookies rest briefly on the baking sheet before transferring to a cooling rack.
Whip butter until fluffy, then gradually blend in powdered sugar and cream. Add a touch of vanilla and food coloring to create your dream frosting. Generously spread over completely cooled cookies and sprinkle with festive decorations.
Decoration Tips for Soft Christmas Cookies with Frosting
Serve Soft Christmas Cookies with Holiday Warmth
Tips to Keep Soft Christmas Cookies Fresh
FAQs
Yes, these Christmas cookies are specifically designed to be soft and tender. The addition of sour cream in the dough helps create a moist, pillowy texture that melts in your mouth.
Absolutely! You can prepare the cookie dough in advance and refrigerate it for up to 3 days before baking. Just let the dough sit at room temperature for 15-20 minutes before scooping and baking.
Chill the dough for 30 minutes before baking. This helps the butter firm up and prevents excessive spreading, ensuring your cookies maintain their shape and thickness.
All-purpose flour is ideal for these Christmas cookies. It provides the perfect balance of structure and softness, creating a delightful texture that’s not too dense or too light.
Print
Heavenly Christmas Cookies Recipe
- Total Time: 25 minutes
- Yield: 25 1x
Description
Danish butter cookies offer a delightful journey through Nordic holiday traditions, embodying festive cheer in each delicate bite. Crisp edges and rich buttery flavor invite home bakers to celebrate Christmas with simple, elegant sweetness.
Ingredients
- 3 cups (720 ml) all-purpose flour
- 1 ½ cups (360 ml) granulated sugar
- 1 cup (240 ml) unsalted butter, softened
- ¾ cup (180 ml) unsalted butter, softened (for frosting)
- 3 cups (720 ml) powdered sugar
- 23 tablespoons (359 ml) heavy cream
- 1 large egg
- ½ cup (120 ml) sour cream
- 2 teaspoons (10 ml) vanilla extract
- 1 teaspoon (5 ml) vanilla extract (for frosting)
- ½ teaspoon (2.5 ml) baking powder
- ½ teaspoon (2.5 ml) baking soda
- ¼ teaspoon (1.25 ml) salt
- Food coloring (red, green, or any preferred colors)
- Holiday sprinkles
Instructions
- Mixing Base: Whip softened butter and sugar until creamy and light. Blend in egg, vanilla extract, and sour cream until mixture achieves smooth, consistent texture.
- Dry Ingredient Integration: Sift flour, baking powder, baking soda, and salt together. Gently fold dry ingredients into wet mixture, stirring carefully to maintain delicate consistency and prevent overmixing.
- Shaping and Preparation: Scoop uniform dough portions onto parchment-lined baking sheets. Softly flatten each cookie using bottom of a glass, creating gentle circular impressions. Ensure consistent spacing between cookies.
- Baking Process: Slide trays into oven preheated to 350°F. Bake for 10-12 minutes, watching for subtle golden edges indicating perfect doneness. Remove from oven and briefly rest on baking sheet before transferring to cooling rack.
- Frosting Finale: Whip butter until exceptionally fluffy. Gradually incorporate powdered sugar and cream, creating silky smooth frosting. Add vanilla extract and optional food coloring for festive appearance. Once cookies are completely cooled, spread frosting evenly and decorate with sprinkles.
Notes
- Butter Temperature Matters: Use room temperature butter for smoother mixing and better cookie texture, ensuring it’s soft but not melted.
- Gentle Mixing Technique: Avoid overmixing the dough to prevent tough cookies; fold ingredients just until combined to maintain a tender crumb.
- Uniform Cookie Size: Use a cookie scoop for consistent sizing, which helps ensure even baking and professional-looking results.
- Cooling is Crucial: Let cookies cool completely before frosting to prevent melting and maintain the frosting’s perfect consistency.
- Prep Time: 15 minutes
- Cook Time: 10 minutes
- Category: Desserts, Snacks
- Method: Baking
- Cuisine: American
Nutrition
- Serving Size: 25
- Calories: 210
- Sugar: 15 g
- Sodium: 80 mg
- Fat: 10 g
- Saturated Fat: 6 g
- Unsaturated Fat: 4 g
- Trans Fat: 0 g
- Carbohydrates: 30 g
- Fiber: 0 g
- Protein: 2 g
- Cholesterol: 30 mg
John Nicholson
Lead Writer & Recipe Developer
Expertise
Recipe Testing and Development, Kitchen Hacks and Time-Saving Tips, Flavor Pairing and Ingredient Selection, Engaging Food Writing and Storytelling
Education
Johnson & Wales University
John Nicholson honed his skills at Johnson & Wales University, learning how to use fresh, local ingredients and down-to-earth techniques to make cooking simple and satisfying.
His recipes blend Southern comfort flavors with a modern touch, inviting everyone to cook with ease and confidence.
Living in Charleston, John takes cues from the city’s lively food scene, local markets, and seasonal produce. He’s all about making meals stress-free through easy tips, flavor pairings, and fun experiments in the kitchen