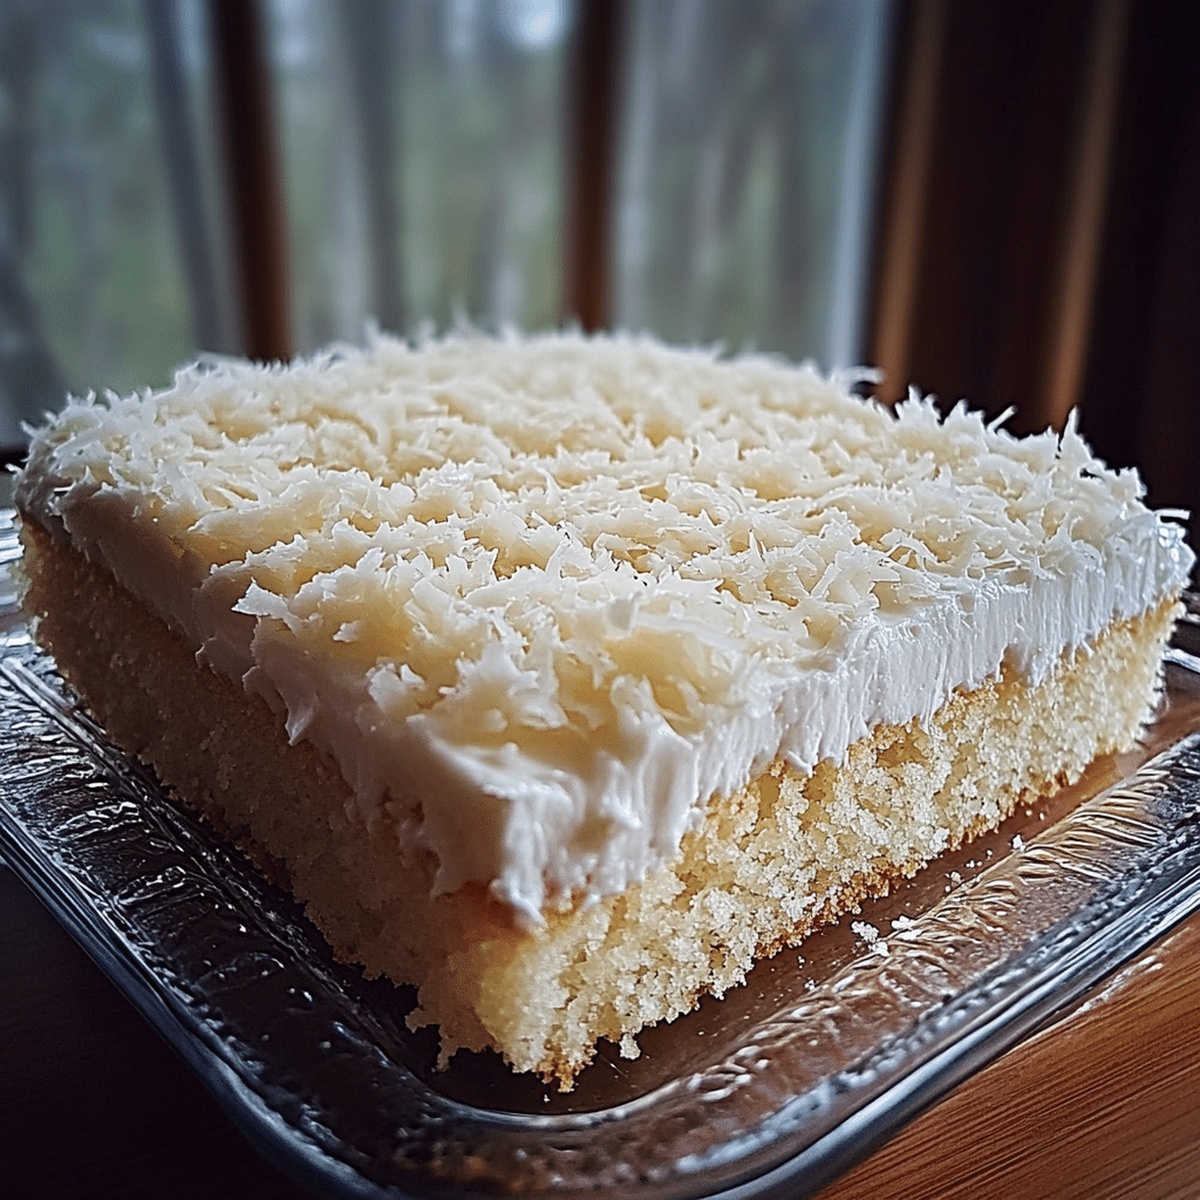
Sour Cream Coconut Cake Recipe with a Fluffy Crumb Finish
Dessert enthusiasts adore this decadent sour cream coconut cake that promises pure bliss with every bite.
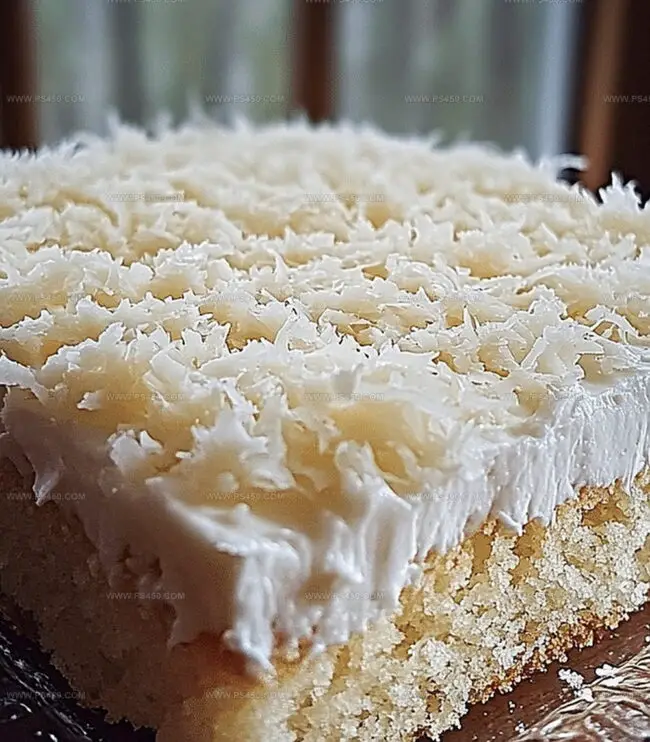
Creamy textures and tropical coconut notes dance together in a harmonious blend of sweet indulgence.
The rich, moist layers showcase a perfect balance of classic cake techniques and vibrant flavors.
Each slice tells a story of comfort and culinary creativity.
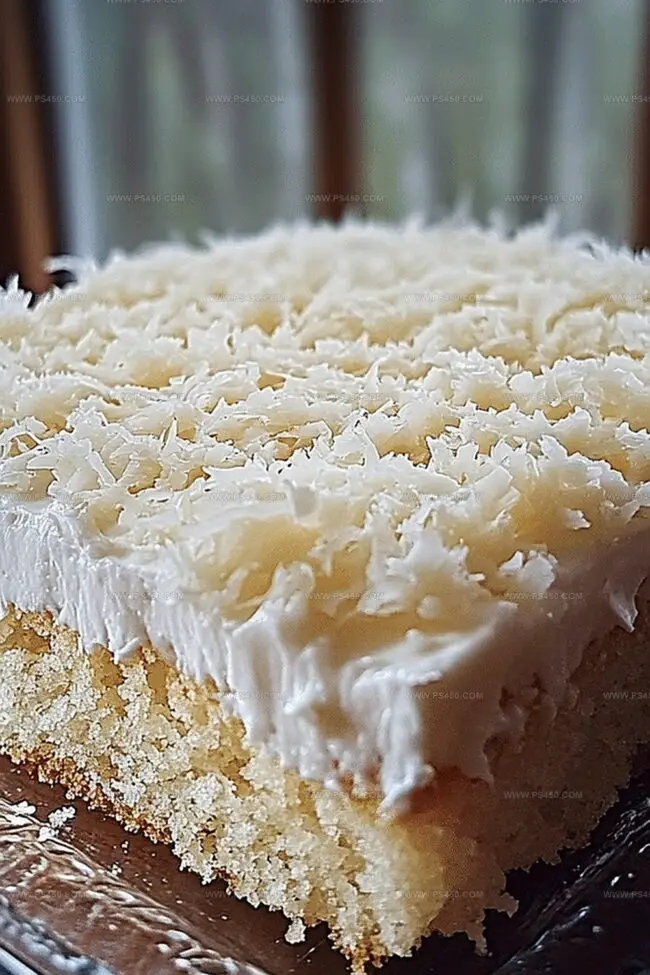
Soft, tender crumbs melt on your tongue, releasing waves of coconutty goodness.
Subtle hints of vanilla and the smooth sour cream create a delightful backdrop for this crowd-pleasing treat.
Quick Recipe Overview
Sour Cream Coconut Cake: Ingredients You Need
For Cake Base and Wet Ingredients:For Baking Preparation:For Coating and Finishing:Tools for Sour Cream Coconut Cake
How to Make Sour Cream Coconut Cake
Crank your oven to a toasty 350°F and get those cake pans ready by giving them a light spray and dusting of flour.
Toss all your delicious ingredients into a big mixing bowl – cake mix, creamy sour cream, slick vegetable oil, eggs, dreamy coconut milk, and that heavenly coconut extract.
Grab your electric mixer and whirl those ingredients together on medium speed. Let everything dance and swirl for 2-3 minutes until you’ve got a silky smooth batter that looks absolutely perfect.
Gently pour your luscious batter into the prepared pans, making sure it’s evenly distributed so each slice will be pure coconut heaven.
Slide those pans into the preheated oven and let them bake for about 25-30 minutes. You’ll know they’re done when a toothpick comes out clean and the tops are a gorgeous golden brown.
Pull your beautiful cakes out and let them cool in the pans for 10 minutes. Then carefully turn them out onto a wire rack to cool completely before frosting or serving.
Pro Tips for Sour Cream Coconut Cake
Serving Sour Cream Coconut Cake Like a Pro
Meal Planning & Storing Sour Cream Coconut Cake
FAQs
Sour cream adds moisture, tenderness, and a rich, tangy flavor to the cake, helping to create a soft and velvety texture that keeps the cake from becoming dry.
While coconut milk provides a distinct coconut flavor, you can use regular milk, but the cake will have a less pronounced coconut taste. For best results, stick to the original recipe.
No, just a standard electric mixer and two 9-inch round cake pans are sufficient. If you don’t have parchment paper, greasing and flouring the pans works perfectly fine.
Absolutely! This recipe uses a cake mix as a base, which simplifies the process and makes it very easy for novice bakers to create a delicious homemade cake with minimal effort.
Print
Heavenly Sour Cream Coconut Cake Recipe
- Total Time: 45 minutes
- Yield: 13 1x
Description
Irresistible sour cream coconut cake delivers tropical sweetness with classic Southern charm. Moist layers infused with coconut flavor promise delightful indulgence for dessert enthusiasts seeking comfort and pure pleasure.
Ingredients
- 1 box white cake mix (15.25 oz / 432 g)
- 4 large eggs
- 1 cup sour cream (240 ml / 8 fl oz)
- ½ cup vegetable oil (120 ml / 4 fl oz)
- ½ cup coconut milk (or regular milk) (120 ml / 4 fl oz)
- 1 tsp coconut extract
- 8 oz sour cream (227 g)
- 1 cup powdered sugar (120 g)
- ½ cup shredded sweetened coconut (40 g, plus extra for garnish)
- 8 oz whipped topping (such as Cool Whip), thawed (227 g)
Instructions
- Oven Preparation: Calibrate oven to 350F (175C) and strategically line cake pans with parchment paper or apply a thin grease and flour coating to prevent adhesion.
- Batter Creation: Consolidate cake mix, sour cream, vegetable oil, eggs, coconut milk, and coconut extract into a generously sized mixing bowl, utilizing an electric mixer at medium velocity for 2-3 minutes until achieving a seamless, velvety consistency with zero lumpy interruptions.
- Pan Distribution: Meticulously allocate batter across prepared pans, maintaining uniform volume and smooth surface tension to guarantee balanced cake layers.
- Baking Process: Situate pans centrally within preheated oven, allowing consistent thermal circulation for 25-30 minutes, periodically verifying doneness through a strategic toothpick test – a clean extraction signals perfect cake completion.
- Cooling Protocol: Extract cakes from oven and transfer to wire cooling rack, permitting complete temperature reduction before attempting removal or frosting to preserve structural integrity and prevent potential fragmentation.
Notes
- Manage Moisture Precisely: Use room temperature ingredients to create a smoother, more even cake texture and prevent potential separation in the batter.
- Control Coconut Intensity: Adjust coconut extract quantity based on personal preference, allowing flexibility in flavor strength without compromising cake structure.
- Prevent Potential Dryness: Watch baking time carefully, as over-baking can result in a dry cake; start checking doneness around 22-25 minutes to maintain optimal moisture.
- Enhance Flavor Complexity: Consider toasting unsweetened coconut flakes and sprinkle on top or between layers for added depth and textural contrast in the final presentation.
- Prep Time: 15 minutes
- Cook Time: 30 minutes
- Category: Desserts
- Method: Baking
- Cuisine: American
Nutrition
- Serving Size: 13
- Calories: 311
- Sugar: 22 g
- Sodium: 276 mg
- Fat: 16 g
- Saturated Fat: 9 g
- Unsaturated Fat: 6 g
- Trans Fat: 0 g
- Carbohydrates: 39 g
- Fiber: 1 g
- Protein: 4 g
- Cholesterol: 63 mg
John Nicholson
Lead Writer & Recipe Developer
Expertise
Recipe Testing and Development, Kitchen Hacks and Time-Saving Tips, Flavor Pairing and Ingredient Selection, Engaging Food Writing and Storytelling
Education
Johnson & Wales University
John Nicholson honed his skills at Johnson & Wales University, learning how to use fresh, local ingredients and down-to-earth techniques to make cooking simple and satisfying.
His recipes blend Southern comfort flavors with a modern touch, inviting everyone to cook with ease and confidence.
Living in Charleston, John takes cues from the city’s lively food scene, local markets, and seasonal produce. He’s all about making meals stress-free through easy tips, flavor pairings, and fun experiments in the kitchen