Heavenly Butterfinger Balls Recipe: A Sweet Treat To Delight
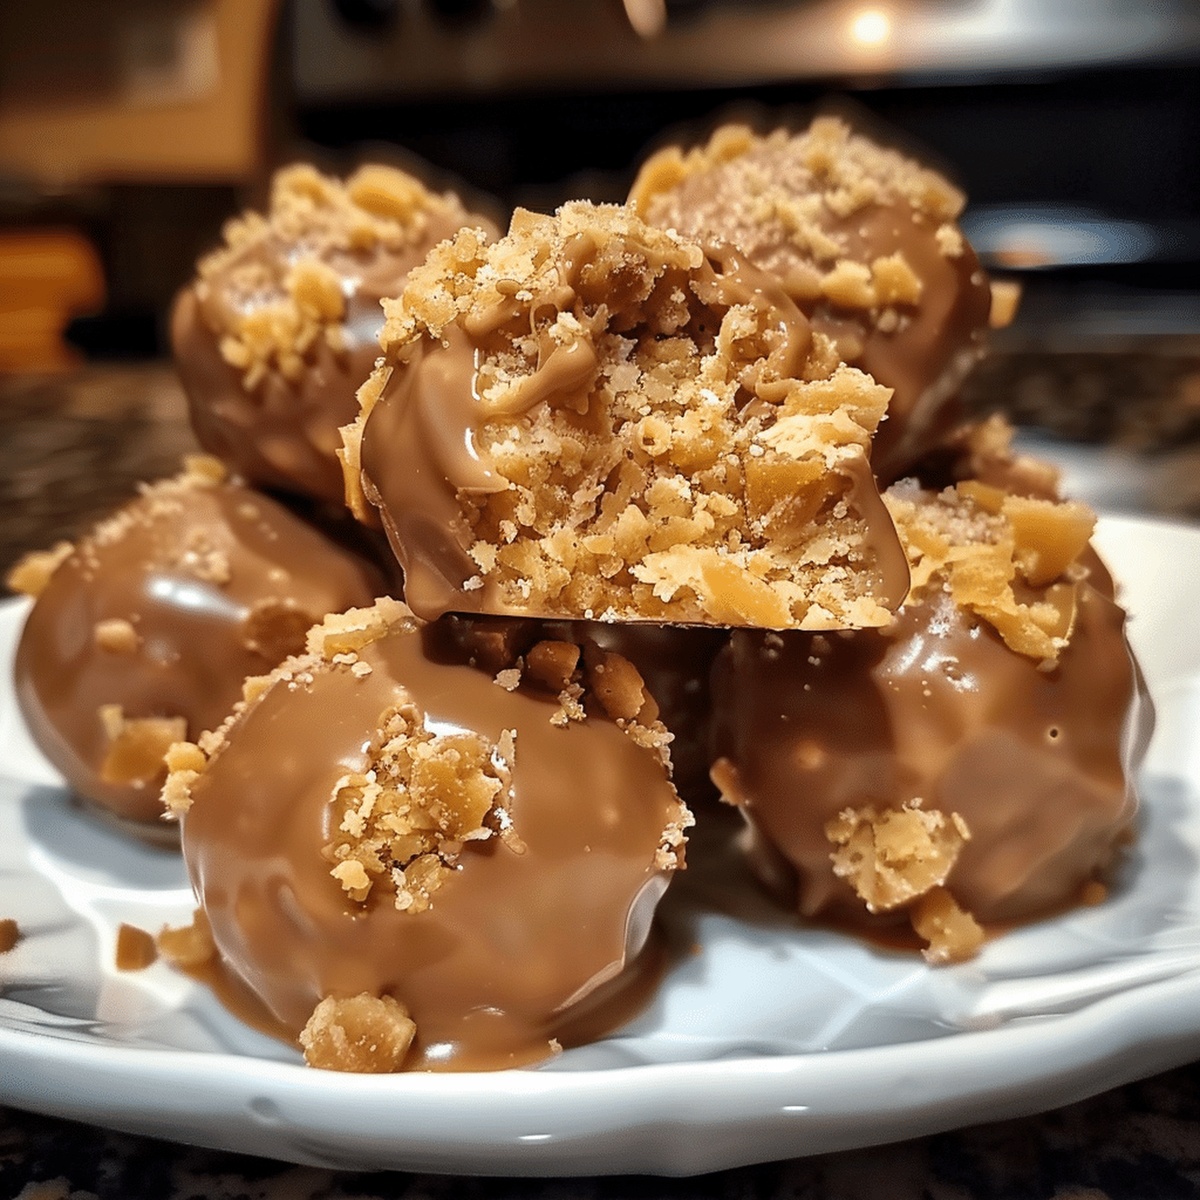
Chocolate-coated treats with crunchy Butterfinger candy bars create an irresistible dessert that melts in your mouth.
Sweet and decadent, these no-bake balls pack a punch of nostalgic flavor.
Crushing the candy bars releases their signature peanut butter crunch.
Each bite delivers a perfect balance of creamy and crispy textures.
Minimal ingredients and simple preparation make these balls a go-to dessert for any occasion.
Whip up this delightful recipe and watch everyone’s eyes light up with excitement.
The combination of chocolate and Butterfinger will have everyone asking for seconds.
How to Make Butterfinger Balls from Scratch
Grab your mixing bowl and blend peanut butter with softened butter until silky smooth. Fold in powdered sugar and crushed Butterfinger pieces, creating a decadent mixture that promises pure delight.
Roll the mixture into bite-sized spheres, placing them gently on a parchment-lined tray. Pop them in the freezer for a quick chill, letting them firm up perfectly.
Melt chocolate chips with a touch of coconut oil, stirring carefully in the microwave until glossy and smooth. This liquid gold will be youral coating.
Carefully dip each chilled ball into the melted chocolate, ensuring a complete, luxurious coverage. Let excess chocolate drip off for a professional finish.
Allow your Butterfinger Balls to rest at room temperature or in the refrigerator until the chocolate hardens. Watch them transform into irresistible treats ready to be devoured.
Coating Ideas to Mix Up Flavor or Texture
Serving Butterfinger Balls for Holidays or Treat Tables
Storing These Sweet Bites Without Losing Crunch
FAQs
The key ingredients are peanut butter, butter, powdered sugar, Butterfinger candy bars, chocolate chips, and optional coconut oil for smooth chocolate coating.
Yes, you can substitute Butterfinger with other chopped candy bars like Crunch or Reese’s, but the flavor profile will change slightly.
You’ll need a mixing bowl, baking sheet, parchment paper, fork or dipping tool, and basic measuring utensils. A microwave or double boiler works for melting chocolate.
When stored in an airtight container in the refrigerator, these treats will stay fresh for about 1 week. For best texture and taste, consume within 5-7 days.
Quick Recipe Overview
Prep Time: 15 minutes
Cook Time: 30 minutes
Total Time: 45 minutes
Calories: 215 kcal
Servings: 25
Ingredients for Butterfinger Dessert Balls
For Base Mixture:For Coating:For Finishing:Tools That Help Shape and Chill These Bites
Print
Indulgent Butterfinger Balls Recipe
- Total Time: 45 minutes
- Yield: 25 1x
Description
Rich Butterfinger Balls meld chocolate and peanut butter into irresistible bite-sized treats. Creamy centers coated with chocolate create a nostalgic dessert perfect for holiday gatherings and sweet cravings.
Ingredients
- 12 oz (340 g) chocolate chips (milk, semi-sweet, or dark)
- 1 tbsp coconut oil or vegetable shortening (optional, for smooth coating)
- 1 ½ cups (about 10 oz) crushed Butterfinger candy bars
- 1 cup (240 g) creamy peanut butter
- ½ cup (115 g) unsalted butter, softened
- 3 cups (360 g) powdered sugar
Instructions
- Mixture Preparation: Whisk peanut butter and butter until creamy, gradually fold in powdered sugar to create a smooth, uniform base that holds together effortlessly.
- Candy Integration: Gently incorporate crushed Butterfinger pieces throughout the mixture, ensuring even distribution of crunchy candy fragments for consistent texture.
- Shaping and Chilling: Roll the mixture into compact, uniform spheres roughly one inch in diameter, then place on a parchment-lined tray and freeze for 20-30 minutes to firm up the structure.
- Chocolate Coating: Melt chocolate chips with coconut oil in short microwave bursts, stirring between intervals to achieve a glossy, silky coating that will envelop the chilled balls completely.
- Dipping and Setting: Carefully submerge each chilled ball into the molten chocolate using a fork, allowing excess to drip off before placing on the parchment-lined surface to set at room temperature or in the refrigerator until the chocolate shell hardens completely.
Notes
- Chill Thoroughly: Freeze the mixture for 20-30 minutes to ensure balls hold shape perfectly during chocolate dipping, preventing crumbling and maintaining structural integrity.
- Chocolate Melting Mastery: Use short microwave bursts and stir frequently to prevent chocolate burning, creating a smooth, glossy coating that adheres elegantly to the balls.
- Uniform Size Matters: Roll balls consistently around one inch in diameter for even chocolate coating and uniform cooking, ensuring each bite delivers balanced flavor and texture.
- Prevent Sticking Trick: Use parchment paper or a silicone mat when chilling and coating to guarantee easy removal and clean presentation of the Butterfinger Balls.
- Prep Time: 15 minutes
- Cook Time: 30 minutes
- Category: Desserts, Snacks
- Method: Blending
- Cuisine: American
Nutrition
- Serving Size: 25
- Calories: 215
- Sugar: 22 g
- Sodium: 60 mg
- Fat: 12 g
- Saturated Fat: 7 g
- Unsaturated Fat: 4 g
- Trans Fat: 0 g
- Carbohydrates: 26 g
- Fiber: 0 g
- Protein: 3 g
- Cholesterol: 15 mg
John Nicholson
Lead Writer & Recipe Developer
Expertise
Recipe Testing and Development, Kitchen Hacks and Time-Saving Tips, Flavor Pairing and Ingredient Selection, Engaging Food Writing and Storytelling
Education
Johnson & Wales University
John Nicholson honed his skills at Johnson & Wales University, learning how to use fresh, local ingredients and down-to-earth techniques to make cooking simple and satisfying.
His recipes blend Southern comfort flavors with a modern touch, inviting everyone to cook with ease and confidence.
Living in Charleston, John takes cues from the city’s lively food scene, local markets, and seasonal produce. He’s all about making meals stress-free through easy tips, flavor pairings, and fun experiments in the kitchen