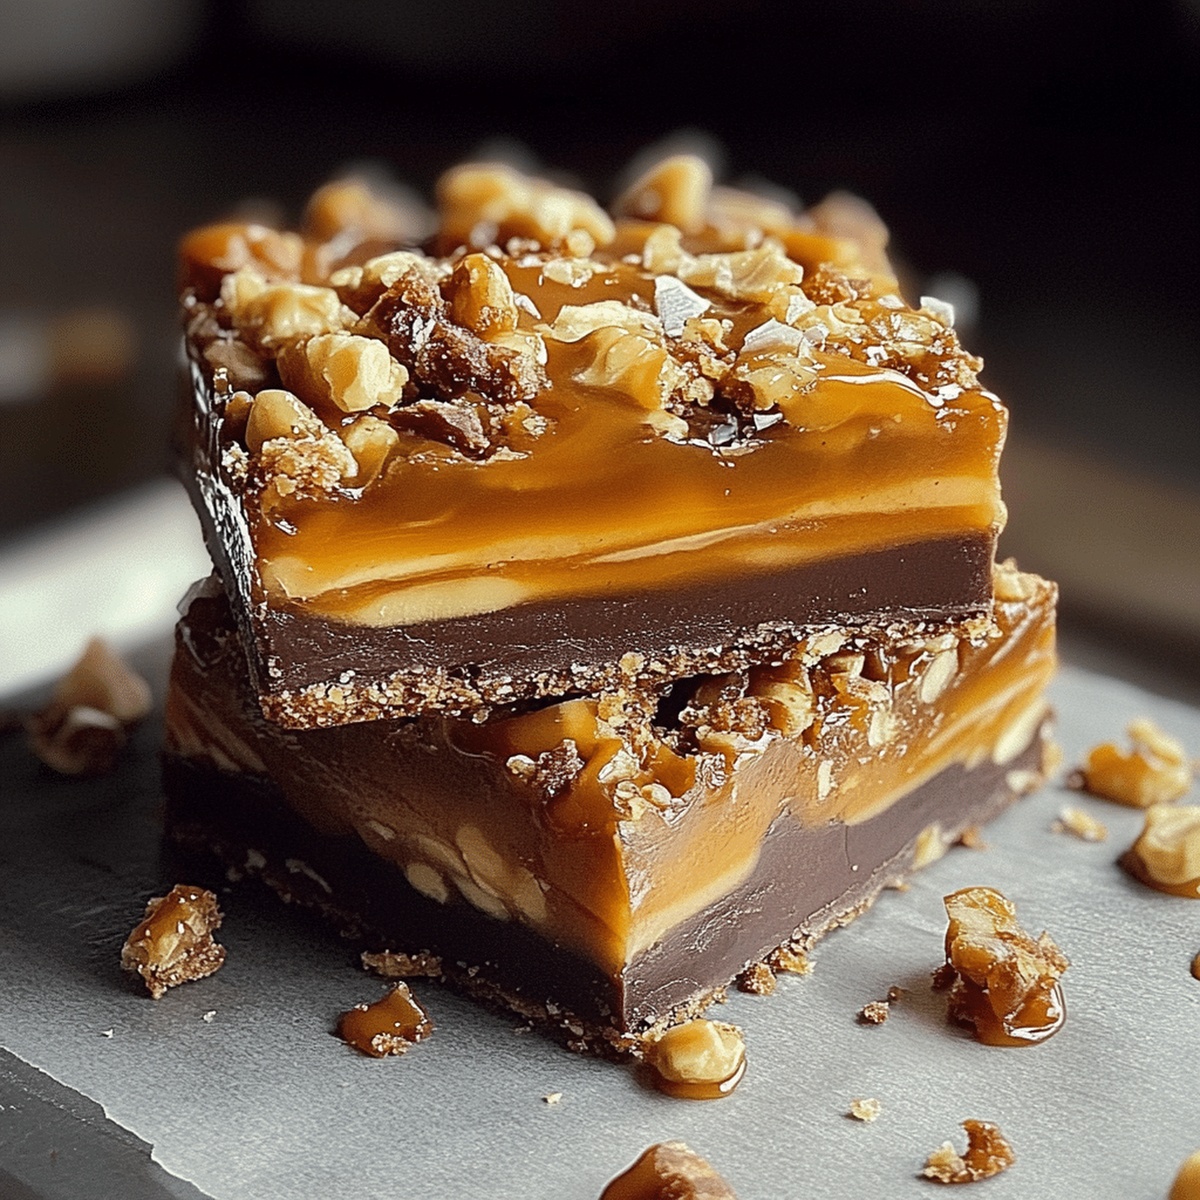
Butterfinger Crunch Bar Recipe That’s Sweet and Crisp
Decadent chocolate meets irresistible crunch in these mouthwatering Butterfinger crunch bars that will make taste buds dance with excitement.
Sweet layers of chocolate blend perfectly with the signature Butterfinger candy bar texture.
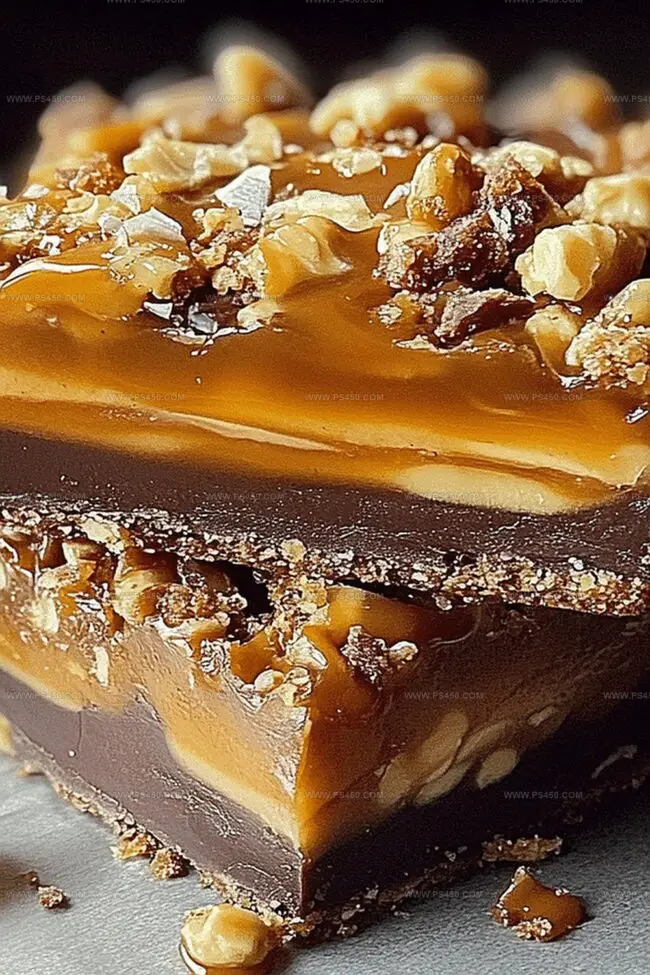
Crispy, golden pieces of candy provide an unexpected burst of flavor in every bite.
The recipe delivers a delightful treat that combines rich chocolate with salty-sweet crumbles.
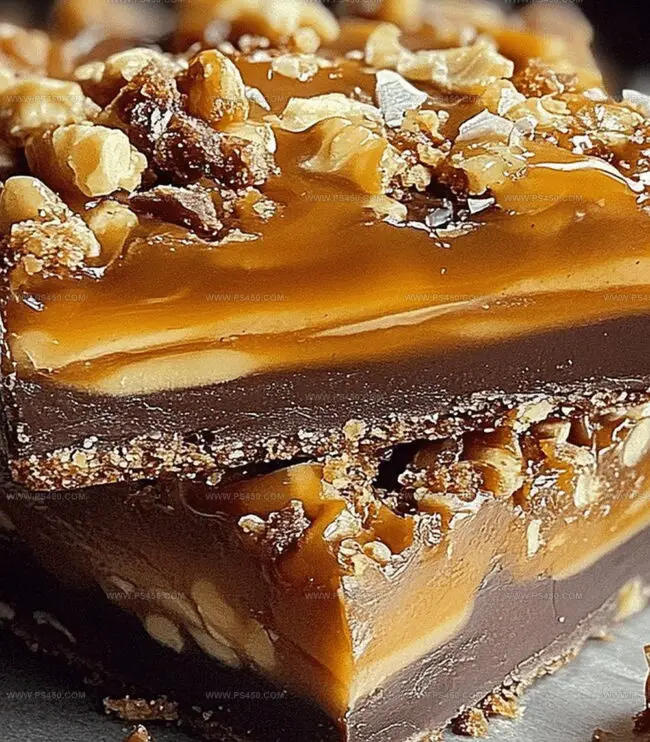
Each bar promises a symphony of textures that will transport you to dessert heaven.
The combination of smooth chocolate and crunchy candy creates an unforgettable snacking experience.
Prepare to embark on a delicious journey that will have everyone asking for seconds.
Quick Recipe Overview
Everything That Goes Into Butterfinger Crunch Bars
For Base and Binding:For Chocolate Topping:For Crunch and Garnish:Tools That Help with Mixing and Setting Crunch Bars
How to Press and Chill Butterfinger Crunch Bars
Blend together peanut butter, butter, graham cracker crumbs, powdered sugar, and crushed Butterfinger candies into a sticky mixture that holds together perfectly.
Spread the mixture into a lined pan, pressing firmly and smoothing the surface to create an even foundation for your delectable treat.
Melt chocolate chips in short bursts, stirring until silky smooth, then pour over the base and spread evenly with a gentle touch.
Immediately shower the melted chocolate with remaining Butterfinger pieces, gently pressing to ensure they stick and create a delightful textured surface.
Refrigerate the bars until completely firm, then lift from the pan and slice into mouth-watering squares that will make everyone’s taste buds dance.
Add-Ons to Make Butterfinger Crunch Bars Pop
Serve These Crunch Bars at Parties or Lunchboxes
Store Crunch Bars for Later Without Losing Texture
FAQs
You can substitute with similar crunchy chocolate-peanut butter candies like Reese’s Pieces or chopped Crunch bars for a similar texture and flavor profile.
Parchment paper makes removal easier and prevents sticking, but you can use a greased pan if you don’t have parchment paper. Just be careful when cutting and removing the bars.
Place the Butterfinger bars in a sealed plastic bag and gently crush with a rolling pin or the back of a spoon. Aim for a mix of fine and chunky pieces for the best texture.
Yes, use gluten-free graham cracker crumbs or substitute with gluten-free cookie crumbs to make the recipe celiac-friendly.
Print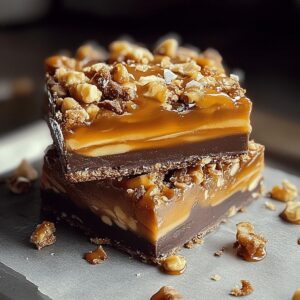
Indulgent Butterfinger Crunch Bars Recipe
- Total Time: 2 hours 15 minutes
- Yield: 17 1x
Description
Butterfinger Crunch Bars deliver a perfect balance of chocolate and peanut butter nostalgia. Crisp layers and rich chocolate create an irresistible dessert you’ll want to savor repeatedly.
Ingredients
- 2 cups (473 ml) crushed Butterfinger candies (about 8 fun-size bars)
- 1 cup (237 ml) creamy peanut butter
- 1 cup (237 ml) graham cracker crumbs
- 1 cup (120 g) powdered sugar
- ½ cup (113 g or 1 stick) unsalted butter, melted
- 1 cup (170 g) milk or semi-sweet chocolate chips
- 2 tbsps (30 ml) coconut oil or vegetable oil (optional, for smoother chocolate topping)
Instructions
- Crust Creation: Thoroughly combine graham cracker crumbs, peanut butter, melted butter, powdered sugar, and a portion of crushed Butterfinger pieces until achieving a cohesive, slightly sticky texture.
- Pan Preparation: Line an 8×8-inch baking dish with parchment paper, ensuring complete bottom and side coverage for seamless extraction.
- Base Formation: Firmly press the prepared mixture into the lined pan, creating an even, compact foundation layer that fills the entire surface.
- Chocolate Coating: Melt chocolate chips using microwave-safe method with intermittent stirring, optionally incorporating coconut oil for enhanced gloss and smoothness.
- Surface Finishing: Pour molten chocolate over the peanut butter base, spreading uniformly to completely blanket the initial layer, then immediately sprinkle remaining Butterfinger fragments across the top, gently pressing to secure candy pieces.
- Chilling and Setting: Refrigerate the pan for approximately two hours until the bars achieve complete solidity and firms up entirely.
- Serving Preparation: Remove the dessert from the pan by lifting parchment paper edges, then slice into precise rectangular or square portions using a sharp knife for clean, professional presentation.
Notes
- Prevent Sticky Mixture: Add powdered sugar gradually to control the texture of the peanut butter base, ensuring it’s not too wet or dry.
- Smooth Chocolate Technique: Melt chocolate chips in 15-second intervals, stirring between each to avoid burning and achieve a glossy finish.
- Chill for Perfect Texture: Refrigerate bars for exactly 2 hours; over-chilling can make the bars too hard, while under-chilling keeps them soft.
- Cutting Clean Edges: Wipe knife with warm, damp cloth between cuts to create precise, smooth bar edges without crumbling the layers.
- Prep Time: 15 minutes
- Cook Time: 2 hours
- Category: Desserts, Snacks
- Method: None
- Cuisine: American
Nutrition
- Serving Size: 17
- Calories: 180
- Sugar: 12 g
- Sodium: 90 mg
- Fat: 10 g
- Saturated Fat: 4 g
- Unsaturated Fat: 6 g
- Trans Fat: 0 g
- Carbohydrates: 21 g
- Fiber: 1 g
- Protein: 3 g
- Cholesterol: 5 mg
John Nicholson
Lead Writer & Recipe Developer
Expertise
Recipe Testing and Development, Kitchen Hacks and Time-Saving Tips, Flavor Pairing and Ingredient Selection, Engaging Food Writing and Storytelling
Education
Johnson & Wales University
John Nicholson honed his skills at Johnson & Wales University, learning how to use fresh, local ingredients and down-to-earth techniques to make cooking simple and satisfying.
His recipes blend Southern comfort flavors with a modern touch, inviting everyone to cook with ease and confidence.
Living in Charleston, John takes cues from the city’s lively food scene, local markets, and seasonal produce. He’s all about making meals stress-free through easy tips, flavor pairings, and fun experiments in the kitchen