Hot Fudge Pie Recipe with a Gooey, Melted Chocolate Center
Chocolate lovers can’t resist this decadent hot fudge pie that melts hearts and tantalizes taste buds.
Rich, gooey layers of chocolate create a dessert that dances between cake and pudding.
The recipe whispers sweet promises of pure indulgence.
Every bite promises a warm, velvety experience that lingers deliciously.
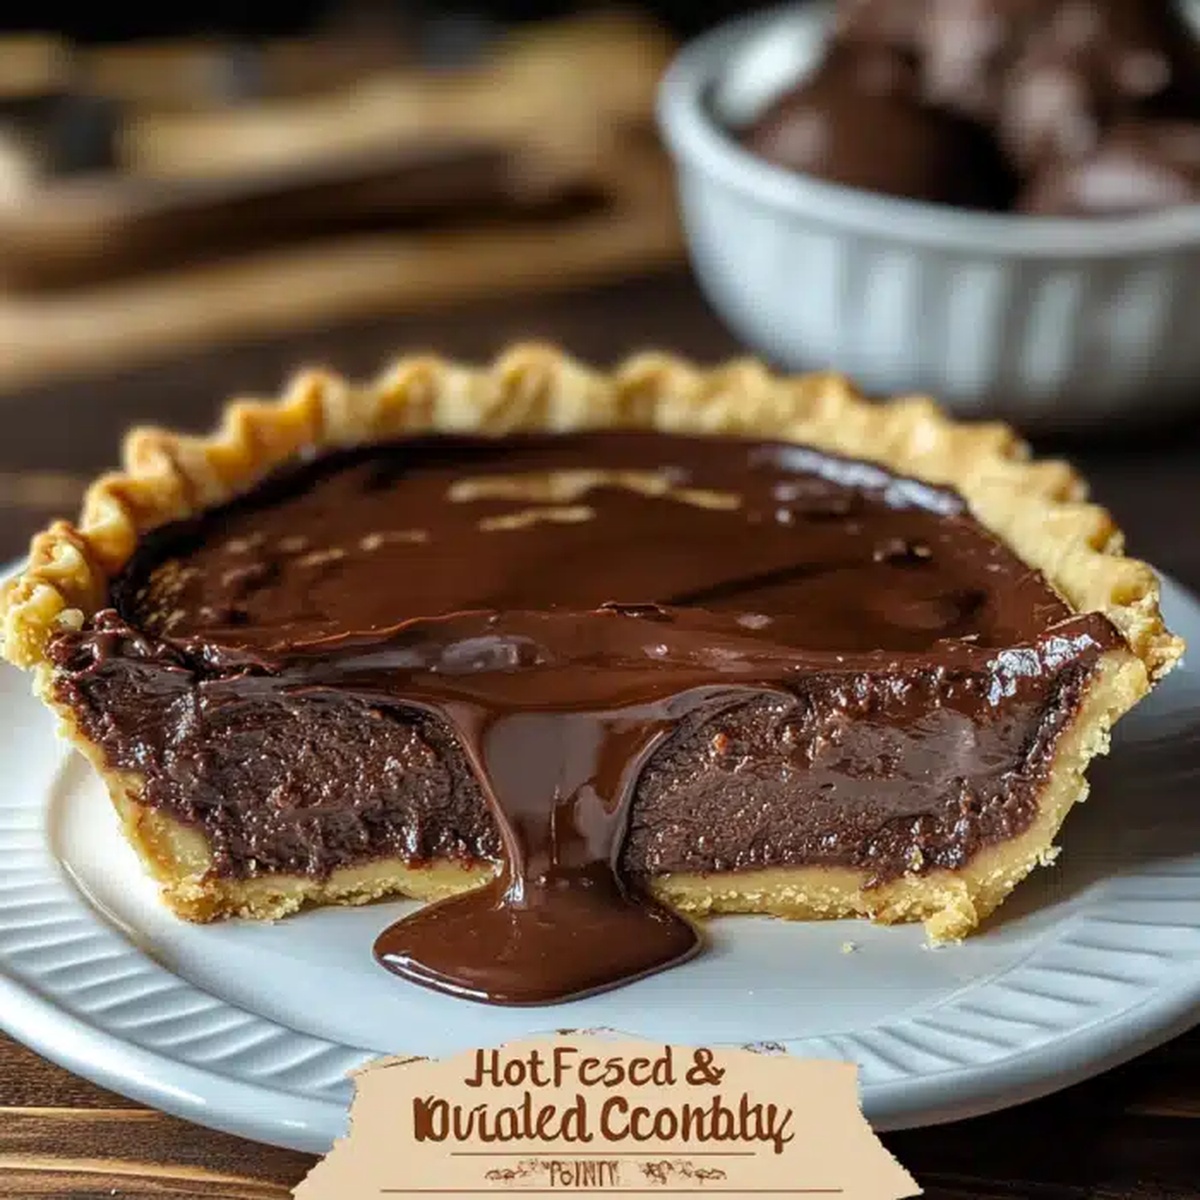
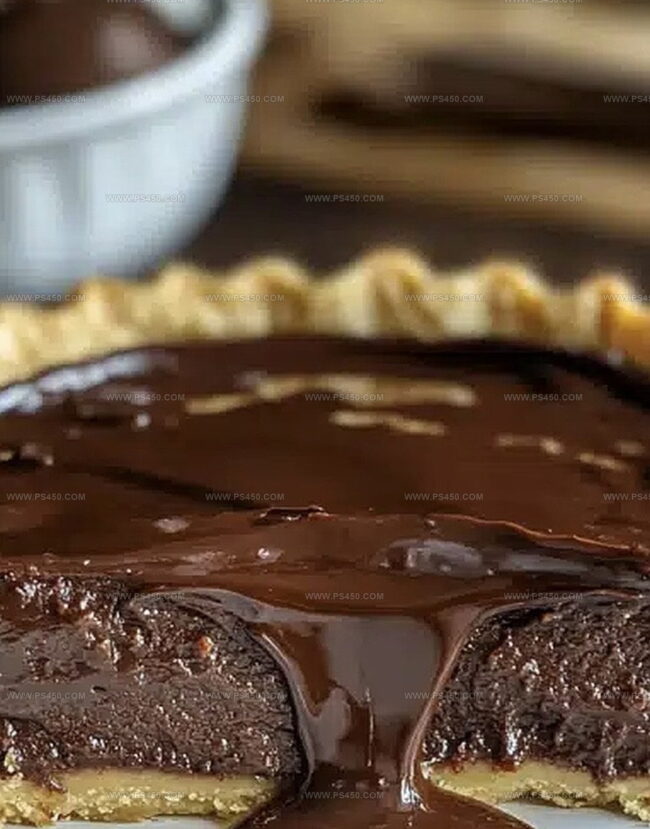
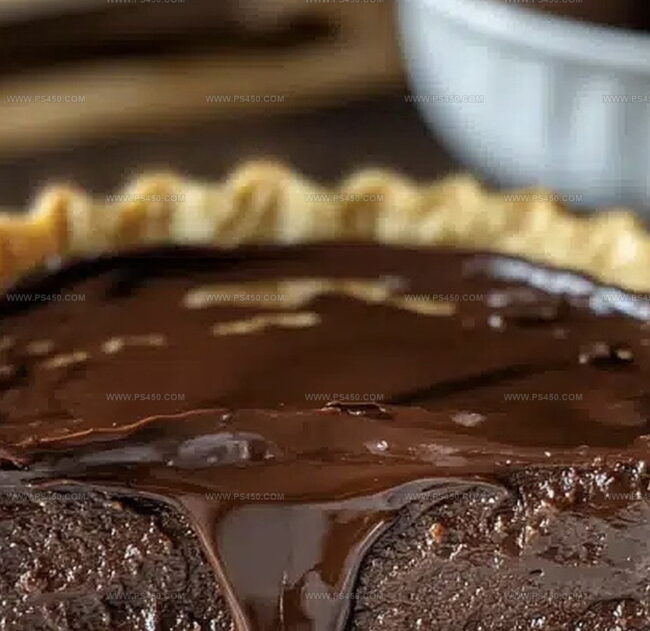
Each slice reveals a molten center that oozes with deep chocolate intensity.
Serve this show-stopping dessert warm with a scoop of vanilla ice cream to elevate the experience.
Your dinner guests will be begging for seconds before the first bite is finished.
Quick Recipe Overview
Hot Fudge Pie: Ingredient List
For Wet Ingredients:For Dry Ingredients:For Sweet and Mix-In Ingredients:Tools to Help Nail That Fudge Pie Texture
How to Bake a Rich and Gooey Hot Fudge Pie
Crank the oven to a toasty 350F and give your baking dish a quick butter massage to prevent sticking.
Grab a mixing bowl and start whisking melted butter with sugar until they become best friends. Toss in flour, cocoa powder, eggs, vanilla, and a pinch of salt. Stir until everything looks happily blended. Want extra chocolate punch? Fold in some chocolate chips.
Pour that luscious batter into your prepared dish, smoothing the top like you’re creating delicious artwork. Slide into the heated oven and bake for 25-30 minutes. Look for edges that are set but a center that’s still seductively gooey.
Let the pie cool just enough so you don’t burn your tongue. Slice into this chocolatey dream and crown it with a scoop of vanilla ice cream or a fluffy cloud of whipped cream. Prepare for total dessert bliss!
Tips to Get That Fudgy Center Just Right
Slice & Serve Hot Fudge Pie Like a Dessert Champ
Fudge Pie Storage Tips
FAQs
Absolutely! The chocolate chips are optional. The pie will still be rich and delicious without them, as the cocoa powder provides plenty of chocolate flavor.
It’s actually a hybrid – more of a gooey chocolate pie that has a texture similar to a super moist brownie. The edges set firmly while the center remains soft and fudgy.
Look for set edges and a slightly jiggly center. When you insert a toothpick, it should come out with moist crumbs, not completely clean. This ensures the signature gooey texture that makes this dessert so special.
Yes, both unsweetened and dark cocoa powder work great. They’ll give slightly different flavor profiles, with dark cocoa providing a more intense chocolate taste. Just use the same measurement specified in the original recipe.
Print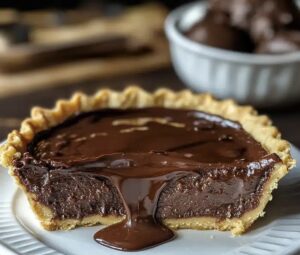
Indulgent Hot Fudge Pie Recipe
- Total Time: 35 minutes
- Yield: 9 1x
Description
Southern Hot Fudge Pie delivers a chocolatey dessert that melts hearts with its rich, gooey center. Chocolate enthusiasts will savor this classic Southern treat that combines simple ingredients for maximum deliciousness.
Ingredients
- 2 large eggs
- 1 cup (240 ml) granulated sugar
- ½ cup (120 ml/4 oz) unsalted butter, melted
- ½ cup (85 g) semi-sweet chocolate chips
- ¼ cup (30 g) all-purpose flour
- ¼ cup (25 g) unsweetened cocoa powder
- ¼ tsp (0.25 teaspoon) salt
- 1 tsp vanilla extract
Instructions
- Preparation: Generously grease a 9-inch pie pan to prevent potential sticking and ensure smooth removal.
- Base Creation: Melt butter and thoroughly blend with sugar until the mixture transforms into a silky, uniform consistency.
- Dry Ingredient Integration: Sift flour and cocoa powder into the butter-sugar mixture, whisking meticulously to eliminate any potential lumps and create a smooth batter.
- Wet Ingredient Fusion: Gently introduce eggs, vanilla extract, and salt into the chocolate base, stirring until the batter achieves a glossy, luxurious texture.
- Chocolate Enhancement: Sprinkle chocolate chips throughout the batter, ensuring an even distribution for delightful chocolate pockets in every slice.
- Baking Procedure: Pour the velvety mixture into the prepared pan, smoothing the surface with a spatula and carefully transferring to a preheated oven at 350°F (175°C).
- Doneness Verification: Bake for 25-30 minutes, watching for slightly set edges and a center that remains delicately soft; confirm with a toothpick test revealing moist crumbs.
- Cooling and Serving: Allow the pie to rest for 5 minutes, then serve warm alongside a scoop of vanilla ice cream or a delicate dollop of whipped cream for an indulgent dessert experience.
Notes
Prevent Ingredient Separation: Ensure butter and sugar are at room temperature and blend slowly to create a smooth, homogeneous mixture that prevents ingredient splitting.
Cocoa Powder Precision: Sift cocoa powder before adding to eliminate clumps, guaranteeing a silky-smooth chocolate texture without grainy residue.
Baking Time Sensitivity: Watch the pie closely during the last 5 minutes of baking – over-baking can transform the luxurious, gooey center into a dry, crumbly texture.
Dietary Adaptation: Swap regular flour with gluten-free alternatives like almond or coconut flour for a celiac-friendly version, maintaining the pie’s rich chocolate essence without compromising taste.
- Prep Time: 10 minutes
- Cook Time: 25 minutes
- Category: Desserts
- Method: Baking
- Cuisine: American
Nutrition
- Serving Size: 9
- Calories: 300
- Sugar: 25 g
- Sodium: 75 mg
- Fat: 15 g
- Saturated Fat: 9 g
- Unsaturated Fat: 4 g
- Trans Fat: 0 g
- Carbohydrates: 36 g
- Fiber: 1 g
- Protein: 4 g
- Cholesterol: 70 mg
John Nicholson
Lead Writer & Recipe Developer
Expertise
Recipe Testing and Development, Kitchen Hacks and Time-Saving Tips, Flavor Pairing and Ingredient Selection, Engaging Food Writing and Storytelling
Education
Johnson & Wales University
John Nicholson honed his skills at Johnson & Wales University, learning how to use fresh, local ingredients and down-to-earth techniques to make cooking simple and satisfying.
His recipes blend Southern comfort flavors with a modern touch, inviting everyone to cook with ease and confidence.
Living in Charleston, John takes cues from the city’s lively food scene, local markets, and seasonal produce. He’s all about making meals stress-free through easy tips, flavor pairings, and fun experiments in the kitchen