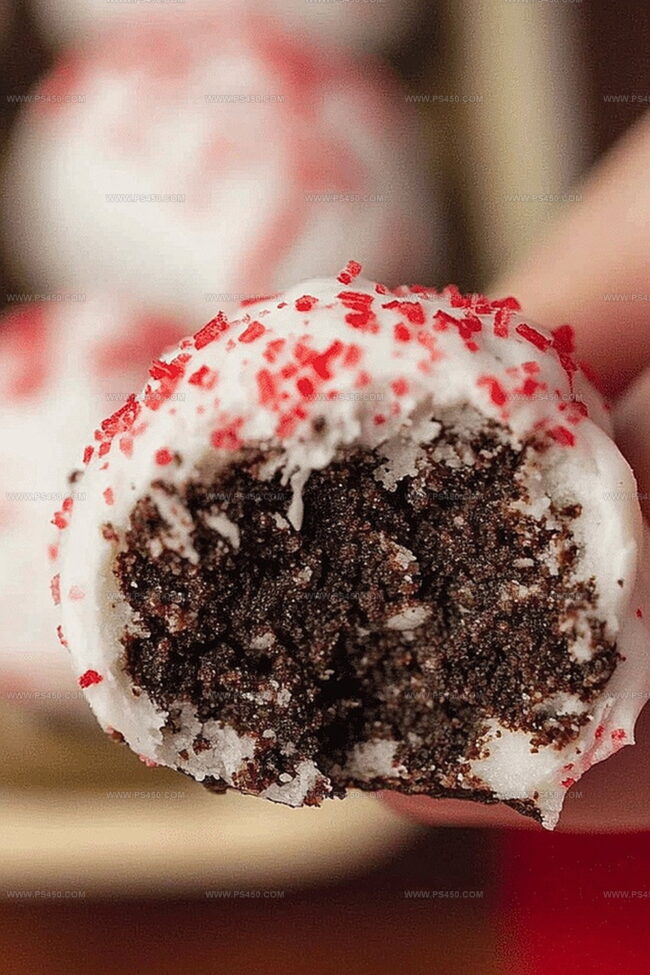
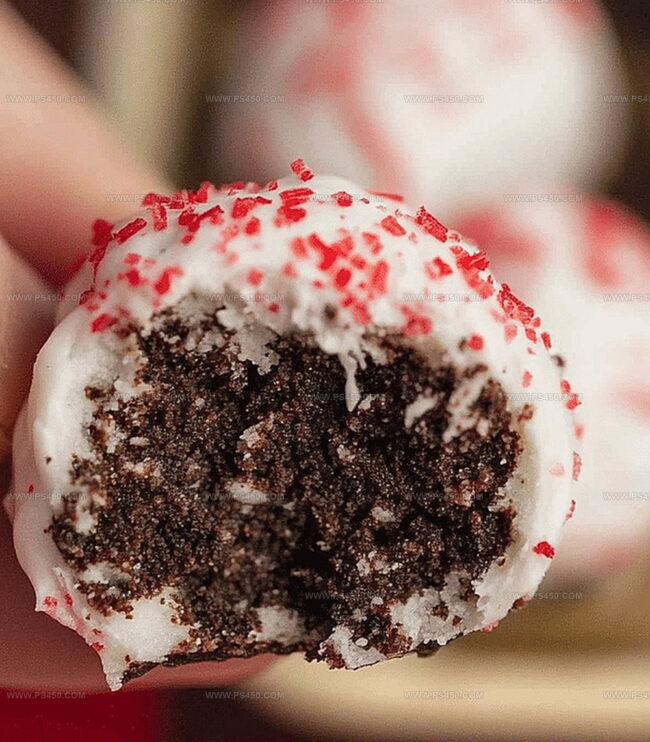
Peppermint Oreo Ball Recipe for Festive Holiday Bites
Chocolate lovers constantly seek decadent treats that satisfy their sweet cravings, and these peppermint Oreo balls deliver pure bliss.
Crushing classic Oreo cookies creates a rich, creamy base that melts in your mouth.
The peppermint twist adds a refreshing burst of cool flavor to each delightful bite.
No baking required means anyone can whip up these delectable treats in minutes.
Chocolate coating provides a luxurious finish that makes these Oreo balls look professionally crafted.
The combination of crushed cookies, cream cheese, and chocolate creates an irresistible dessert that vanishes quickly at parties.
Prepare to impress everyone with these simple yet stunning holiday confections.
Quick Recipe Overview
Gather These Goodies for Peppermint Oreo Balls
For Base Mixture:For Coating:For Decoration:Tools to Rock Your Peppermint Oreo Ball Prep
Let’s Make Peppermint Oreo Balls Happen
Crush cookies until they become fine powder. Mix in soft cream cheese and a splash of peppermint flavor. Blend until the mixture looks smooth and consistent.
Roll mixture into small, round balls using your hands. Place these cute treats on a lined tray. Chill them in the refrigerator to help them firm up.
Gently warm chocolate wafers in the microwave, stirring until they become silky and glossy.
Carefully dip each chilled ball into the melted chocolate, letting excess drip away. Quickly sprinkle crushed peppermint candies on top while chocolate is still wet.
Let chocolate harden completely at room temperature or speed up the process in the refrigerator. Transfer these festive treats to a sealed container and keep cool until serving time.
Get Creative with Your Peppermint Oreo Bites
Serve Oreo Balls with a Holiday Twist
Stash & Serve Later: Oreo Ball Storage Tips
FAQs
Yes, you can substitute Oreos with chocolate sandwich cookies or graham crackers for a similar texture and flavor profile.
Lightly coat your hands with cooking spray or wear disposable gloves to prevent sticking while forming the balls.
You can crush the Oreos in a sealed plastic bag using a rolling pin or the bottom of a heavy pan until they become fine crumbs.
Absolutely! You can prepare Peppermint Oreo Balls up to a week in advance and store them in the refrigerator until ready to serve.
Print
Indulgent Peppermint Oreo Balls Recipe
- Total Time: 50 minutes
- Yield: 37 1x
Description
Creamy peppermint Oreo balls emerge as a festive holiday treat that blends chocolate and mint flavors. Chocolate cookie crumbs mixed with cream cheese create delightful bite-sized truffles you’ll crave during winter celebrations.
Ingredients
- 36 oreo cookies
- 8 oz (226 g) cream cheese, softened
- 16 oz (454 g) white or dark chocolate melting wafers
- 1 tsp peppermint extract
- ½ cup crushed candy canes or peppermint candies
Instructions
- Pulverize: Transform Oreo cookies into fine, uniform crumbs using a food processor, ensuring absolute homogeneity.
- Blend: Merge softened cream cheese and peppermint extract with cookie crumbs, working the mixture until it forms a cohesive, moldable consistency that holds together seamlessly.
- Shape and Chill: Gently roll the mixture into uniform, bite-sized spheres using delicate palm motions, then place on a parchment-lined baking sheet and refrigerate for 30 minutes to firm up the confections.
- Chocolate Coating: Melt chocolate wafers in a microwave-safe bowl, stirring periodically to achieve a silky, glossy texture, then methodically dip each chilled ball, allowing excess chocolate to cascade off using a fork.
- Garnish and Set: While the chocolate coating remains liquid, sprinkle crushed candy canes or peppermint candies over the surface for a festive touch, then allow the treats to solidify at room temperature or expedite the process through refrigeration.
- Store: Transfer the completed peppermint Oreo balls to an airtight container and refrigerate until ready to serve, preserving their optimal texture and flavor profile.
Notes
Optimize Cookie Crumbs: Pulse Oreo cookies in food processor until uniformly fine, preventing uneven texture that might compromise ball structure.
Control Moisture Balance: Add cream cheese gradually, checking consistency to avoid overly wet mixture that could make rolling difficult.
Master Chocolate Coating: Maintain chocolate at precise melting point, reheating gently if it starts to solidify, ensuring smooth, even coverage for professional-looking treats.
Temperature Management: Allow chilled balls to slightly temper before coating in chocolate, preventing rapid temperature changes that could cause cracking or uneven coating.
- Prep Time: 20 minutes
- Cook Time: 30 minutes
- Category: Desserts, Snacks
- Method: Blending
- Cuisine: American
Nutrition
- Serving Size: 37
- Calories: 120
- Sugar: 10g
- Sodium: 60mg
- Fat: 7g
- Saturated Fat: 4g
- Unsaturated Fat: 2g
- Trans Fat: 0g
- Carbohydrates: 14g
- Fiber: <1g
- Protein: 1g
- Cholesterol: 5mg


John Nicholson
Lead Writer & Recipe Developer
Expertise
Recipe Testing and Development, Kitchen Hacks and Time-Saving Tips, Flavor Pairing and Ingredient Selection, Engaging Food Writing and Storytelling
Education
Johnson & Wales University
John Nicholson honed his skills at Johnson & Wales University, learning how to use fresh, local ingredients and down-to-earth techniques to make cooking simple and satisfying.
His recipes blend Southern comfort flavors with a modern touch, inviting everyone to cook with ease and confidence.
Living in Charleston, John takes cues from the city’s lively food scene, local markets, and seasonal produce. He’s all about making meals stress-free through easy tips, flavor pairings, and fun experiments in the kitchen