
Flourless Peanut Butter Cookies Recipe Everyone Can Enjoy
When baking flourless peanut butter cookies, every sweet-toothed baker discovers a simple yet delectable treat that comes together with minimal effort.
These cookies pack an incredible punch of nutty richness and pure indulgence.
Three ingredients stand between you and a batch of irresistible, gluten-free delights.
The silky smooth peanut butter creates a perfect base for this classic dessert.
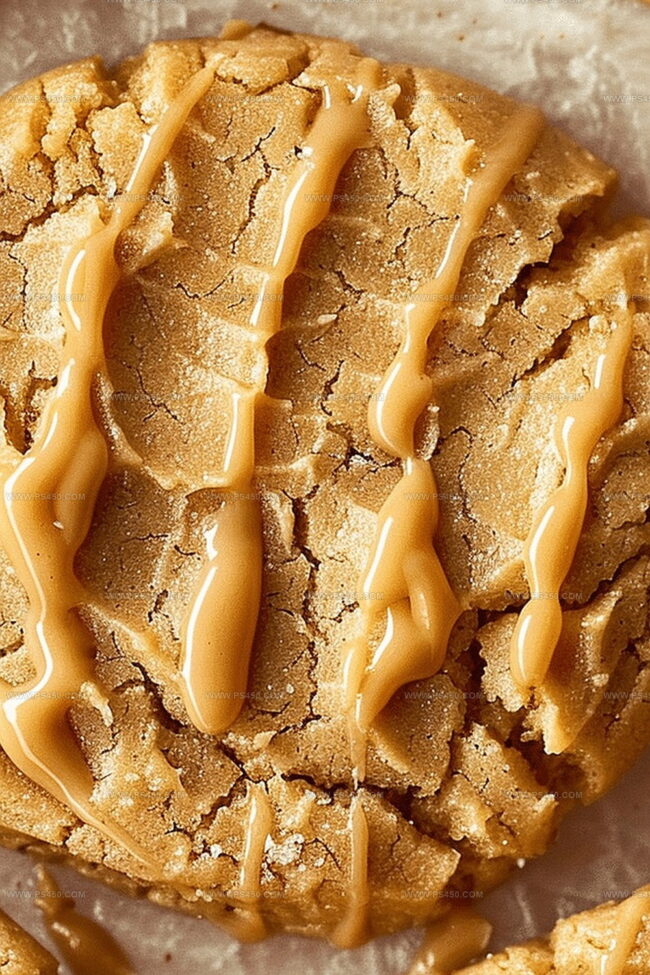
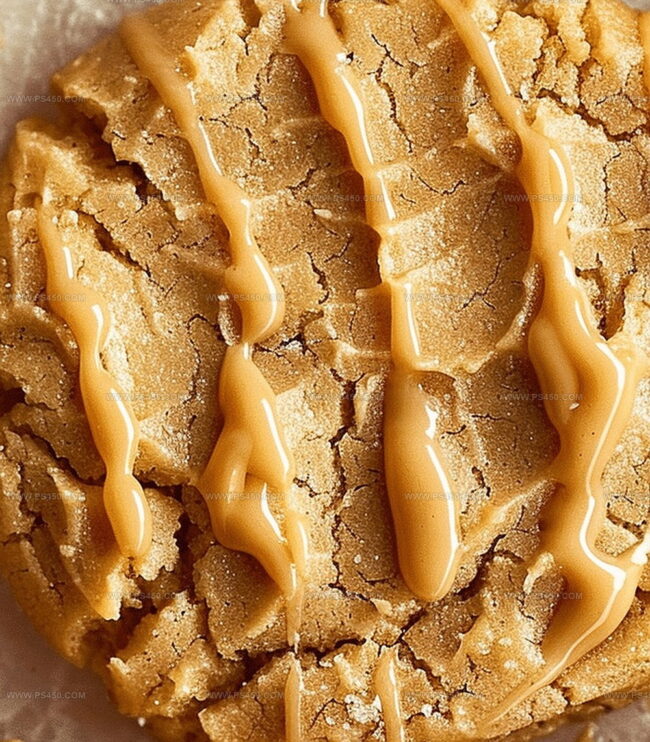
Crisp edges and soft centers make these cookies a dream for anyone who loves a satisfying texture.
Each bite promises a blend of sweet and salty that dances across your taste buds.
Prepare to fall in love with the most addictive cookie recipe in your baking repertoire.
Quick Recipe Overview
Peanut Butter Cookie Ingredient List—No Flour Needed
For Wet Ingredients and Sweeteners:For Binding and Texture Enhancers:For Optional Add-Ins:Kitchen Tools for Flourless Cookies Made Simple
Baking Instructions for Flourless Peanut Butter Cookies
Crank the oven to a toasty 350°F and line a baking sheet with parchment paper for easy cleanup.
Grab a big bowl and blend the egg, sugars, vanilla, baking soda, and salt until silky smooth and totally combined.
Swirl in the peanut butter until it’s perfectly mixed. Feel free to toss in some chocolate chips for extra pizzazz if you’re feeling adventurous.
Scoop out dollops of dough onto the baking sheet, leaving some breathing room between each cookie. Give them a gentle press with a fork to create those classic crisscross marks.
Pop the cookies into the oven for 8-10 minutes. You’ll want them golden around the edges but still looking slightly soft in the center.
Let the cookies hang out on the baking sheet for a few minutes, then transfer them to a wire rack. Give them time to chill out and firm up before diving in.
Tips for Soft Centers or Crunchy Edges
Ways to Serve These Naturally Gluten-Free Cookies
Storing Cookies That Stay Fresh and Tasty
FAQs
Yes, you can use natural or crunchy peanut butter. Just ensure it’s well-stirred before mixing into the dough. Avoid using extremely runny or separated peanut butter, as it might affect the cookie’s texture.
Absolutely! These flourless peanut butter cookies are naturally gluten-free since they don’t contain any wheat flour. However, always check your ingredient labels to ensure no cross-contamination.
Chilling the dough for at least 30 minutes helps cookies maintain their shape. Also, make sure your peanut butter isn’t too oily and that you don’t overmix the dough.
Brown and granulated sugars help with texture and sweetness. While you could experiment with alternatives like coconut sugar, the final cookie might have a slightly different consistency and flavor.
Print
Mouthwatering Flourless Peanut Butter Cookies Recipe
- Total Time: 18 minutes
- Yield: 13 1x
Description
Flourless peanut butter cookies deliver a gluten-free delight that satisfies sweet cravings. Rich nutty flavors and classic comfort make these treats perfect for quick dessert enjoyment.
Ingredients
- 1 large egg
- 1 cup (237 ml) creamy peanut butter
- ¾ cup (150 g) light brown sugar, packed
- ¼ cup (50 g) granulated sugar
- 1 tsp vanilla extract
- ½ tsp baking soda
- ¼ tsp salt
- ½ cup (85 g) chocolate chips or peanut butter chips, optional
Instructions
- Preheat and Prepare: Heat oven to 350°F and line baking sheet with parchment paper for optimal non-stick performance.
- Mix Foundational Elements: Whisk egg, sugars, vanilla extract, baking soda, and salt into a smooth, homogeneous blend that creates a rich flavor base.
- Combine and Enhance: Thoroughly integrate peanut butter into the mixture, folding in chocolate chips for added complexity and textural interest.
- Chill and Develop: Refrigerate dough for 30 minutes to solidify structure and concentrate flavor profiles, allowing ingredients to meld harmoniously.
- Shape and Pattern: Scoop chilled dough onto prepared sheet, spacing mounds 2 inches apart. Imprint each cookie with a classic fork crisscross, flattening slightly to ensure even baking.
- Bake and Monitor: Bake for 8-10 minutes, targeting set edges while maintaining a delicate, soft center that will continue to firm during cooling.
- Cool and Stabilize: Rest cookies briefly on baking sheet, then transfer to wire rack, allowing them to reach room temperature and achieve perfect cookie consistency.
Notes
- Chill Dough Strategically: Refrigerate for at least 30 minutes to prevent spreading and enhance flavor complexity, ensuring cookies maintain perfect shape during baking.
- Master Peanut Butter Selection: Use creamy, stabilized peanut butter with minimal oil separation to achieve consistent texture and prevent cookie crumbling.
- Control Baking Precision: Watch cookies closely during 8-10 minute baking window, removing when edges set but center remains slightly soft for ideal chewy consistency.
- Customize Dietary Adaptations: Swap granulated sugar with coconut sugar for lower glycemic index, or use dairy-free chocolate chips to create gluten-free and vegan-friendly variations.
- Prep Time: 10 minutes
- Cook Time: 8 minutes
- Category: Desserts, Snacks
- Method: Baking
- Cuisine: American
Nutrition
- Serving Size: 13
- Calories: 155
- Sugar: 11 g
- Sodium: 84 mg
- Fat: 9 g
- Saturated Fat: 2 g
- Unsaturated Fat: 7 g
- Trans Fat: 0 g
- Carbohydrates: 18 g
- Fiber: 1 g
- Protein: 4 g
- Cholesterol: 20 mg
John Nicholson
Lead Writer & Recipe Developer
Expertise
Recipe Testing and Development, Kitchen Hacks and Time-Saving Tips, Flavor Pairing and Ingredient Selection, Engaging Food Writing and Storytelling
Education
Johnson & Wales University
John Nicholson honed his skills at Johnson & Wales University, learning how to use fresh, local ingredients and down-to-earth techniques to make cooking simple and satisfying.
His recipes blend Southern comfort flavors with a modern touch, inviting everyone to cook with ease and confidence.
Living in Charleston, John takes cues from the city’s lively food scene, local markets, and seasonal produce. He’s all about making meals stress-free through easy tips, flavor pairings, and fun experiments in the kitchen