
Juicy Lucy Recipe: The Oozing Goodness You’ll Adore
Burgers reach new heights of deliciousness with this mouthwatering juicy lucy recipe that promises to revolutionize your grilling game.
Cheese lovers will swoon over the molten core hidden inside perfectly seasoned beef.
Every bite delivers an explosion of rich, gooey goodness straight from the center of the patty.
Melted cheese oozes dramatically when you slice into these epic burgers.
Crafting these sandwiches requires a few simple techniques that elevate a classic burger to legendary status.
Simple ingredients and straightforward preparation make this recipe accessible for home cooks of all skill levels.
Prepare to amaze your taste buds and impress everyone at your next cookout with this irresistible burger masterpiece.
Quick Recipe Overview
What You Need For Juicy Lucy Burgers
For Protein Base:For Seasoning:For Serving:Tools To Build A Juicy Lucy
Instructions For Juicy Lucy That Ooze Flavor
Heat your grill or skillet to a sizzling medium-high temperature, creating the perfect zone for burger magic.
Split ground beef into eight super-thin burger discs. Gently fold cheese into compact quarters and nestle them in the center of four patties. Crown each cheese-loaded base with another patty, pinching edges firmly to lock in the molten surprise.
Sprinkle salt and pepper across both sides of your sealed burger bundles. Press down gently to ensure a tight seal.
Grill or pan-sear these delectable parcels for roughly 4-5 minutes per side. Aim for a gorgeous golden-brown exterior and thoroughly cooked center with melted cheese waiting inside.
Allow burgers to rest for a few minutes – this lets the internal cheese calm down and prevents scorching. Slide these beauties onto fresh buns and dress with your favorite toppings. Get ready for an explosive cheese experience with every bite!
Tips To Nail That Cheese-Stuffed Patty
Juicy Lucy Serving Suggestions
How To Store Juicy Lucy Burgers
Print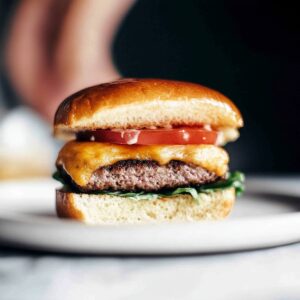
Mouthwatering Juicy Lucy Recipe
- Total Time: 20 minutes
- Yield: 5 1x
Description
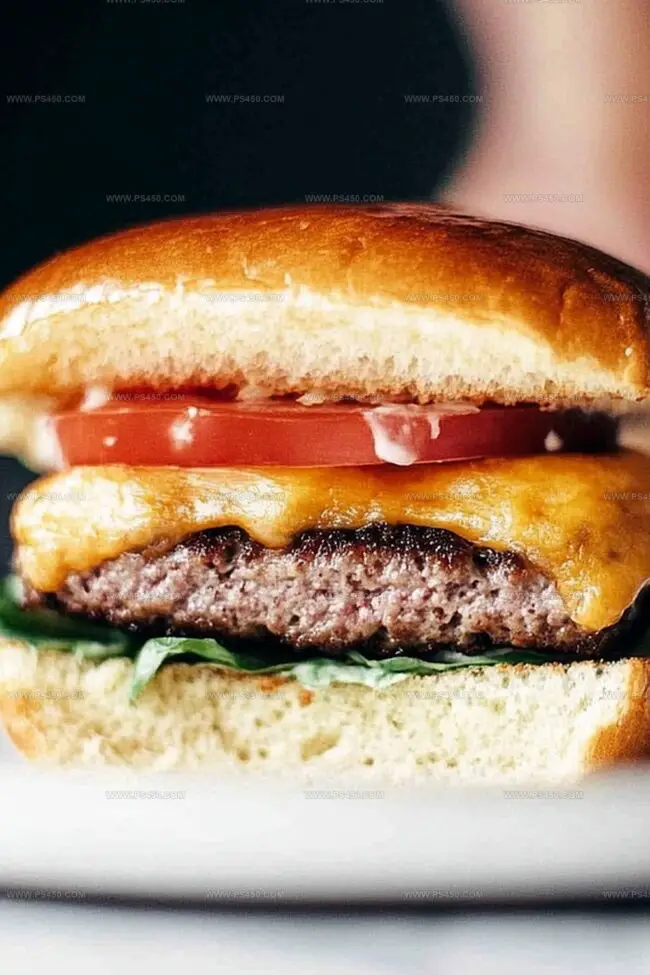
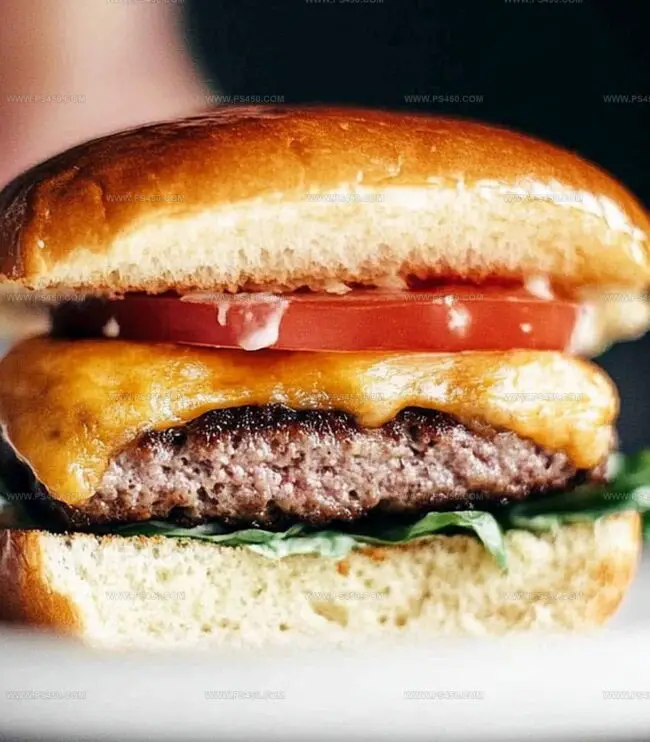
Juicy lucy cheeseburgers from Minnesota deliver ultimate burger satisfaction with molten cheese sealed inside a perfectly grilled beef patty. Melted cheddar oozes from each bite, inviting you to savor this iconic Midwestern culinary creation.
Ingredients
- 1 pound (454 g) ground beef (80/20 for best flavor)
- 4 slices american cheese (or cheddar)
- 4 burger buns
- ½ tsp salt
- ¼ tsp black pepper
- lettuce
- tomato
- pickles
- grilled onions
- ketchup
- mustard
- mayonnaise
Instructions
- Preparation: Craft paper-thin ground beef discs with precision, ensuring uniform shape for optimal cheese integration.
- Cheese Placement: Quarter cheese slices and center them on half the meat patties, creating a compact central cheese core.
- Sealing: Carefully overlay remaining meat patties, using fingertips to hermetically seal edges and prevent cheese leakage, forming complete burger parcels.
- Seasoning: Liberally coat exterior surfaces with salt and freshly ground black pepper, ensuring comprehensive flavor penetration.
- Cooking: Ignite cooking surface to medium-high heat, achieving the perfect thermal environment for caramelizing exterior while preserving internal succulence.
- Grilling: Gently deposit patties onto heated surface, allowing 4-5 minutes per side to develop a robust golden crust and thoroughly melt internal cheese reservoir.
- Resting: Transition burgers to a stabilization platform, permitting internal temperature equilibration and cheese solidification for 2-3 minutes.
- Serving: Nestle burgers into toasted buns, adorning with crisp lettuce, ripe tomato slices, tangy pickles, and preferred condiment selections.
Notes
- Seal Edges Carefully: Press meat edges firmly to prevent cheese leakage during cooking, using gentle pinching technique with cool, slightly moistened fingertips.
- Temperature Control Matters: Use medium-high heat to create perfect caramelized exterior while maintaining internal juiciness without burning the meat surface.
- Cheese Selection Strategy: Choose cheeses with high melting points like American or cheddar to ensure creamy center without complete liquefaction during cooking.
- Resting Period Essential: Allow burgers to rest 2-3 minutes after cooking to stabilize internal temperature and let cheese set, preventing immediate molten cheese burn and maintaining structural integrity.
- Prep Time: 10 minutes
- Cook Time: 10 minutes
- Category: Lunch, Dinner
- Method: Grilling
- Cuisine: American
Nutrition
- Serving Size: 5
- Calories: 525
- Sugar: 3 g
- Sodium: 850 mg
- Fat: 32 g
- Saturated Fat: 15 g
- Unsaturated Fat: 13 g
- Trans Fat: 1 g
- Carbohydrates: 35 g
- Fiber: 2 g
- Protein: 28 g
- Cholesterol: 90 mg
John Nicholson
Lead Writer & Recipe Developer
Expertise
Recipe Testing and Development, Kitchen Hacks and Time-Saving Tips, Flavor Pairing and Ingredient Selection, Engaging Food Writing and Storytelling
Education
Johnson & Wales University
John Nicholson honed his skills at Johnson & Wales University, learning how to use fresh, local ingredients and down-to-earth techniques to make cooking simple and satisfying.
His recipes blend Southern comfort flavors with a modern touch, inviting everyone to cook with ease and confidence.
Living in Charleston, John takes cues from the city’s lively food scene, local markets, and seasonal produce. He’s all about making meals stress-free through easy tips, flavor pairings, and fun experiments in the kitchen