Toasty Patty Melt Sandwich Recipe with Classic Comfort Flavors
Comfort food has a magical way of transporting us back to cherished memories, and this classic patty melt recipe does exactly that.
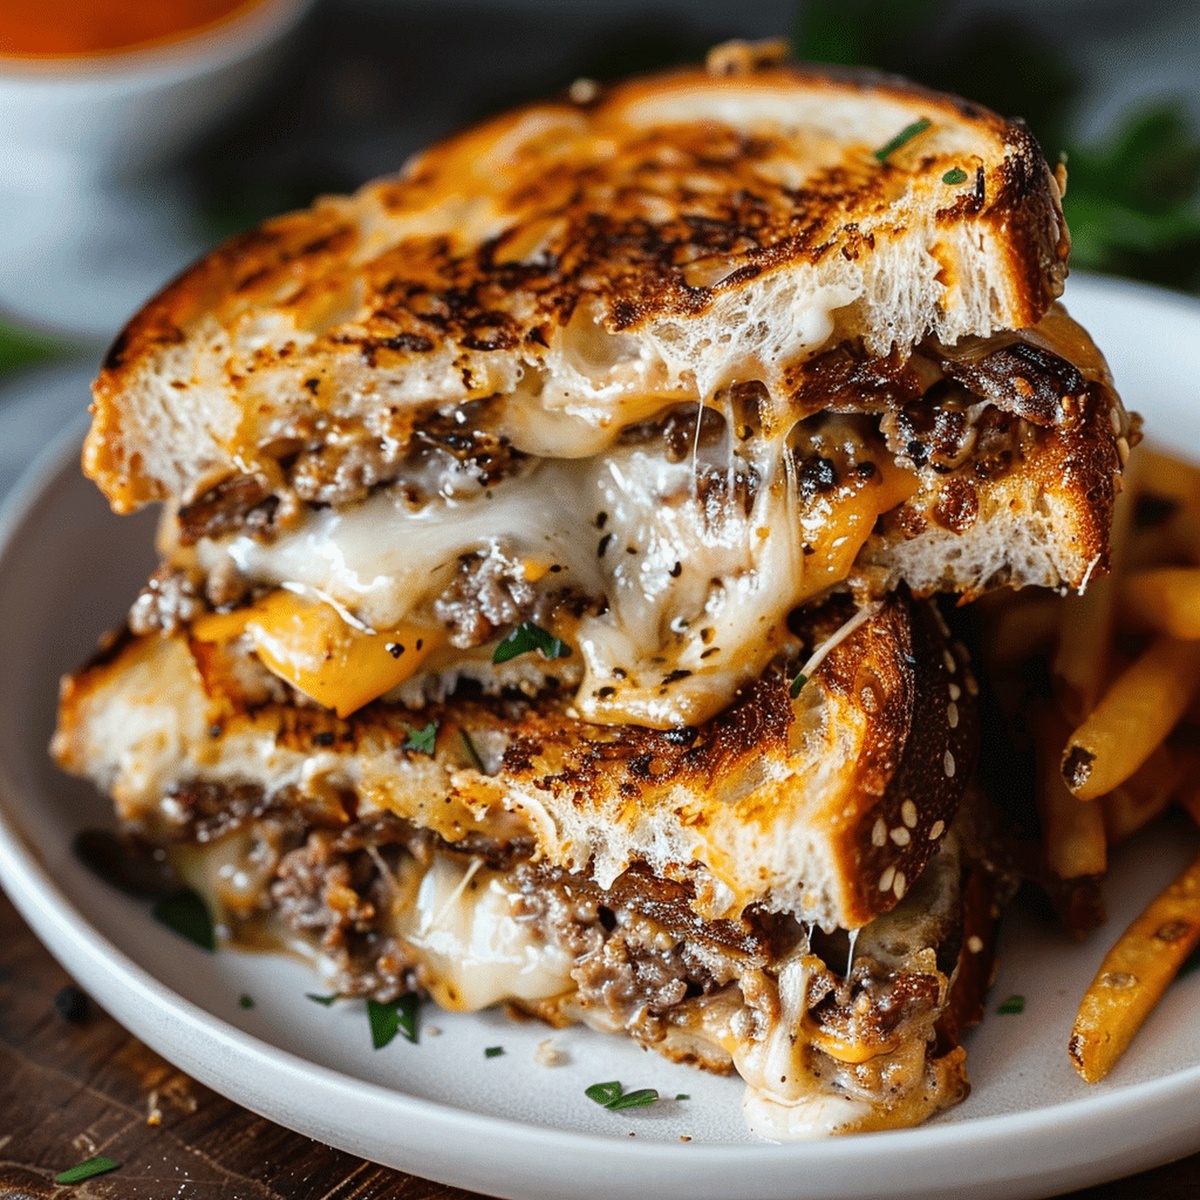
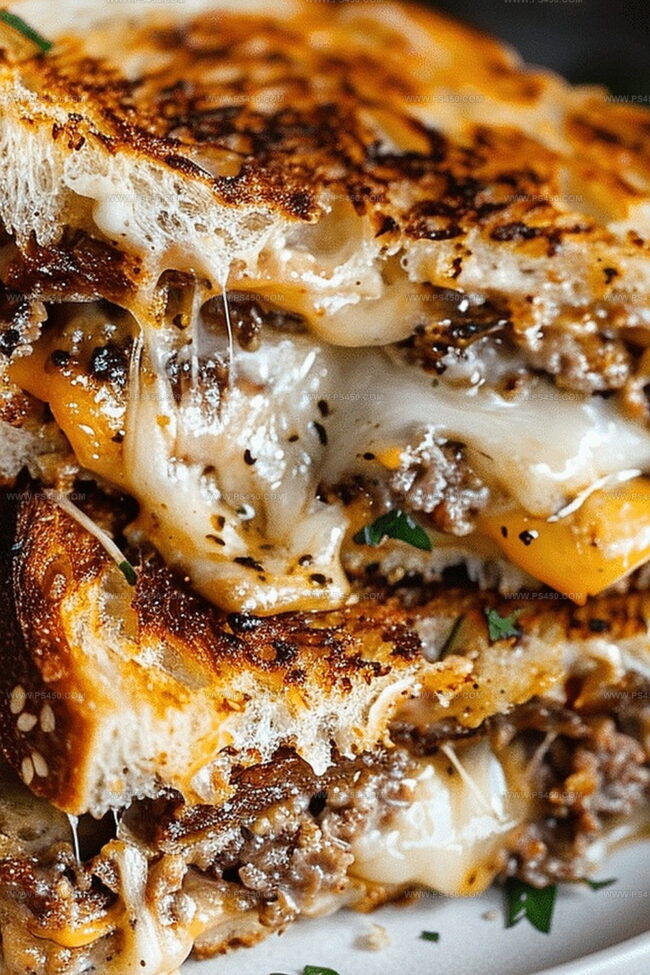
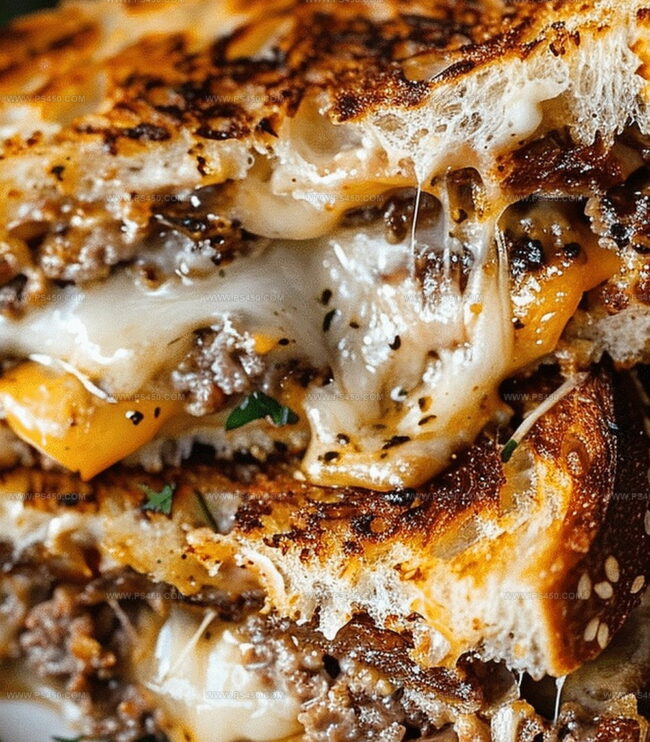
Nestled between two perfectly toasted slices of bread, the juicy beef patty melts with tangy cheese and caramelized onions.
Every bite tells a story of home-style cooking and warm kitchen gatherings.
The savory blend of ingredients creates a symphony of flavors that dance on your palate.
Crispy edges and a golden-brown exterior promise a delightful crunch with each mouthwatering bite.
This straightforward recipe transforms simple ingredients into a restaurant-worthy sandwich that will become a new family favorite.
Prepare to savor every single delectable moment of this timeless comfort classic.
Quick Recipe Overview
Everything You Need for the Patty Melt Recipe
For Meat Base:For Seasoning Enhancers:For Bread and Cheese:For Aromatics and Binding:For Cooking Fats and Moisture:For Optional Serving Companions:Tools to Toast, Grill, and Press the Patty Melt
Cooking the Patty Melt Step by Step
Crafting Golden Patty Melts
Grab a skillet and warm some butter and olive oil. Toss in sliced onions with a sprinkle of salt. Cook these beauties slowly, stirring occasionally until they transform into a rich, golden-brown masterpiece. This process takes about 15-20 minutes. Once done, scoop them out and set aside.
Shape ground beef into thin, wide patties that extend just beyond your bread slices. Season both sides generously with salt and pepper. Sizzle these patties in the same skillet over medium-high heat. Cook for 3-4 minutes on each side until they’re beautifully browned. Splash some Worcestershire sauce during the final minute for an extra flavor kick.
Layer rye bread with Swiss cheese, your juicy beef patty, those caramelized onions, and another slice of cheese. Top with a second bread slice. Spread mayonnaise on the outside of each bread slice to create a crispy, golden exterior.
Melt butter in the skillet and gently place your assembled sandwiches. Cook until each side turns a gorgeous golden brown and the cheese becomes wonderfully melty, about 3-4 minutes per side.
Slice your patty melts diagonally and serve immediately. Grab a pickle or your favorite sauce on the side for an extra burst of flavor.
Add-Ins and Cheeses to Shake Up Your Patty Melt
Serve Patty Melts with Pickles or Fries
Store Leftover Patty Melts Without Getting Soggy
FAQs
Rye bread adds a distinctive tangy flavor, but you can substitute with sourdough or Texas toast for a similar texture and crunch.
Use ground beef with 80/20 lean-to-fat ratio for the juiciest and most flavorful patties. This ensures the meat stays moist and develops a good crust when cooking.
Avoid overworking the meat when forming patties. Gently shape them and don’t press down too hard while cooking to keep the meat tender and juicy.
Yes, caramelizing onions develops a rich, sweet flavor that complements the beef and adds depth to the patty melt. Take your time and cook them slowly for the best results.
Print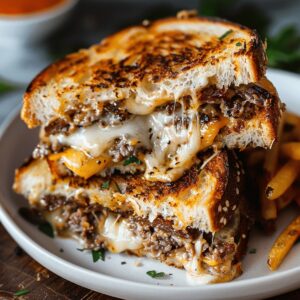
Nostalgic Patty Melt Recipe
- Total Time: 40 minutes
- Yield: 5 1x
Description
Savory patty melt sandwiches combine juicy beef, caramelized onions, and melted Swiss cheese between crispy rye bread slices. Comfort cuisine from American diners invites hearty satisfaction for hungry souls.
Ingredients
- 1 lb (450 g) ground beef (80/20 for juiciness)
- 8 slices swiss cheese
- 2 tbsps butter, divided
- 8 slices rye bread
- 1 large onion, thinly sliced
- 1 tbsp olive oil
- 1 tbsp Worcestershire sauce
- 4 tbsps mayonnaise
- Salt, to taste
- Pepper, to taste
Instructions
- Caramelize Onions: Gently sauté sweet onions in butter and olive oil over medium heat. Stir occasionally, allowing them to transform into a rich, golden-brown delicacy with a soft, silky texture. This process takes 15-20 minutes, developing a deep, amber color.
- Prepare Patties and Sear: Form ground beef patties slightly larger than bread slices, seasoning both sides with salt and pepper. Sear in the same skillet over medium-high heat to create a robust exterior while maintaining juiciness. Splash Worcestershire sauce during the final cooking moments to intensify flavor.
- Assemble Sandwich: Layer Swiss cheese on rye bread, creating a melting foundation. Position the cooked beef patty atop the cheese, distribute caramelized onions generously, and top with another cheese slice. Complete the construction with the remaining bread slice.
- Grill and Toast: Coat bread exteriors with mayonnaise to ensure a crisp, golden-brown crust. Melt butter in the skillet and carefully place the assembled sandwiches. Grill each side for 3-4 minutes until bread turns golden and cheese melts luxuriously.
- Serve: Slice the patty melt diagonally and plate immediately. Pair with tangy pickles or a complementary dipping sauce to enhance the culinary experience.
Notes
Caramelize Onions Perfectly: Take time and patience to develop deep, rich flavors. Stir occasionally and maintain medium heat to prevent burning while creating silky, golden-brown texture.
Manage Meat Moisture: Choose ground beef with moderate fat content (80/20 blend) to ensure juicy patties. Avoid overworking meat while forming patties to prevent tough texture.
Cheese Melting Technique: Select room temperature Swiss cheese for even melting. Cover skillet briefly during final grilling stage to help cheese melt uniformly and create gooey consistency.
Bread Crispness Strategy: Use mayonnaise instead of butter for exterior coating to achieve extra-crispy, golden-brown crust. Press sandwich gently while grilling to ensure consistent browning and cheese integration.
- Prep Time: 10 minutes
- Cook Time: 30 minutes
- Category: Lunch, Dinner, Snacks
- Method: Sautéing
- Cuisine: American
Nutrition
- Serving Size: 5
- Calories: 550
- Sugar: 2 g
- Sodium: 900 mg
- Fat: 35 g
- Saturated Fat: 16 g
- Unsaturated Fat: 18 g
- Trans Fat: 0.5 g
- Carbohydrates: 36 g
- Fiber: 2 g
- Protein: 25 g
- Cholesterol: 90 mg
John Nicholson
Lead Writer & Recipe Developer
Expertise
Recipe Testing and Development, Kitchen Hacks and Time-Saving Tips, Flavor Pairing and Ingredient Selection, Engaging Food Writing and Storytelling
Education
Johnson & Wales University
John Nicholson honed his skills at Johnson & Wales University, learning how to use fresh, local ingredients and down-to-earth techniques to make cooking simple and satisfying.
His recipes blend Southern comfort flavors with a modern touch, inviting everyone to cook with ease and confidence.
Living in Charleston, John takes cues from the city’s lively food scene, local markets, and seasonal produce. He’s all about making meals stress-free through easy tips, flavor pairings, and fun experiments in the kitchen