Swoon-Worthy Red Velvet Cheesecake Trifle Recipe For Dessert Lovers
Sweet secrets hide within this red velvet cheesecake trifle that promises pure dessert magic.
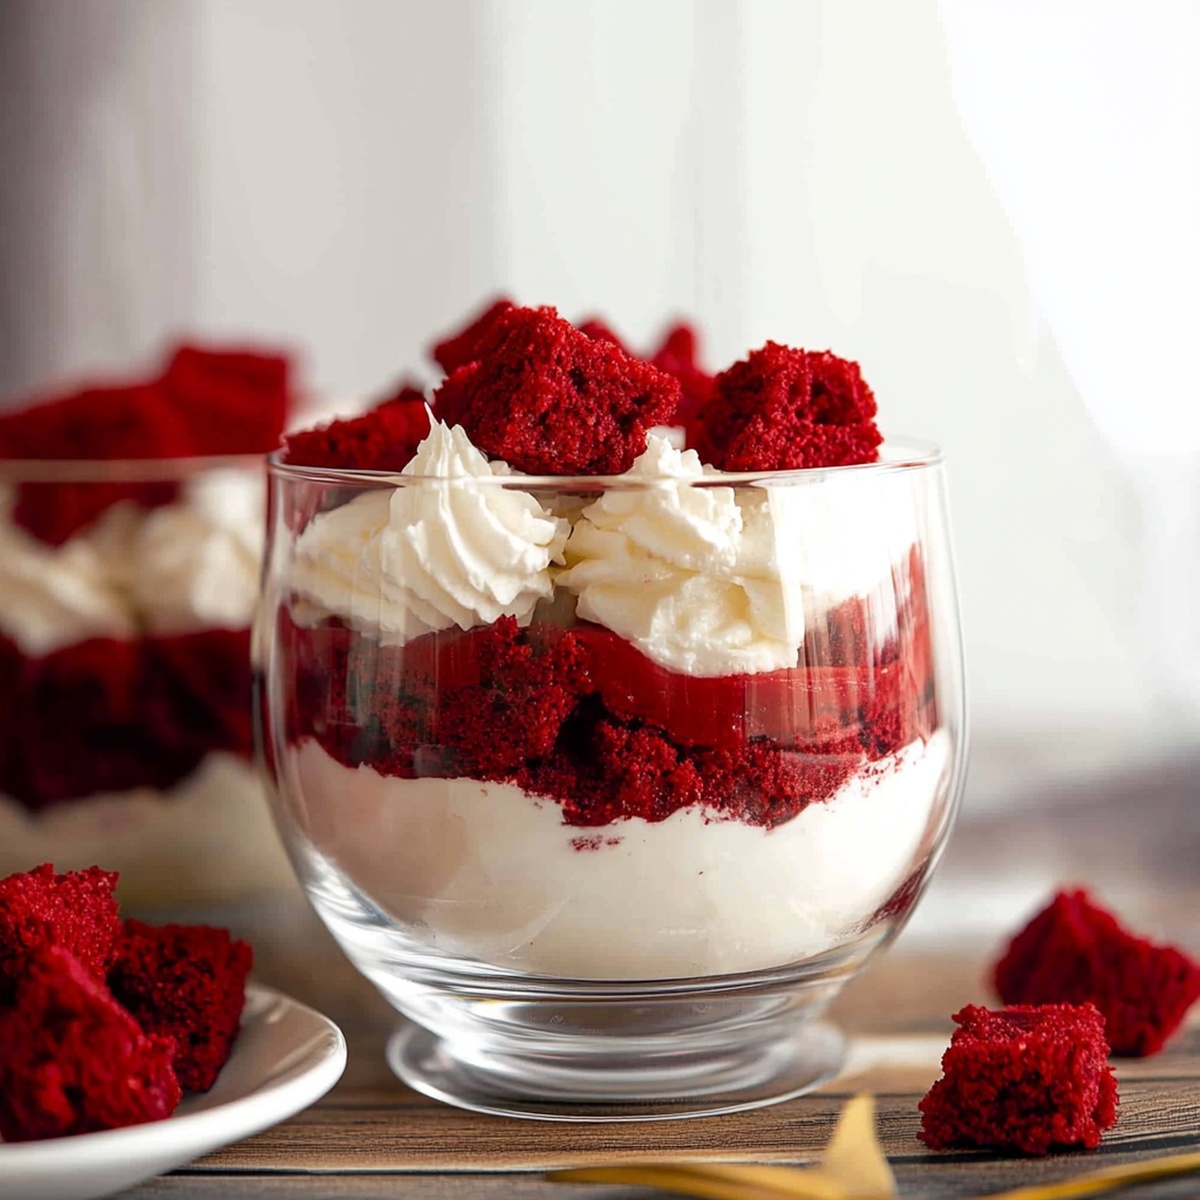
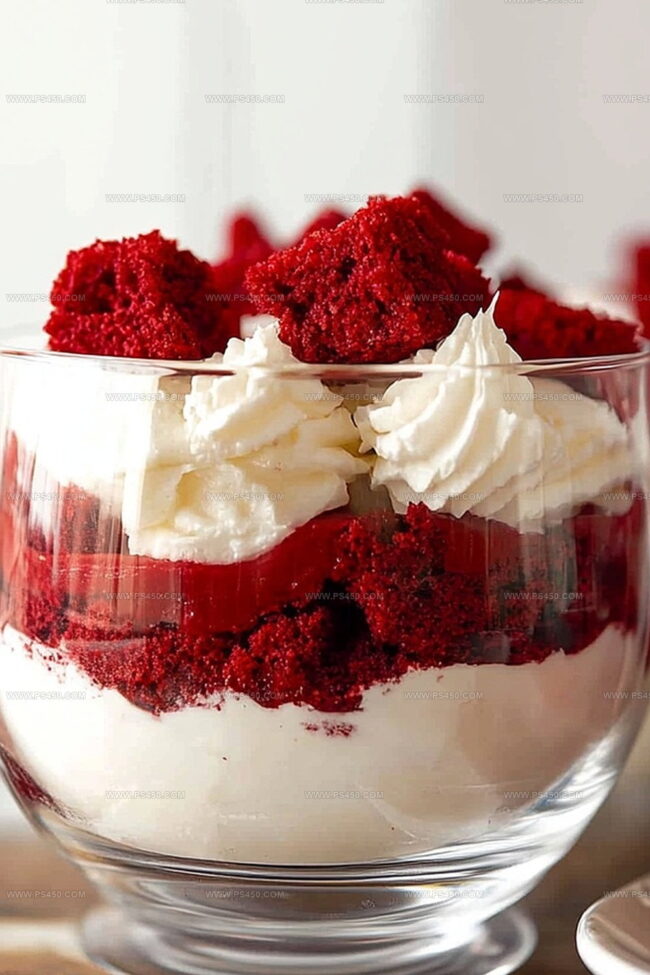
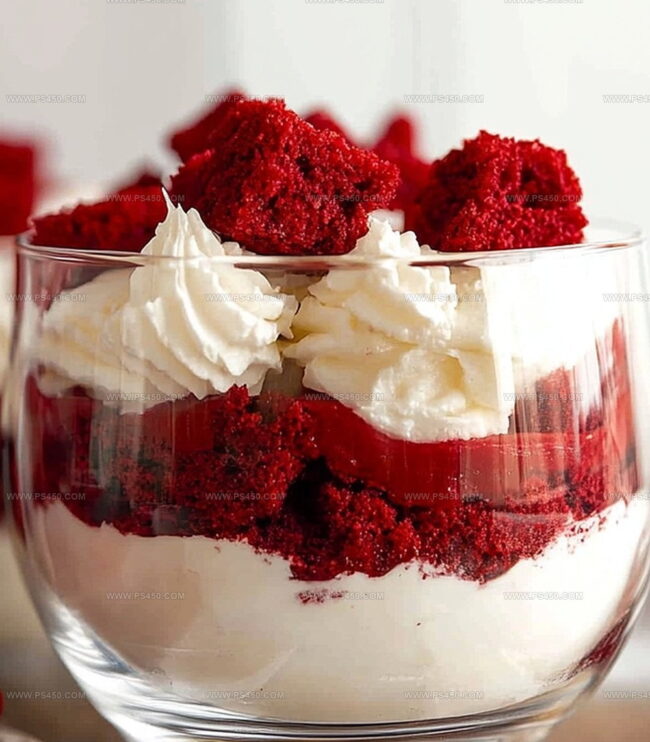
Layers of crimson cake crumbles mingle with silky cream cheese filling, creating an irresistible dance of textures.
Each spoonful whispers decadent indulgence through rich, velvety depths.
Southern charm meets classic elegance in this stunning dessert centerpiece.
Creamy components blend seamlessly, promising a sensational treat that looks as incredible as it tastes.
Delicate chocolate undertones weave through luscious cream, inviting you to savor every magnificent bite.
Grab a spoon and let this spectacular dessert transport you to dessert paradise.
Why Red Velvet Cheesecake Trifle Is A Showstopper
Ingredients List For Red Velvet Cheesecake Trifle
Cake Base:Cheesecake Filling:Topping and Garnish:Step By Step Instructions For Red Velvet Cheesecake Trifle
Step 1: Craft the Cake Base
Grab a red velvet cake mix and follow the package directions. Bake in a 9×13 inch pan, allowing it to cool completely. Once cooled, transform the cake into delightful bite-sized cubes or crumble it gently.
Step 2: Whip Up Creamy Cheesecake Filling
Grab your mixing bowl and cream cheese. Whisk the cream cheese until silky smooth. Then add:Blend until perfectly combined. In a separate bowl, whip heavy cream until it forms luxurious stiff peaks. Tenderly fold the whipped cream into the cream cheese mixture, creating a cloud-like filling.
Step 3: Create Dreamy Topping Cream
Combine in a bowl:Whip until soft peaks emerge, creating a fluffy cloud of deliciousness.
Step 4: Build Your Magnificent Dessert
Select a stunning trifle dish or individual serving glasses. Begin your delectable layers:For an extra touch of elegance, sprinkle:Step 5: Chill and Serve with Flair
Slide your masterpiece into the refrigerator for at least an hour, allowing the flavors to mingle and layers to set. When ready, scoop generously and watch eyes light up with pure dessert delight!
Pro Tips For Red Velvet Cheesecake Trifle Perfection
Storage Tips For Red Velvet Cheesecake Trifle
What Goes Well With Red Velvet Cheesecake Trifle
Different Ways To Style Red Velvet Cheesecake Trifle
FAQs For Red Velvet Cheesecake Trifle
This dessert combines the rich, velvety texture of red velvet cake with the creamy smoothness of cheesecake filling, creating a luxurious layered treat that’s both visually stunning and incredibly delicious.
Absolutely! You can prepare the components a day in advance and assemble the trifle a few hours before serving. This actually allows the flavors to meld together and makes the dessert even more delectable.
While a traditional trifle dish is great, you can easily use individual dessert glasses, mason jars, or even a large clear bowl. The key is using a transparent container to showcase the beautiful layers.
Yes! Red velvet cheesecake trifle is perfect for holidays, birthdays, potlucks, and any celebration where you want to impress your guests with a show-stopping dessert that tastes as amazing as it looks.
Print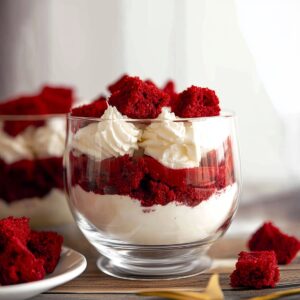
Red Velvet Cheesecake Trifle Recipe
- Total Time: 1 hour
- Yield: 12 1x
Description
Layers of crimson red velvet cake mingle with luscious cream cheese filling in this irresistible Red Velvet Cheesecake Trifle. Sweet Southern charm meets elegant dessert perfection, promising delightful indulgence with each heavenly spoonful you’ll savor.
Ingredients
Cake Base and Cake Mix:
- 1 box (15.25 ounces / 432 grams) red velvet cake mix
- Ingredients as per cake mix instructions (eggs, oil, and water)
- Red velvet cake crumbs
Cream Cheese Filling:
- 8 ounces (225 grams) cream cheese, softened
- 1 cup (120 grams) powdered sugar
- 1 teaspoon vanilla extract
Whipped Cream Topping:
- 2 ½ cups (600 milliliters) heavy whipping cream
- 3 tablespoons powdered sugar
- 2 teaspoons vanilla extract
Decorative Elements:
- White chocolate shavings
- Fresh berries
Instructions
- Craft the Red Velvet Foundation
Preheat the oven and meticulously follow the red velvet cake mix instructions. Transfer the batter into a rectangular baking pan, ensuring an even distribution. After baking, allow the cake to cool completely on a wire rack until it reaches room temperature.
- Transform Cake into Textural Elements
Carefully deconstruct the cooled cake into precise cubes or delicate crumbles. The size and shape should be uniform to create a visually appealing and consistent texture throughout the trifle.
- Develop Creamy Cheesecake Layer
Whip cream cheese in a spacious mixing bowl until silky and free of lumps. Gradually incorporate powdered sugar and vanilla, blending until the mixture achieves a smooth, luxurious consistency. In a separate vessel, whip heavy cream until it forms elegant, sturdy peaks.
- Merge Cheesecake Components
Gently fold the whipped cream into the cream cheese mixture, using delicate circular motions. This technique ensures a light, airy filling without deflating the incorporated air.
- Construct Whipped Cream Topping
Combine heavy whipping cream with powdered sugar and vanilla extract. Whip until soft, billowy peaks emerge, creating a cloud-like topping that will crown the dessert.
- Architectural Assembly
Select a transparent trifle dish or individual serving glasses. Establish a foundation of red velvet cake pieces, followed by a lavish layer of cheesecake filling. Repeat these strata, building height and complexity with each addition. Conclude with a generous crown of whipped cream.
- Artistic Embellishment
Scatter remaining red velvet crumbs across the surface. Consider adding elegant white chocolate shavings or a scattering of fresh berries to elevate the visual appeal.
- Final Refinement
Refrigerate the assembled trifle for a minimum of one hour, allowing flavors to meld and layers to set. When ready to serve, use a long-handled spoon to capture the full spectrum of textures and tastes in each decadent scoop.
Notes
- Customize cake texture by using homemade or store-bought red velvet cake, ensuring consistent moisture and flavor depth.
- Achieve smoother cheesecake filling by bringing cream cheese to room temperature before mixing, preventing lumpy consistency.
- Control sweetness levels by adjusting powdered sugar quantity, making the dessert suitable for different taste preferences.
- Enhance presentation by using clear glass containers to showcase beautiful layered design, creating visual appeal and tempting texture contrast.
- Prep Time: 30 minutes
- Cook Time: 30 minutes
- Category: Desserts, Snacks
- Method: Mixing
- Cuisine: American
Nutrition
- Serving Size: 12
- Calories: 360
- Sugar: 25 g
- Sodium: 350 mg
- Fat: 27 g
- Saturated Fat: 16 g
- Unsaturated Fat: 9 g
- Trans Fat: 0 g
- Carbohydrates: 30 g
- Fiber: 1 g
- Protein: 4 g
- Cholesterol: 85 mg
Emily Morgan
Food Critic & Kitchen Tips Specialist
Expertise
Global Food Exploration & Critique, Simple Kitchen Hacks & Time-Saving Tips, Presentation & Plating Techniques, Culinary Research & Storytelling.
Education
New York University
Emily Morgan has journeyed across the globe, collecting culinary secrets that turn everyday ingredients into impressive meals.
Based in Seattle and armed with a Journalism degree from NYU, she blends thorough research with a flair for presentation, ensuring every dish looks just as good as it tastes.
Focusing on fresh flavors, simple methods, and a bit of fun, Emily shows home cooks how to elevate their daily cooking without fancy gadgets or complex steps.