Decadent Rich Reeses Peanut Butter No-Bake Bars Recipe
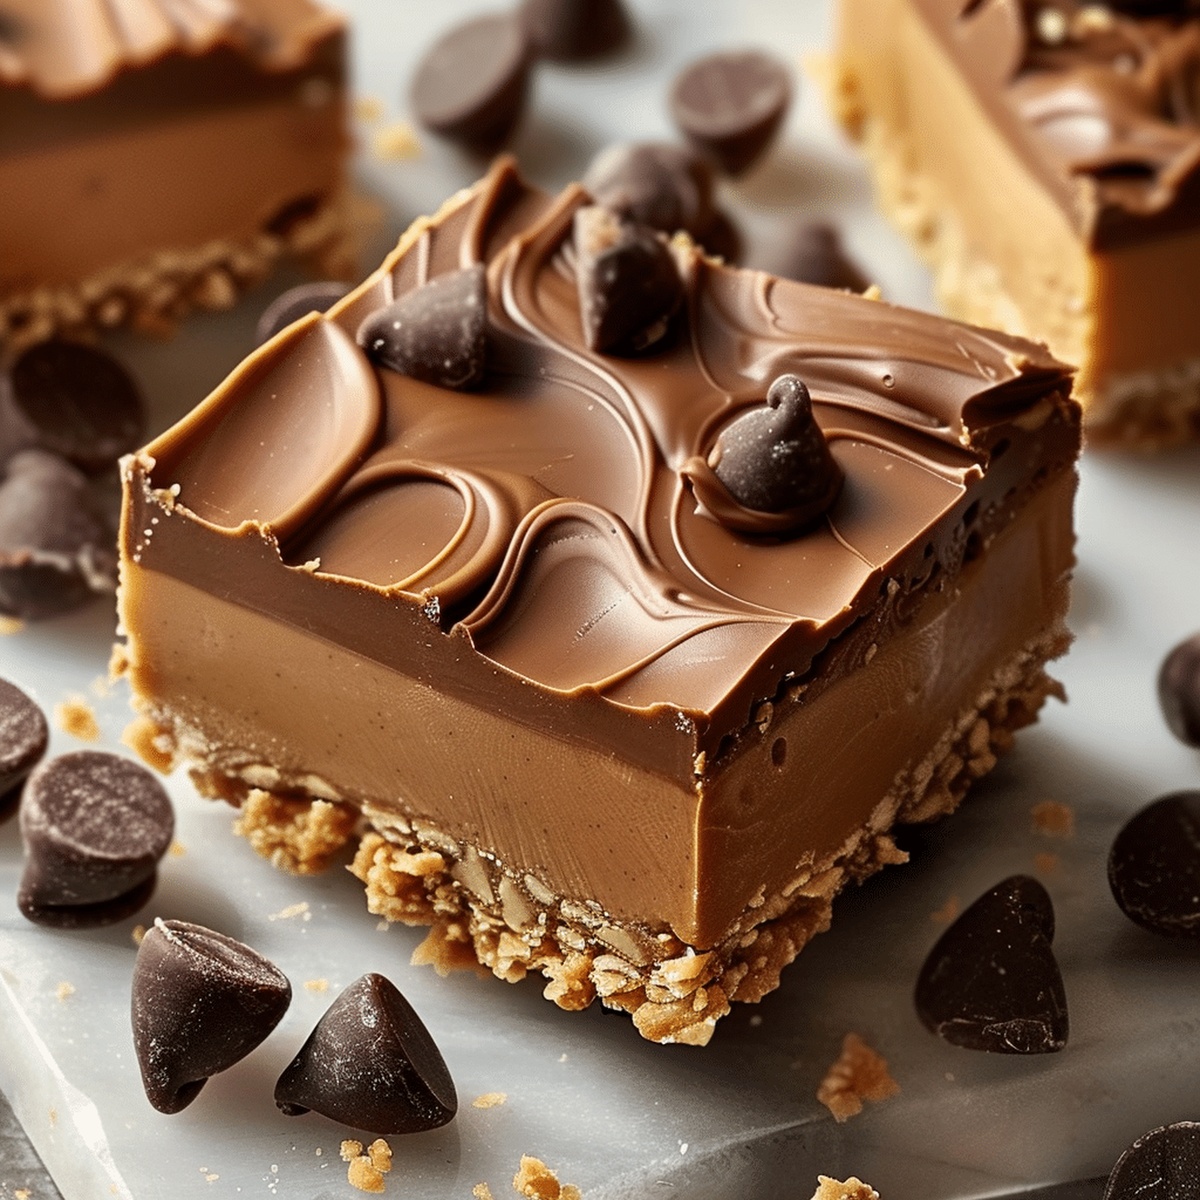
Chocolate and peanut butter create pure magic in these delectable no-bake reeses peanut butter bars that melt in your mouth.
Sweet treats rarely come together as effortlessly as this delightful dessert.
The combination of creamy peanut butter and smooth chocolate makes these bars irresistible.
Simple ingredients transform into a decadent experience that requires zero baking.
Every bite delivers a perfect balance of rich flavors and smooth textures.
Each layer promises a delicious moment of pure indulgence.
You won’t be able to resist these chocolatey, peanut buttery squares of happiness.
Quick Recipe Overview
Reeses No-Bake Bar Ingredient Overview
For Peanut Butter Base:For Chocolate Topping:For Preparation:Gear for Mixing and Pressing Reeses Bars Easily
Instructions for Making Peanut Butter No-Bake Bars
Mix creamy peanut butter with melted butter, powdered sugar, and crumbled graham crackers until the mixture becomes smooth and moldable. Press this delectable blend firmly into a lined baking pan, ensuring an even surface.
Melt chocolate chips with a dollop of peanut butter in the microwave, stirring carefully between short heating intervals until silky and glossy. Gently spread the chocolate over the peanut butter foundation, creating a tempting layer.
Place the pan in the refrigerator and let the bars cool completely. The chocolate will harden and bind with the peanut butter base, creating a rich, decadent treat.
Remove the bars from the refrigerator and lift them out using the parchment paper. Slice into neat squares and serve. These no-bake bars are ready to satisfy your sweet tooth with minimal effort and maximum flavor.
Toppings, Mix-Ins, and Serving Variations
How to Serve Reeses Bars with a Clean Slice
Store These Bars Without Losing Their Texture
FAQs
Yes, crunchy peanut butter works great and adds extra texture to the bars. Just make sure it’s well-mixed before combining with other ingredients.
Let the peanut butter layer cool completely before adding the chocolate topping. Also, avoid over-chilling, which can cause cracking.
Not automatically. Use gluten-free graham crackers and check that your peanut butter is gluten-free to make this recipe celiac-friendly.
Absolutely! Kids can help mix ingredients, press the peanut butter layer, and sprinkle toppings. Adult supervision is needed for melting chocolate and using the microwave.
Print
Rich Reeses Peanut Butter No-Bake Bars Recipe
- Total Time: 1 hour 10 minutes
- Yield: 13 1x
Description
Reeses Peanut Butter No-Bake Bars promise a quick, delightful chocolate-peanut butter treat that requires zero oven time. Chocolate and graham cracker layers combine for an irresistible dessert that satisfies your sweet cravings effortlessly.
Ingredients
- 1 ½ cups (270 grams / 9.5 oz) semi-sweet or milk chocolate chips
- 1 cup (240 grams / 8.5 oz) creamy peanut butter
- 1 ½ cups (180 grams / 6.3 oz) crushed graham crackers
- ½ cup (115 grams / 4 oz) unsalted butter, melted
- 1 ¼ cups (150 grams / 5.3 oz) powdered sugar
- 2 tbsps creamy peanut butter
Instructions
- Blend Base: Whisk peanut butter, melted butter, powdered sugar, and graham cracker crumbs until achieving a smooth, homogeneous mixture that holds together effortlessly.
- Layer Foundation: Press the combined mixture firmly into a parchment-lined 8×8-inch pan, creating an even, compact layer that serves as the dessert’s sturdy foundation.
- Chocolate Topping: Melt chocolate chips and peanut butter together using gentle microwave pulses, stirring between intervals to develop a silky, lustrous chocolate glaze that will crown the bars.
- Finish and Chill: Pour the molten chocolate over the peanut butter base, spreading uniformly with a spatula, then refrigerate for 60-90 minutes until completely set and solidified.
- Serve and Slice: Remove the dessert from the pan using parchment paper edges, cut into precise squares, and allow to rest momentarily at room temperature before indulging in these decadent, no-bake delights.
Notes
- Perfect Peanut Butter Consistency: Ensure peanut butter and melted butter are thoroughly mixed to prevent separation and create a smooth, uniform base that holds together perfectly.
- Chocolate Melting Technique: Use short microwave bursts (15-20 seconds) and stir between intervals to prevent chocolate from burning and maintain a glossy, silky chocolate layer.
- Pressing Layer Evenly: Apply gentle, consistent pressure when spreading the peanut butter mixture to create a compact, level base that ensures clean, uniform bars when cut.
- Chilling Time Matters: Refrigerate for exactly 60-90 minutes – too short leaves bars soft, while over-chilling can make the texture too hard and difficult to slice cleanly.
- Prep Time: 10 minutes
- Cook Time: 1 hour
- Category: Snacks, Desserts
- Method: None
- Cuisine: American
Nutrition
- Serving Size: 13
- Calories: 250
- Sugar: 21 g
- Sodium: 120 mg
- Fat: 15 g
- Saturated Fat: 6 g
- Unsaturated Fat: 8 g
- Trans Fat: 0 g
- Carbohydrates: 29 g
- Fiber: 1 g
- Protein: 5 g
- Cholesterol: 20 mg
John Nicholson
Lead Writer & Recipe Developer
Expertise
Recipe Testing and Development, Kitchen Hacks and Time-Saving Tips, Flavor Pairing and Ingredient Selection, Engaging Food Writing and Storytelling
Education
Johnson & Wales University
John Nicholson honed his skills at Johnson & Wales University, learning how to use fresh, local ingredients and down-to-earth techniques to make cooking simple and satisfying.
His recipes blend Southern comfort flavors with a modern touch, inviting everyone to cook with ease and confidence.
Living in Charleston, John takes cues from the city’s lively food scene, local markets, and seasonal produce. He’s all about making meals stress-free through easy tips, flavor pairings, and fun experiments in the kitchen