
Santa’s Favorite Cookie Recipe for a Classic Holiday Treat
Cookies that santa adores bring magical memories flooding back to childhood kitchens.
Warm butter and sweet spices dance together in this nostalgic recipe.
Generations of bakers have perfected these delightful treats with love and care.
Festive ingredients blend seamlessly, creating irresistible morsels that sparkle with holiday cheer.
The secret lies in selecting premium chocolate and rich vanilla.
Crisp edges and soft centers make these cookies absolutely spectacular.
You’ll want to share every delectable bite with those closest to your heart.
Reasons To Try Santas Favorite Cookies
What Goes Into Santas Favorite Cookies
Dry Ingredients:Wet Ingredients:Mix-Ins:Simple Steps To Make Santas Favorite Cookies
Step 1: Warm Up the Oven
Fire up your oven to a cozy 350F (175C). Grab a baking sheet and line it with parchment paper for easy cookie magic.
Step 2: Create the Perfect Cookie Mixture
Grab two mixing bowls and let’s get started:
First Bowl (Dry Ingredients):Whisk these together until they’re best friends.
Second Bowl (Wet Ingredients):Beat these until they’re super fluffy and look like a creamy dream. This takes about 2 minutes of mixing.
Add in:Mix until everything looks smooth and inviting.
Slowly fold the dry ingredients into the wet mixture. Stir gently until just combined – don’t overwork the dough!
Fold in the fun extras:Step 3: Bake These Festive Treats
Scoop out little balls of cookie dough onto your prepared baking sheet. Make sure they have some breathing room – about 2 inches apart.
Slide the tray into the oven and bake for 9-11 minutes. You want the edges to look set but the centers to stay soft and tender.
Once done, let the cookies chill on the baking sheet for 5 minutes. Then transfer them to a wire rack to cool completely.
Enjoy your Santa-approved holiday cookies that are sure to spread Christmas cheer!
Smart Tips For Santas Favorite Cookies
Keeping Santas Favorite Cookies Fresh
What Tastes Great With Santas Favorite Cookies
Easy Twists On Santas Favorite Cookies
Answers About Santas Favorite Cookies
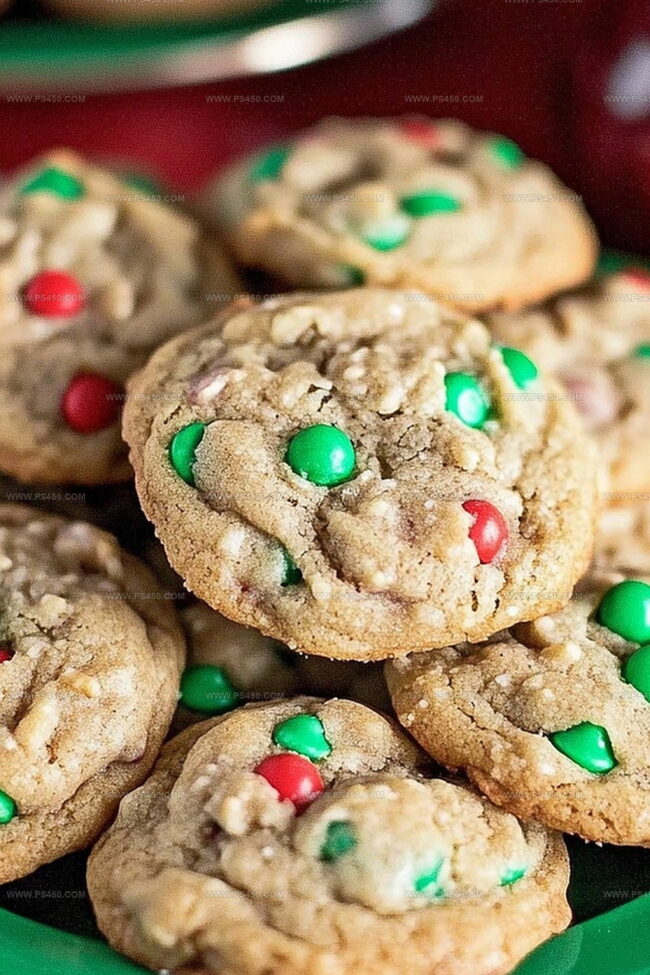
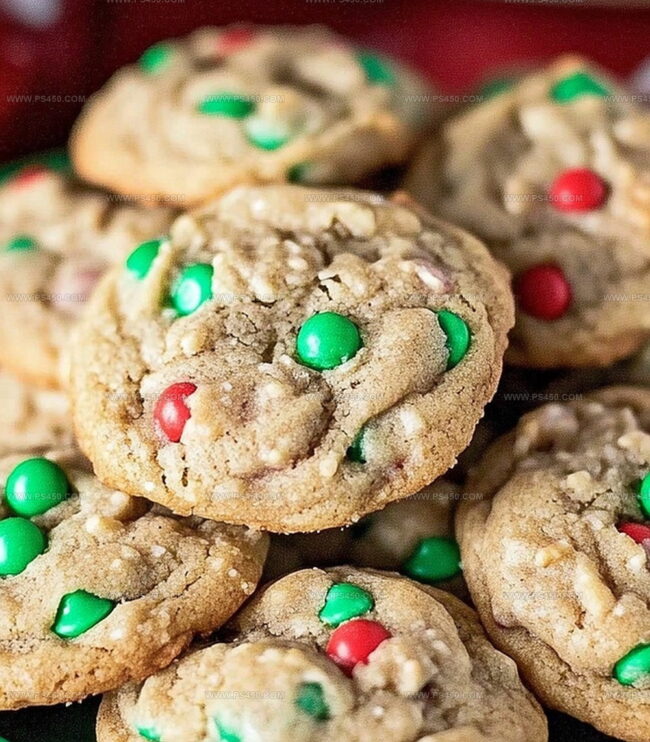
These cookies are packed with festive flavors like white chocolate chips, colorful sprinkles, and crushed candy canes, creating a delightful holiday treat that captures the magic of Christmas in every bite.
Yes! You can prepare the cookie dough in advance and refrigerate it for up to 3 days before baking. Just make sure to let the dough come to room temperature before scooping and baking.
Not at all! All you need are basic baking tools like mixing bowls, a baking sheet, parchment paper, and a standard oven. Even beginner bakers can easily create these festive cookies.
Absolutely! These cookies look beautiful and taste amazing, making them perfect for cookie exchanges, holiday parties, or as a homemade gift for friends and family during the Christmas season.
Print
Santas Favorite Cookies Recipe
- Total Time: 20 minutes
- Yield: 24 1x
Description
Santa’s favorite cookies deliver pure holiday magic with classic chocolate chip comfort straight from North Pole kitchens. Crisp edges, gooey centers, and rich buttery flavor guarantee festive cheer you’ll savor with each delightful bite.
Ingredients
Main Ingredients:
- 2 ½ cups (297 g) all-purpose flour
- ¾ cup (170 g) unsalted butter, softened
- ¾ cup brown sugar, packed
- ½ cup granulated sugar
- 2 large eggs
- 1 cup white chocolate chips
Dry Ingredients and Seasonings:
- 1 teaspoon baking soda
- ½ teaspoon salt
Decorative and Optional Ingredients:
- 1 tablespoon vanilla extract
- ½ cup red and green sprinkles
- ½ cup crushed candy canes (optional)
Instructions
- Gather all necessary equipment: mixing bowls, electric mixer, baking sheet, and parchment paper for a smooth preparation process.
- Sift together flour, baking soda, and salt in a separate bowl to ensure even distribution of dry ingredients and prevent clumping.
- Cream butter with brown and granulated sugars using an electric mixer, whipping until the mixture becomes pale and airy, which typically takes about 2-3 minutes.
- Incorporate eggs one at a time, mixing thoroughly after each addition, then blend in vanilla extract for a rich, smooth base.
- Gradually fold dry ingredients into the wet mixture, stirring gently to maintain the dough’s light texture and prevent overmixing.
- Gently fold white chocolate chips, festive sprinkles, and crushed candy canes into the cookie dough, distributing them evenly throughout.
- Line a baking sheet with parchment paper and preheat the oven to 350°F (175°C), allowing it to reach the correct temperature.
- Using a cookie scoop or spoon, drop rounded tablespoon-sized portions of dough onto the prepared baking sheet, spacing them approximately 2 inches apart.
- Bake the cookies for 10-12 minutes, watching for golden edges and slightly soft centers, which indicate perfect doneness.
- Remove from the oven and allow cookies to rest on the baking sheet for 5 minutes to firm up slightly.
- Transfer cookies to a wire cooling rack, letting them cool completely before serving or storing in an airtight container.
Notes
- Adjust oven temperature slightly lower for softer, chewier cookies that stay moist and tender.
- Use room temperature butter and eggs to ensure smooth, even mixing and better cookie texture.
- Crush candy canes finely for more even distribution and a consistent peppermint flavor throughout the cookies.
- Experiment with different holiday sprinkle combinations to create unique festive looks that match your celebration theme.
- Prep Time: 10 minutes
- Cook Time: 10 minutes
- Category: Desserts, Snacks
- Method: Baking
- Cuisine: American
Nutrition
- Serving Size: 24
- Calories: 150
- Sugar: 10 g
- Sodium: 90 mg
- Fat: 7 g
- Saturated Fat: 4 g
- Unsaturated Fat: 2 g
- Trans Fat: 0 g
- Carbohydrates: 20 g
- Fiber: 0.5 g
- Protein: 2 g
- Cholesterol: 25 mg
Emily Morgan
Food Critic & Kitchen Tips Specialist
Expertise
Global Food Exploration & Critique, Simple Kitchen Hacks & Time-Saving Tips, Presentation & Plating Techniques, Culinary Research & Storytelling.
Education
New York University
Emily Morgan has journeyed across the globe, collecting culinary secrets that turn everyday ingredients into impressive meals.
Based in Seattle and armed with a Journalism degree from NYU, she blends thorough research with a flair for presentation, ensuring every dish looks just as good as it tastes.
Focusing on fresh flavors, simple methods, and a bit of fun, Emily shows home cooks how to elevate their daily cooking without fancy gadgets or complex steps.