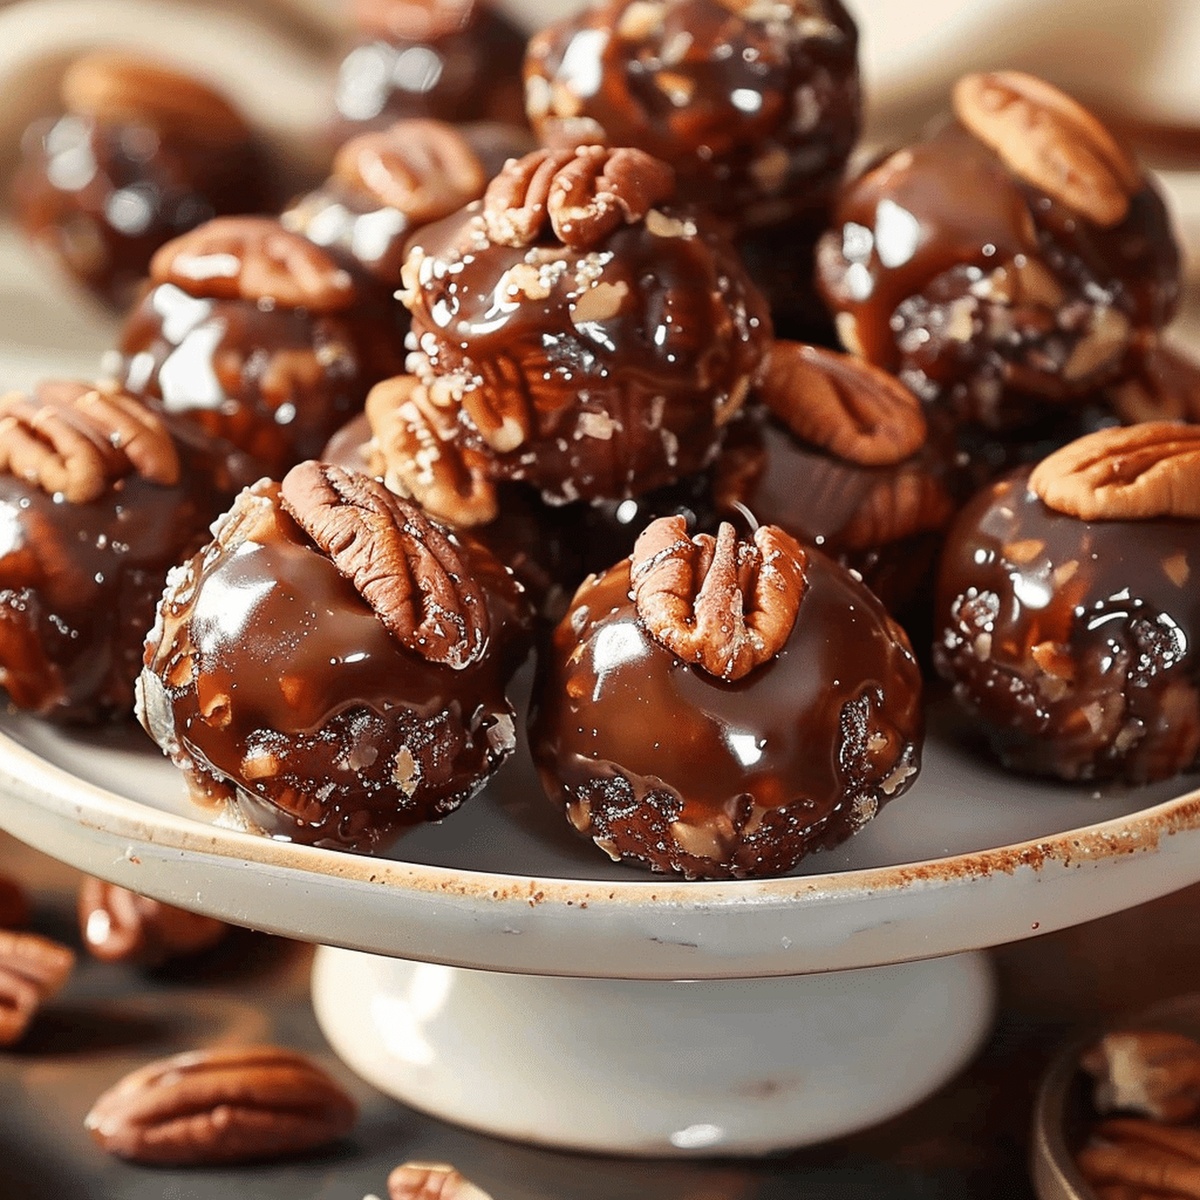
No-Bake Pecan Pie Balls Recipe Packed with Sticky Sweetness
Decadent desserts often spark joy, and these sinful pecan pie balls bring pure indulgence to every sweet craving.
No baking required means less hassle and more deliciousness.
These bite-sized treats pack incredible flavor with minimal effort.
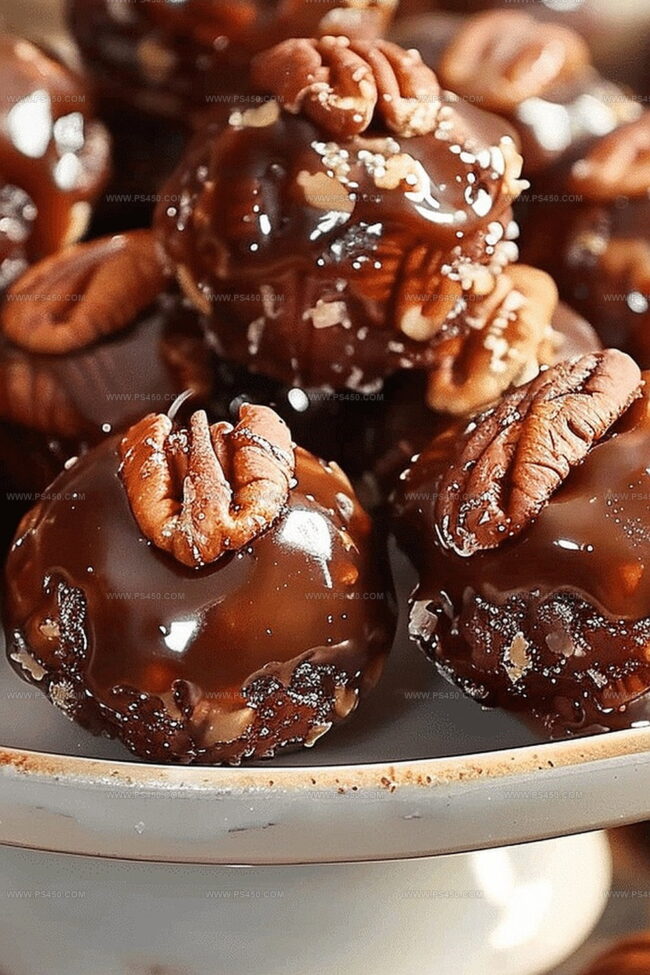
Chocolate and pecans combine in a rich, melt-in-your-mouth experience that feels like a luxurious dessert shortcut.
Each ball delivers a perfect balance of nutty crunch and smooth chocolate essence.
The recipe transforms classic pecan pie into convenient, pop-able delights that will wow anyone with a sweet tooth.
You’ll want to make a double batch to keep some on hand for unexpected cravings.
Quick Recipe Overview
What You Need for Pecan Pie Balls
For Base and Binding Ingredients:For Nutty Crunch:For Coating and Finishing:Equipment to Roll and Chill Pecan Pie Balls Easily
Steps to Make Homemade Pecan Pie Balls
Grab a big mixing bowl and toss together graham cracker crumbs, crushed pecans, brown sugar, maple syrup, melted butter, vanilla, and a pinch of salt. Mix everything until it feels like a sticky, clumpy texture that holds together when squeezed.
Slide on some clean kitchen gloves and start rolling the mixture into bite-sized balls. Gently place each round morsel onto a parchment-lined tray, making sure they’re not touching each other.
Pop the tray into the freezer for about an hour. This helps the balls firm up and makes the next steps easier.
Melt chocolate wafers in the microwave, stirring every 30 seconds until silky smooth. Use a fork to carefully lower each chilled pecan ball into the melted chocolate, letting excess drip off.
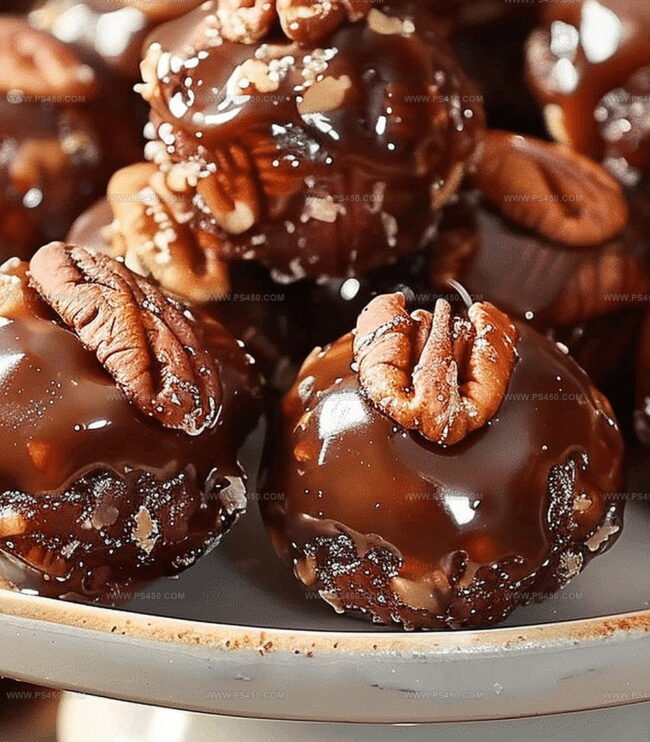
Return the chocolate-coated balls to the parchment tray and slide them into the refrigerator. Let them set for roughly 20 minutes until the chocolate hardens into a glossy shell.
Pull out your delectable treats and serve them chilled or at room temperature. Watch everyone’s eyes light up with the first delicious bite!
Pecan Pie Ball Variations Worth Trying
How to Serve Pecan Pie Balls for Any Occasion
Keeping Pecan Pie Balls Fresh After Making
FAQs
While delicious, these balls are more of an indulgent treat. They contain nuts which provide some nutrients, but they’re also high in sugar and calories from ingredients like butter, maple syrup, and chocolate.
Yes, you can skip the chocolate coating. The pecan balls will still taste great and maintain their nutty, sweet flavor from the graham cracker, pecan, and maple syrup mixture.
Whole pecans that you chop yourself typically provide the freshest flavor. Roasted pecans can add extra depth, but raw pecans work perfectly fine too. Ensure they’re finely chopped for the best texture.
When stored in an airtight container in the refrigerator, these balls can last up to 5-7 days. For best quality, keep them chilled and consume within a week of making.
Print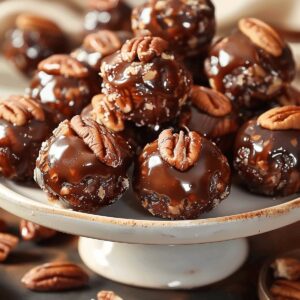
Sinful Pecan Pie Balls Recipe
- Total Time: 1 hour 15 minutes
- Yield: 21 1x
Description
Rich chocolate pecan pie balls combine Southern charm with bite-sized indulgence. Nutty, sweet spheres provide a delightful twist on classic dessert traditions that you’ll savor with pure pleasure.
Ingredients
- ½ cup brown sugar
- 15 oz (425 g) dark chocolate melting wafers (or semi-sweet chocolate chips)
- ½ cup pure maple syrup
- 2 cups pecans, finely chopped
- ¼ cup unsalted butter, melted
- 1 cup graham cracker crumbs
- 1 tsp vanilla extract
- ½ tsp salt
Instructions
- Blend Creation: In a spacious mixing bowl, thoroughly combine graham cracker crumbs, chopped pecans, brown sugar, maple syrup, melted butter, vanilla extract, and salt until a cohesive, slightly tacky dough forms.
- Shaping and Chilling: Craft uniform spheres approximately one inch in diameter, arranging them on a parchment-lined tray. Freeze for 60 minutes to firm the balls and enhance their structural integrity.
- Chocolate Coating Preparation: Melt chocolate wafers in a microwave-safe container, using brief 30-second intervals and stirring between each session to achieve a smooth, glossy consistency.
- Enrobing Process: Remove chilled pecan spheres from the freezer. Using a fork, delicately immerse each ball into the molten chocolate, allowing excess coating to drip back into the bowl before placing on the parchment-lined surface.
- Final Setting: Refrigerate the chocolate-coated treats for 20 minutes to accelerate chocolate crystallization. Serve at cool room temperature or directly from the refrigerator for optimal texture and flavor experience.
Notes
- Maintain Consistent Size: Roll balls uniformly to ensure even coating and consistent texture during freezing and chocolate dipping.
- Control Moisture Levels: If mixture feels too dry, add maple syrup incrementally; if too wet, incorporate additional graham cracker crumbs to achieve perfect binding consistency.
- Optimize Chocolate Melting: Use low microwave power and stir frequently to prevent chocolate from burning or developing unwanted grainy texture.
- Explore Dietary Adaptations: Substitute graham cracker crumbs with gluten-free alternatives and use dairy-free chocolate for vegan-friendly version.
- Prep Time: 15 minutes
- Cook Time: 1 hour
- Category: Desserts, Snacks
- Method: Blending
- Cuisine: American
Nutrition
- Serving Size: 21
- Calories: 185
- Sugar: 12 g
- Sodium: 50 mg
- Fat: 10 g
- Saturated Fat: 4 g
- Unsaturated Fat: 6 g
- Trans Fat: 0 g
- Carbohydrates: 23 g
- Fiber: 1 g
- Protein: 2 g
- Cholesterol: 5 mg
John Nicholson
Lead Writer & Recipe Developer
Expertise
Recipe Testing and Development, Kitchen Hacks and Time-Saving Tips, Flavor Pairing and Ingredient Selection, Engaging Food Writing and Storytelling
Education
Johnson & Wales University
John Nicholson honed his skills at Johnson & Wales University, learning how to use fresh, local ingredients and down-to-earth techniques to make cooking simple and satisfying.
His recipes blend Southern comfort flavors with a modern touch, inviting everyone to cook with ease and confidence.
Living in Charleston, John takes cues from the city’s lively food scene, local markets, and seasonal produce. He’s all about making meals stress-free through easy tips, flavor pairings, and fun experiments in the kitchen