Cheesy Taco Cheese Ball Recipe for Festive Gatherings
Crafting a mouthwatering taco cheese ball promises to be your next party sensation.
Spicy aromas will dance through your kitchen as you blend creamy ingredients.
Bold Mexican-inspired flavors burst from this crowd-pleasing appetizer that takes minimal effort.
Crisp tortilla chips stand ready to scoop up every delectable morsel.
Zesty seasonings mingle with smooth cream cheese, creating an irresistible dip.
Each bite delivers a punch of southwestern excitement that keeps guests coming back for more.
You’ll want to make this recipe again and again for every gathering.
Why Taco Cheese Ball Is A Snack Table Winner

What You Need For Taco Cheese Ball
Main Ingredients:
Cheese Base:Seasoning Blend:Texture Enhancers:Coating Ingredients:Optional Add-ins:Serving Accompaniments:How To Make Taco Cheese Ball With Ease

Step 1: Mixing Flavor Powerhouse
In a spacious mixing bowl, combine:Blend all ingredients until they create a smooth, harmonious mixture that screams fiesta vibes.
Step 2: Forming Cheesy Magic
Lay out a sheet of plastic wrap on your countertop. Scoop the creamy mixture into the center and use the wrap to help shape it into a perfect spherical ball. Wrap tightly, creating a neat package of deliciousness. Chill in the refrigerator for at least two hours, allowing flavors to mingle and texture to firm up.
Step 3: Creating Crunchy Coating
Grab a shallow dish and mix together:Step 4: Dressing The Cheese Ball
Remove the chilled cheese ball from the refrigerator. Unwrap carefully and gently roll it in the prepared coating mixture. Press the toppings softly to ensure they stick perfectly, creating a spectacular crunchy exterior.
Step 5: Serving Spectacular Appetizer
Transfer the coated cheese ball to a beautiful serving platter. Sprinkle additional green onions on top for a pop of color. Surround with tortilla chips, crisp crackers, or fresh vegetable sticks. Watch as your guests dive into this flavor-packed appetizer that’s sure to be the star of any gathering!
Pro Tip: This cheese ball can be prepared a day in advance, making party prep a breeze.
Tips To Shape And Chill Taco Cheese Ball
How To Store Taco Cheese Ball The Smart Way
Crackers And More For Taco Cheese Ball
Taco Cheese Ball Flavor Variations
FAQ Guide For Taco Cheese Ball
This version brings a zesty Mexican-inspired twist by adding taco seasoning, lime juice, and nacho chip coating, which gives it a bold, spicy flavor profile that’s way more exciting than traditional cheese balls.
Absolutely! You can prepare the cheese ball up to 2-3 days in advance. Just keep it wrapped tightly in the refrigerator and add the coating right before serving to keep the chips crispy and fresh.
Yes! This cheese ball is perfect for game day, potlucks, or any gathering. It’s easy to make, looks impressive, and guests can easily scoop it up with chips or crackers. Plus, it’s a crowd-pleaser with its fun taco-inspired flavors.
The spice level depends on your taco seasoning and whether you add jalapeños. For a mild version, use a standard taco seasoning. If you want more heat, add diced jalapeños or choose a spicy taco seasoning blend.
Print
Taco Cheese Ball Recipe
- Total Time: 2 hours 10 minutes
- Yield: 8 1x
Description
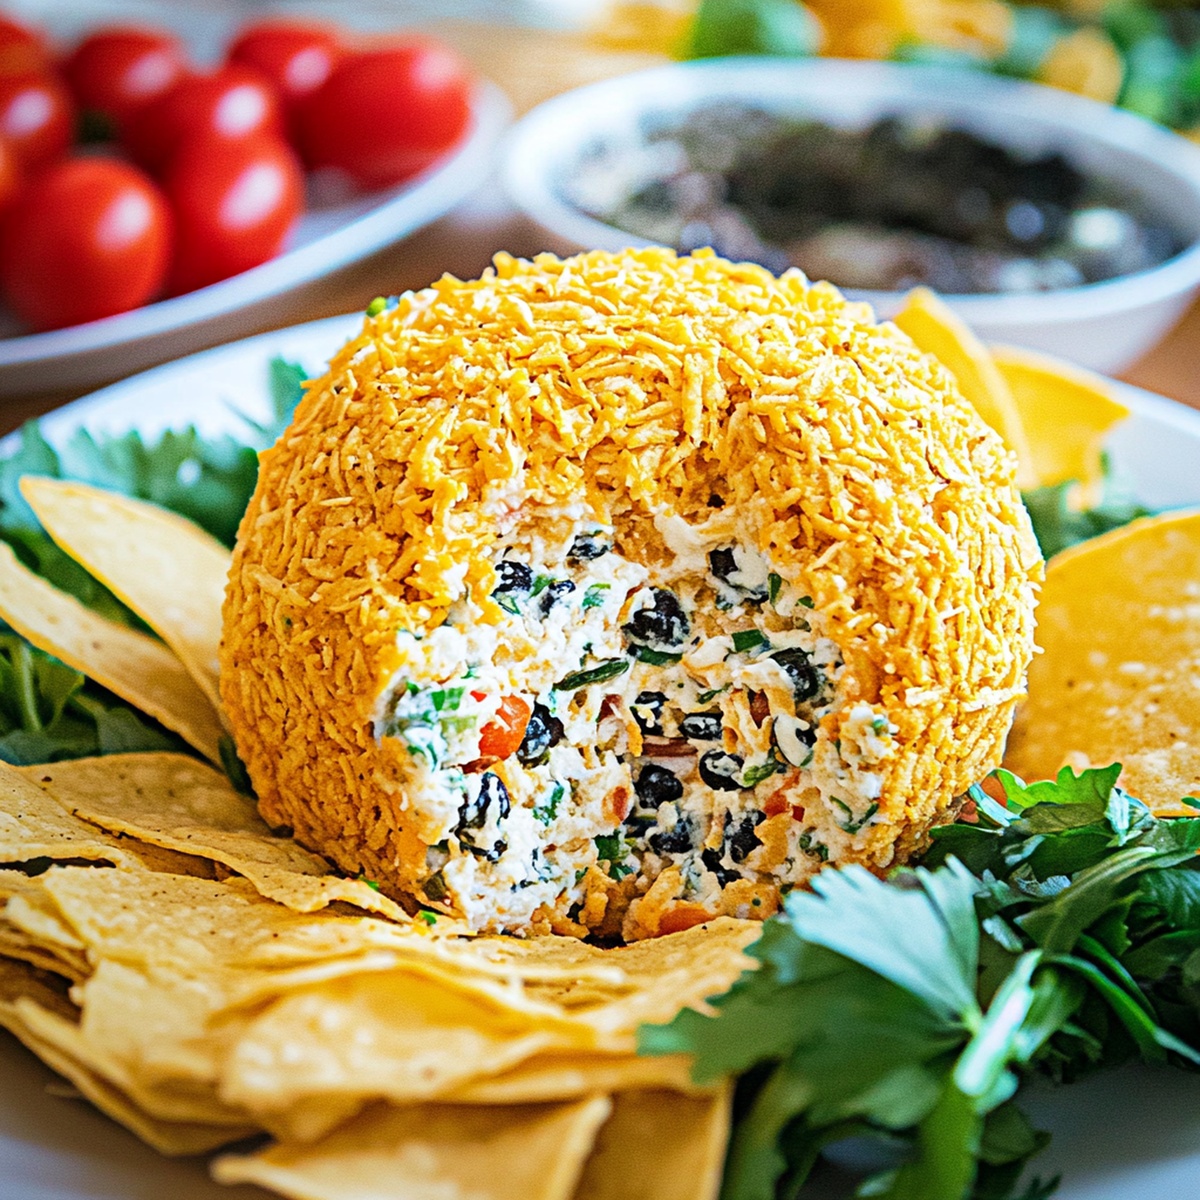
Spicy Mexican Taco Cheese Ball elevates party snacking with zesty southwestern flavors and creamy texture. Packed with bold spices and easy to prepare, this crowd-pleasing appetizer will tempt guests to dive into delicious comfort.
Ingredients
Main Cheese Ingredients:
- 16 ounces (454 grams) cream cheese, softened
- 1.5 cups shredded Mexican cheese blend (cheddar + Monterey Jack)
Flavor and Seasoning Ingredients:
- 2 tablespoons taco seasoning (store-bought or homemade)
- 1 teaspoon garlic powder
- 1 teaspoon lime juice
Vegetable and Additional Ingredients:
- 0.5 cup sour cream
- 0.5 cup diced green onions
- 0.5 cup diced red bell pepper (or jalapenos for spice)
- 0.25 cup chopped fresh cilantro
- 1 cup crushed nacho-flavored tortilla chips (like Doritos)
- 0.25 cup cooked and crumbled bacon (optional)
- Extra diced green onions for garnish
Instructions
- Gather the mixture elements in a spacious mixing vessel, blending softened cream cheese with shredded cheese, taco seasoning, sour cream, finely chopped green onions, diced bell pepper, garlic powder, and a splash of zesty lime juice until the components harmonize into a uniform consistency.
- Transfer the creamy concoction onto a sheet of plastic wrap, carefully molding it into a rounded form with gentle hands. Encase the mixture completely, sealing it tightly to preserve its shape and texture.
- Nestle the wrapped cheese sphere into the refrigerator, allowing it to rest and solidify for a minimum of two hours, or ideally overnight, which will enhance its structural integrity and flavor melding.
- While the cheese ball chills, prepare the exterior coating by pulverizing nacho chips into fine, crunchy fragments. Introduce finely chopped cilantro and crumbled bacon to create a complex, textural exterior.
- Extract the chilled cheese formation from its cold sanctuary and meticulously roll it through the prepared coating mixture, ensuring every surface is generously and evenly covered with the crisp, savory exterior.
- Position the fully adorned cheese sphere onto an elegant serving platter, scattering additional green onion snippets for a vibrant garnish. Present alongside an array of accompaniments such as crisp tortilla chips, rustic crackers, or fresh vegetable slices for delightful dipping.
Notes
- Customize the heat level by adjusting jalapeños or choosing mild/spicy taco seasoning to suit different taste preferences.
- Use low-fat cream cheese and reduced-fat cheese for a lighter version without compromising flavor complexity.
- Make the cheese ball ahead of time and store in the refrigerator up to 3 days, allowing flavors to meld and develop deeper taste profiles.
- Explore alternative coatings like crushed Doritos, panko breadcrumbs, or toasted pepitas for unique texture and crunch variations.
- Prep Time: 10 minutes
- Cook Time: 2 hours
- Category: Appetizer, Snacks
- Method: Mixing
- Cuisine: Mexican
Nutrition
- Serving Size: 8
- Calories: 290
- Sugar: 1 g
- Sodium: 560 mg
- Fat: 22 g
- Saturated Fat: 10 g
- Unsaturated Fat: 10 g
- Trans Fat: 0 g
- Carbohydrates: 18 g
- Fiber: 1 g
- Protein: 8 g
- Cholesterol: 50 mg
Emily Morgan
Food Critic & Kitchen Tips Specialist
Expertise
Global Food Exploration & Critique, Simple Kitchen Hacks & Time-Saving Tips, Presentation & Plating Techniques, Culinary Research & Storytelling.
Education
New York University
Emily Morgan has journeyed across the globe, collecting culinary secrets that turn everyday ingredients into impressive meals.
Based in Seattle and armed with a Journalism degree from NYU, she blends thorough research with a flair for presentation, ensuring every dish looks just as good as it tastes.
Focusing on fresh flavors, simple methods, and a bit of fun, Emily shows home cooks how to elevate their daily cooking without fancy gadgets or complex steps.