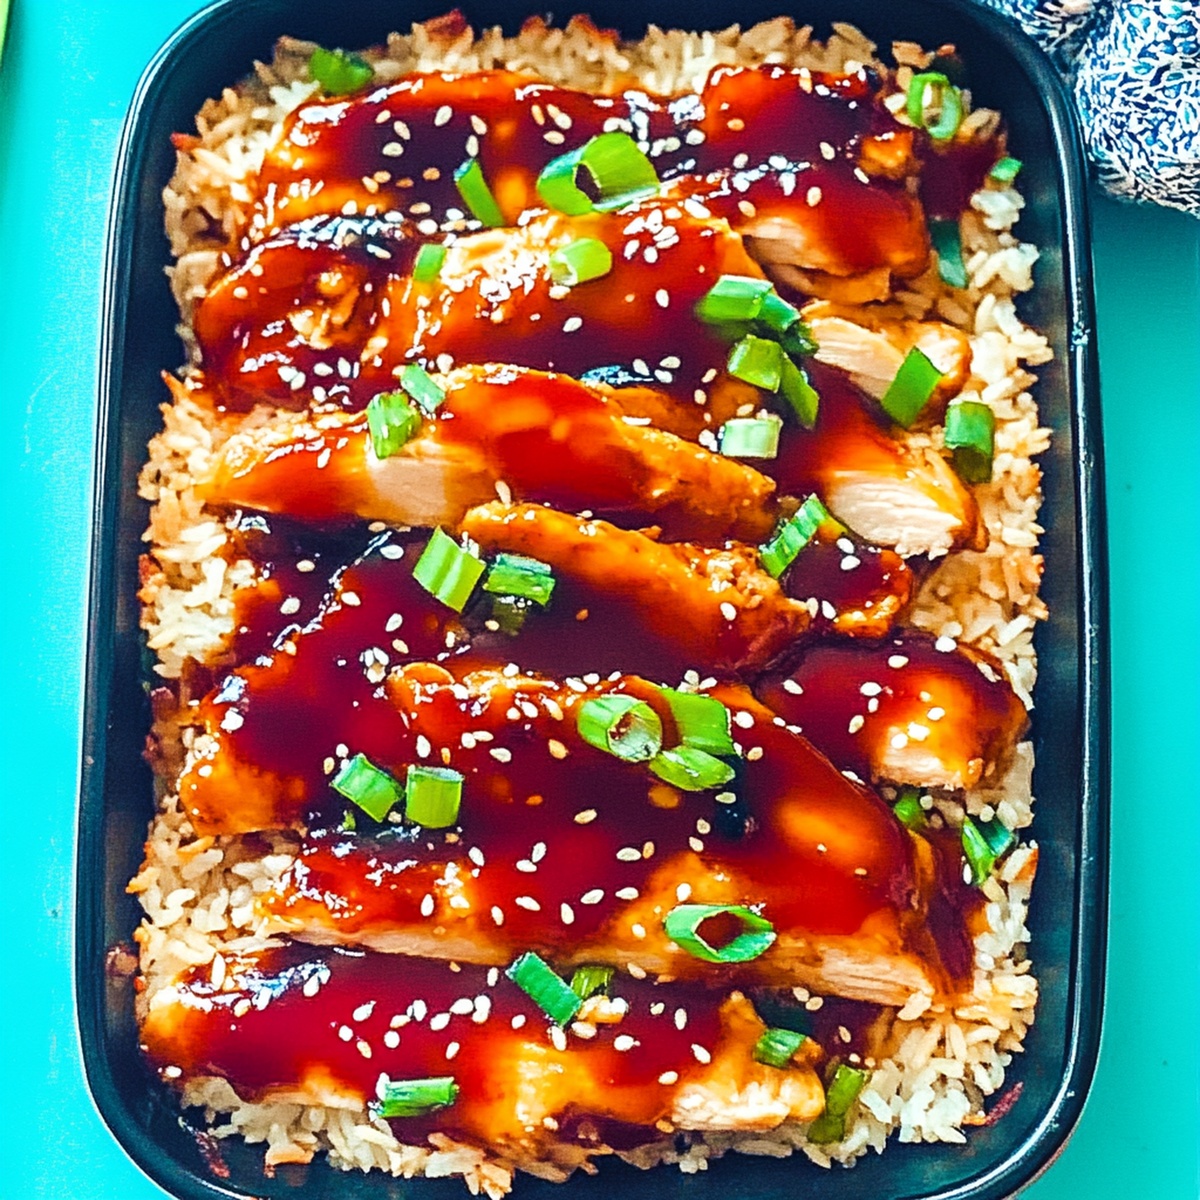
Teriyaki Chicken and Rice Bake Recipe for Easy Dinners
Weeknight dinners demand something special, and this baked teriyaki chicken rice recipe delivers pure comfort.
Tender chicken swimming in homemade teriyaki sauce creates a mouthwatering meal that instantly satisfies.
The rich, savory flavors blend perfectly with fluffy rice, making every bite a delightful experience.
Simple ingredients transform into an extraordinary dish that feels like a restaurant-quality meal prepared right in your kitchen.
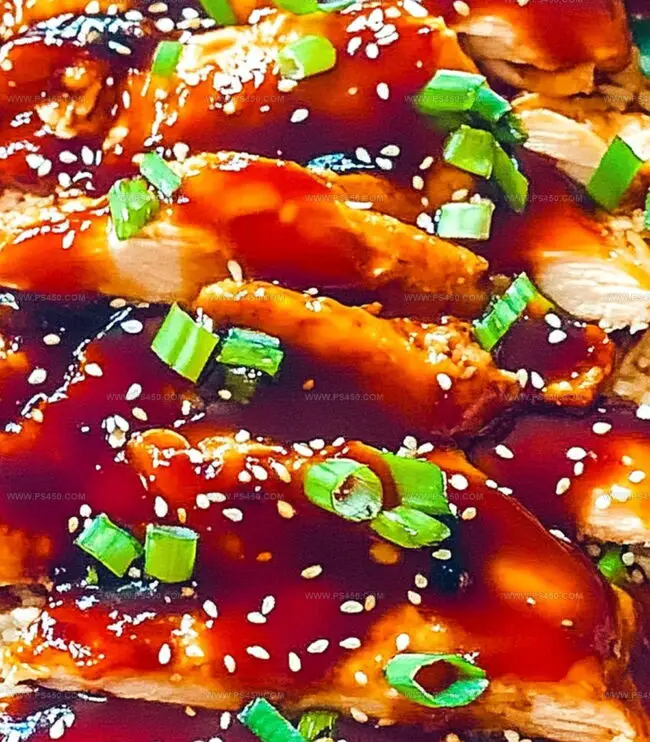
Each forkful brings a harmony of sweet and tangy notes that dance across your palate.
You’ll love how easily this recipe comes together with minimal prep and maximum flavor.
Prepare to be impressed by this foolproof dinner that will have everyone asking for seconds.
Quick Recipe Overview

Ingredients For Baked Teriyaki Chicken and Rice
For Sauce Components:For Main Protein and Base:For Vegetable and Garnish Elements:Tools For Teriyaki Chicken & Rice
Instructions To Bake Teriyaki Chicken
Grab a 9×13-inch baking dish and give it a quick spray of cooking oil. Set your oven to warm up at 375°F.
In a small pot, combine soy sauce, honey, rice vinegar, sesame oil, crushed garlic, and grated ginger. Let it bubble gently. Mix water and cornstarch in a separate bowl, then stir into the sauce. Simmer until it thickens into a glossy glaze.
Spread uncooked rice across the bottom of your baking dish. Scatter frozen vegetables over the rice, then pour chicken broth on top. Sprinkle a dash of salt and pepper.
Nestle chicken pieces on top of the rice and veggies. Pour most of the teriyaki sauce over everything, saving a little for the final touch.
Cover the dish tightly with foil and slide into the oven. Bake for 45-50 minutes until rice is tender and chicken is fully cooked.
Remove the foil and switch to broil. Let the top crisp up for 2-3 minutes for a beautiful golden color.
Drizzle the remaining teriyaki sauce over the dish. Sprinkle with chopped green onions and sesame seeds if you’re feeling fancy.
Teriyaki Tips & Variations
How To Serve Teriyaki Chicken and Rice
Store It Right: Teriyaki Chicken
Print
Tasty Baked Teriyaki Chicken And Rice Recipe
- Total Time: 1 hour 5 minutes
- Yield: 5 1x
Description
Delectable baked teriyaki chicken and rice beckons with savory Japanese-inspired flavors. Marinated chicken thighs nestle alongside fluffy rice, promising a simple yet satisfying meal you’ll eagerly savor.
Ingredients
- 1.5 pounds (680 grams) boneless, skinless chicken thighs or breasts
- 1 cup (240 milliliters) long-grain white rice, uncooked
- 2 cups (480 milliliters) low-sodium chicken broth
- 1 cup (240 milliliters) frozen peas and carrots
- 0.5 cup (120 milliliters) low-sodium soy sauce
- 0.25 cup (60 milliliters) honey or brown sugar
- 2 tbsps (30 milliliters) rice vinegar
- 2 tbsps (30 milliliters) water
- 1 tbsp (15 milliliters) cornstarch
- 2 tsps (10 milliliters) sesame oil
- 2 cloves garlic, minced
- 1 tsp (5 milliliters) fresh ginger, grated
- 0.5 tsp (2.5 milliliters) salt
- 0.25 tsp (1.25 milliliters) black pepper
- 2 green onions, sliced
- Sesame seeds
Instructions
- Preparation: Preheat oven to 375F (190C) and prepare a 9×13-inch baking dish with light cooking spray, ensuring even coverage.
- Teriyaki Sauce Creation: Combine soy sauce, honey, rice vinegar, sesame oil, minced garlic, and grated ginger in a saucepan. Whisk water and cornstarch, then integrate into the simmering mixture. Cook until the sauce transforms into a glossy, thickened consistency, approximately 12 minutes. Set aside.
- Layering Foundation: Spread uncooked rice across the baking dish, creating an even base. Distribute frozen vegetables over the rice, then gently pour chicken broth around the surface. Season with salt and pepper.
- Protein Placement: Arrange chicken pieces uniformly across the rice and vegetable layer. Generously drizzle three-quarters of the teriyaki sauce over the entire dish, reserving the remaining sauce for final garnishing.
- Baking Process: Seal the baking dish tightly with aluminum foil and bake for 45-50 minutes. Verify chicken’s internal temperature reaches 165F and rice becomes tender. Optional: Uncover and broil for 2-3 minutes to achieve a golden-brown chicken exterior.
- Finishing Touch: Before serving, drizzle reserved teriyaki sauce and sprinkle chopped green onions and sesame seeds as a vibrant garnish.
Notes
- Balance Rice Moisture: Add an extra 1/4 cup of chicken broth to prevent rice from drying out during long baking time.
- Prevent Vegetable Mushiness: Use frozen mixed vegetables with larger, firmer pieces like carrots and peas to maintain texture and avoid overcooking.
- Enhance Flavor Depth: Marinate chicken in half of the teriyaki sauce for 30 minutes before baking to infuse deeper flavor profiles and tenderize meat.
- Gluten-Free Adaptation: Substitute regular soy sauce with tamari or gluten-free soy sauce, and ensure cornstarch is certified gluten-free for sensitive diets.
- Prep Time: 15 minutes
- Cook Time: 50 minutes
- Category: Dinner
- Method: Baking
- Cuisine: Japanese
Nutrition
- Serving Size: 5
- Calories: 400
- Sugar: 10 g
- Sodium: 600 mg
- Fat: 8 g
- Saturated Fat: 1.5 g
- Unsaturated Fat: 6 g
- Trans Fat: 0 g
- Carbohydrates: 50 g
- Fiber: 2 g
- Protein: 30 g
- Cholesterol: 90 mg
John Nicholson
Lead Writer & Recipe Developer
Expertise
Recipe Testing and Development, Kitchen Hacks and Time-Saving Tips, Flavor Pairing and Ingredient Selection, Engaging Food Writing and Storytelling
Education
Johnson & Wales University
John Nicholson honed his skills at Johnson & Wales University, learning how to use fresh, local ingredients and down-to-earth techniques to make cooking simple and satisfying.
His recipes blend Southern comfort flavors with a modern touch, inviting everyone to cook with ease and confidence.
Living in Charleston, John takes cues from the city’s lively food scene, local markets, and seasonal produce. He’s all about making meals stress-free through easy tips, flavor pairings, and fun experiments in the kitchen