Tomatoes: Brings bright, juicy freshness and slight acidic balance.
Lettuce: Provides crisp, cool contrast to warm meat.
Onions: Offers sharp, pungent accent that complements taco seasoning.
Tools To Build Your Taco Sliders
Skillet: Essential for browning ground beef and cooking taco meat.
Baking dish: Needed to assemble and bake sliders.
Cheese grater: Useful for shredding cheese if not pre-shredded.
Cutting board: For chopping tomatoes, lettuce, and onions.
Sharp knife: Required for slicing vegetables and buns.
Pastry brush: Helps evenly spread melted butter on bun tops.
Measuring spoons: For accurate taco seasoning and water measurements.
How To Make Tasty Taco Sliders
Fire Up the Oven Prepare your cooking space by heating the oven to a cozy 350 degrees.
Brown the Meat Sizzle ground beef in a skillet until it transforms into a rich, golden color. Drain away any excess fat.
Spice It Up Stir in zesty taco seasoning and a splash of water, letting the mixture simmer and thicken into a mouthwatering filling.
Build the Base Split slider buns and nestle the bottom halves into a baking dish, creating a delicious foundation.
Layer the Flavor Spread the seasoned meat evenly across the bun bottoms, creating a tantalizing base layer.
Add Cheesy Goodness Scatter shredded cheese generously over the meat, promising a melty surprise.
Create Texture Sprinkle fresh diced tomatoes, crisp lettuce, and crunchy onions for an extra flavor punch.
Top It Off Crown your sliders with the remaining bun halves.
Brush with Brilliance Whisk melted butter with garlic powder and lovingly brush over the bun tops.
Bake to Perfection Slide the dish into the oven and bake for 10-15 minutes until the cheese melts and buns turn a gorgeous golden brown.
Slider Tips & Flavor Swaps
Meal Prep Magic: Prepare taco meat and chop toppings ahead of time for quick assembly during busy weeknights.
Spice Level Control: Adjust taco seasoning intensity by using mild, medium, or hot varieties to suit different taste preferences.
Dietary Swap Options: Replace ground beef with ground turkey, plant-based crumbles, or shredded chicken for lighter protein alternatives.
Gluten-Free Adaptation: Use gluten-free slider buns or lettuce wraps to make the recipe suitable for those with gluten sensitivities.
Crowd-Pleasing Tip: Scale up the recipe easily by using a larger baking dish and increasing ingredient quantities proportionally for parties or gatherings.
How To Serve Taco Sliders Creatively
Party Platter Paradise: Arrange sliders on a large wooden board with small dishes of extra salsa, sour cream, and guacamole for guests to customize their bites.
Spicy Game Day Spread: Serve alongside crispy tortilla chips, jalapeño poppers, and cold Mexican beer for the ultimate sports-watching feast.
Family Dinner Hero: Pair with Mexican street corn, black beans, and a fresh cilantro-lime rice for a complete meal that everyone will love.
Fiesta Leftovers Hack: Transform extra sliders into a quick breakfast by topping with a fried egg and adding some hot sauce for morning excitement.
Planning & Storing Taco Sliders
Quick Cooling Strategy: Let sliders rest for 5 minutes after baking to prevent burning and allow cheese to set perfectly.
Refrigeration Technique: Store leftover sliders in airtight containers within 2 hours of cooking, keeping them fresh for 3-4 days in the refrigerator.
Freezer-Friendly Method: Wrap individual sliders in aluminum foil, then place in freezer bags for up to 2 months. Thaw overnight in refrigerator before reheating.
Reheating Magic: Warm sliders in oven at 350F for 10-12 minutes to maintain crispy edges and restore original texture, avoiding microwave to prevent soggy buns.
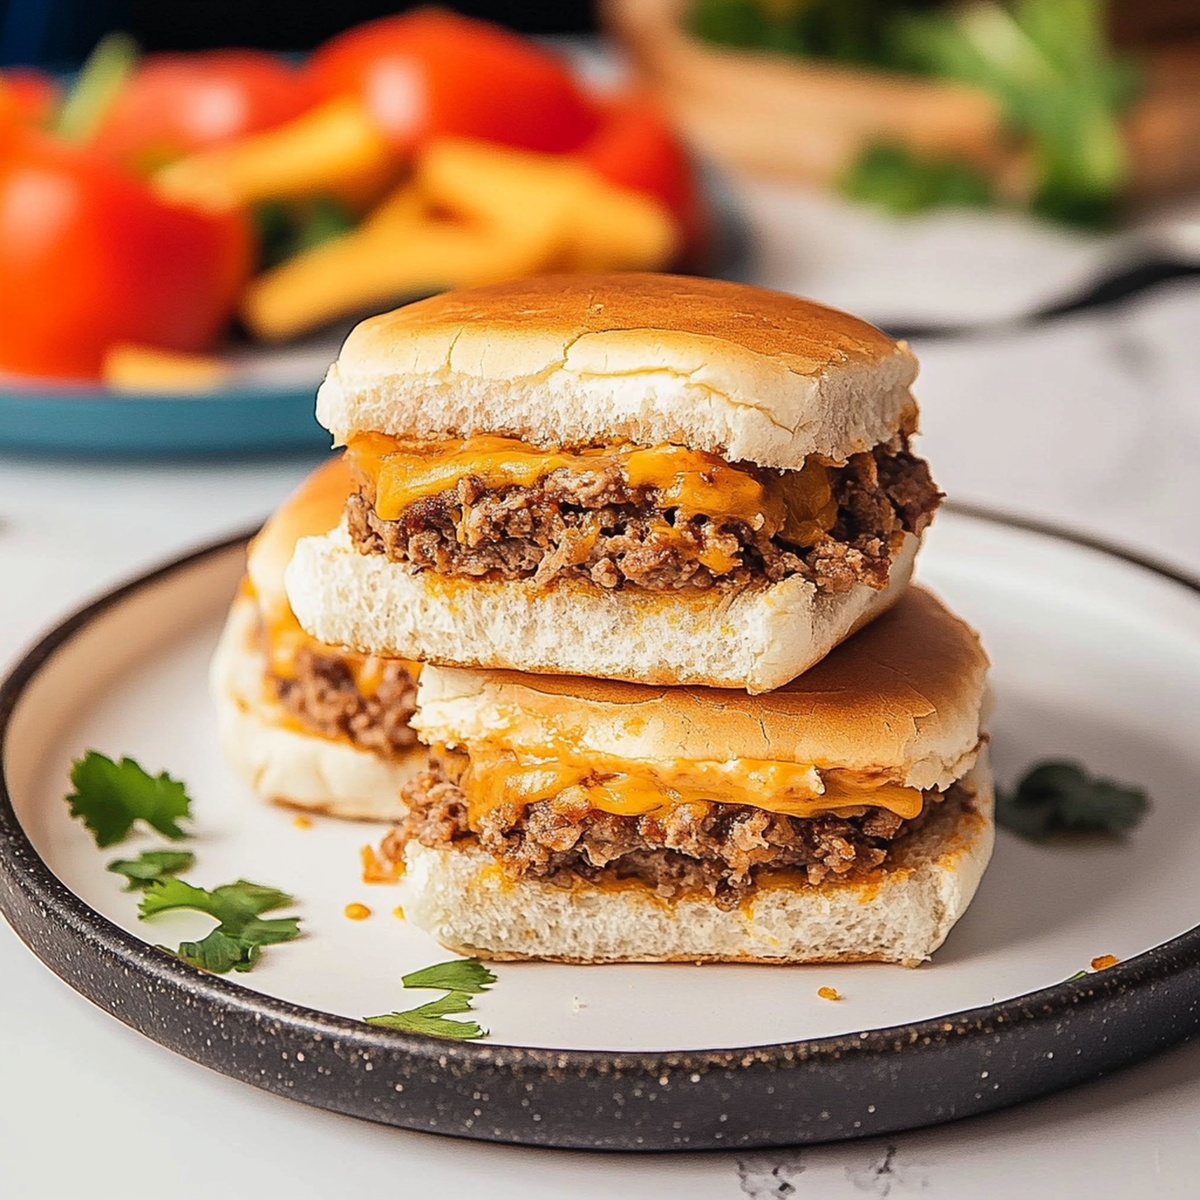
Mini taco sliders bring Mexican street flavor to your plate with zesty seasoned beef and melted cheese. Crisp buns and fresh toppings complete this crowd-pleasing appetizer you’ll want to savor at every gathering.
Ingredients
Scale
1 lb (454 g) ground beef
1 packet taco seasoning mix (or 2 tbsps homemade)
12 slider buns or Hawaiian rolls
1 cup shredded cheddar cheese
2 tbsps butter, melted
½ cup water
½ cup diced tomatoes
½ cup shredded lettuce
¼ cup diced red onion
¼ cup salsa (optional)
¼ cup sour cream (optional)
1 tsp garlic powder
Fresh cilantro for garnish (optional)
Instructions
Preheat Preparation: Set oven to 350°F, positioning rack in the center for optimal heat distribution.
Meat Transformation: Brown ground beef in a skillet, crumbling thoroughly and incorporating zesty taco seasoning until meat absorbs flavors and liquid reduces.
Foundation Assembly: Layer bottom slider buns in a baking dish, creating a compact base for taco-inspired mini sandwiches.
Flavor Layering: Spread seasoned meat evenly across bun bottoms, followed by a generous blanket of shredded cheese, diced tomatoes, crisp lettuce, and finely chopped onions.
Topping Technique: Position top bun halves, gently pressing to secure layers, then brush surfaces with garlic-infused melted butter for enhanced aromatic richness.
Baking Finale: Bake sliders for 12-15 minutes, watching for cheese to melt completely and bun tops to achieve a tempting golden-brown hue, signaling readiness to serve.
Notes
Meat Moisture Management: Thoroughly drain excess fat from ground beef to prevent soggy slider bottoms and ensure a crisp, flavorful base.
Seasoning Saturation: Allow taco seasoning to simmer with meat, letting flavors deeply penetrate and develop a rich, robust taste profile.
Cheese Melting Technique: Shred cheese finely and distribute evenly for uniform melting, creating a smooth, creamy layer across sliders.
Garlic Butter Precision: Brush butter mixture gently and sparingly to avoid saturating buns, maintaining a light, crispy top with subtle garlic essence.
Recipe Testing and Development, Kitchen Hacks and Time-Saving Tips, Flavor Pairing and Ingredient Selection, Engaging Food Writing and Storytelling
Education
Johnson & Wales University
Program: Bachelor of Science in Culinary Arts
Focus: A hands-on curriculum emphasizing farm-to-table cooking, local ingredient sourcing, and creative menu development. Students gained real-world restaurant experience, learning both classic techniques and modern approaches to sustainable cooking.
John Nicholson honed his skills at Johnson & Wales University, learning how to use fresh, local ingredients and down-to-earth techniques to make cooking simple and satisfying.
His recipes blend Southern comfort flavors with a modern touch, inviting everyone to cook with ease and confidence.
Living in Charleston, John takes cues from the city’s lively food scene, local markets, and seasonal produce. He’s all about making meals stress-free through easy tips, flavor pairings, and fun experiments in the kitchen
John Nicholson
Lead Writer & Recipe Developer
Expertise
Recipe Testing and Development, Kitchen Hacks and Time-Saving Tips, Flavor Pairing and Ingredient Selection, Engaging Food Writing and Storytelling
Education
Johnson & Wales University
John Nicholson honed his skills at Johnson & Wales University, learning how to use fresh, local ingredients and down-to-earth techniques to make cooking simple and satisfying.
His recipes blend Southern comfort flavors with a modern touch, inviting everyone to cook with ease and confidence.
Living in Charleston, John takes cues from the city’s lively food scene, local markets, and seasonal produce. He’s all about making meals stress-free through easy tips, flavor pairings, and fun experiments in the kitchen