Indulgent Velvety Peppermint Fudge Recipe: Festive Sweet Treats
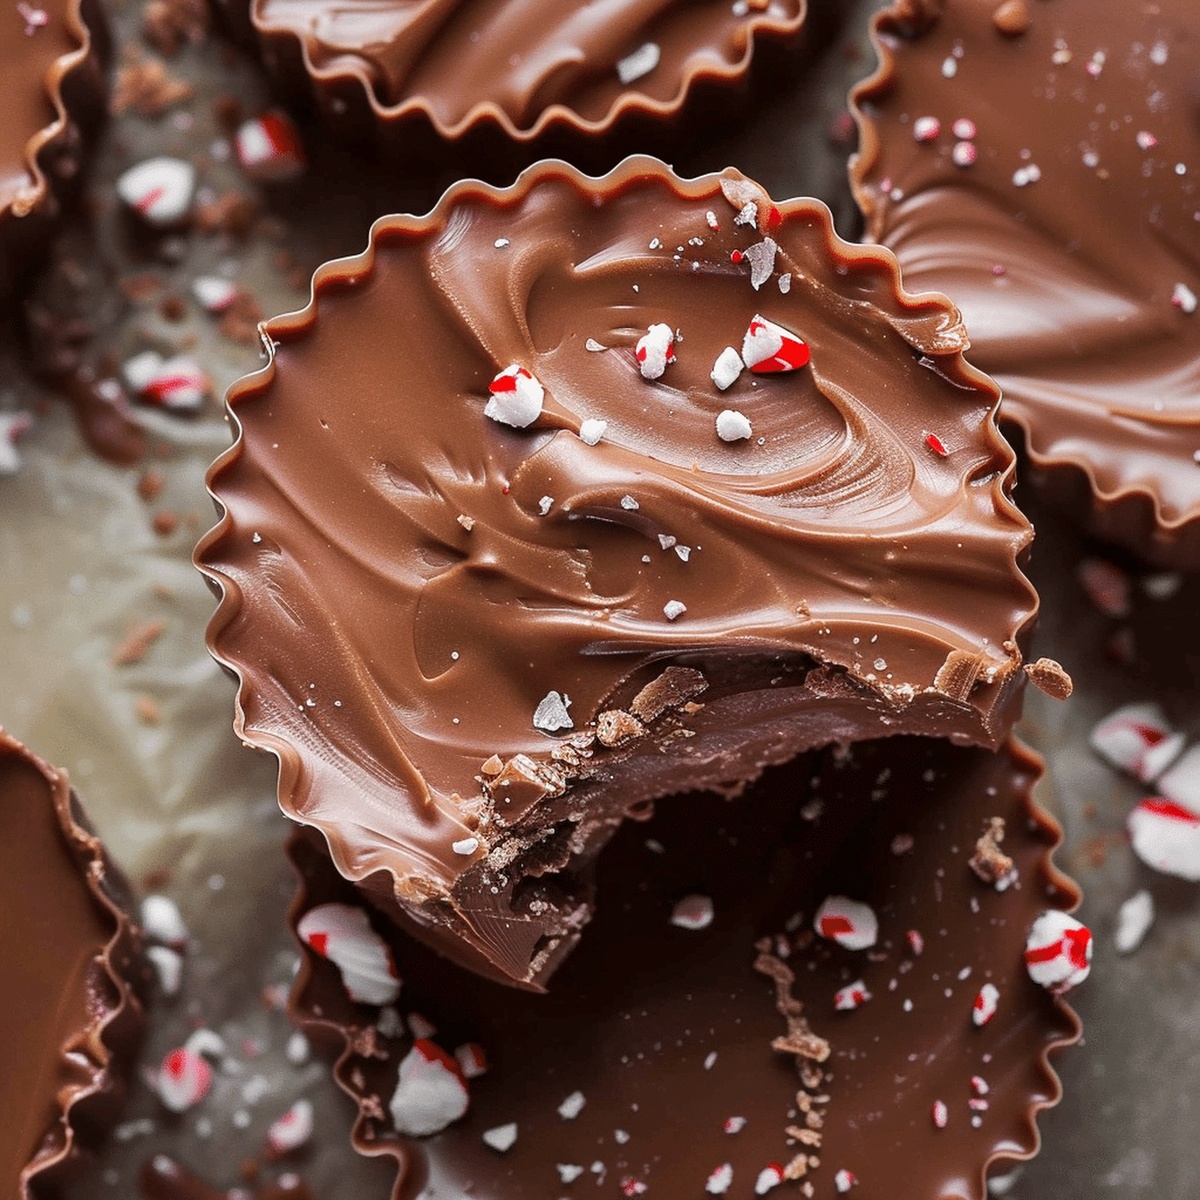
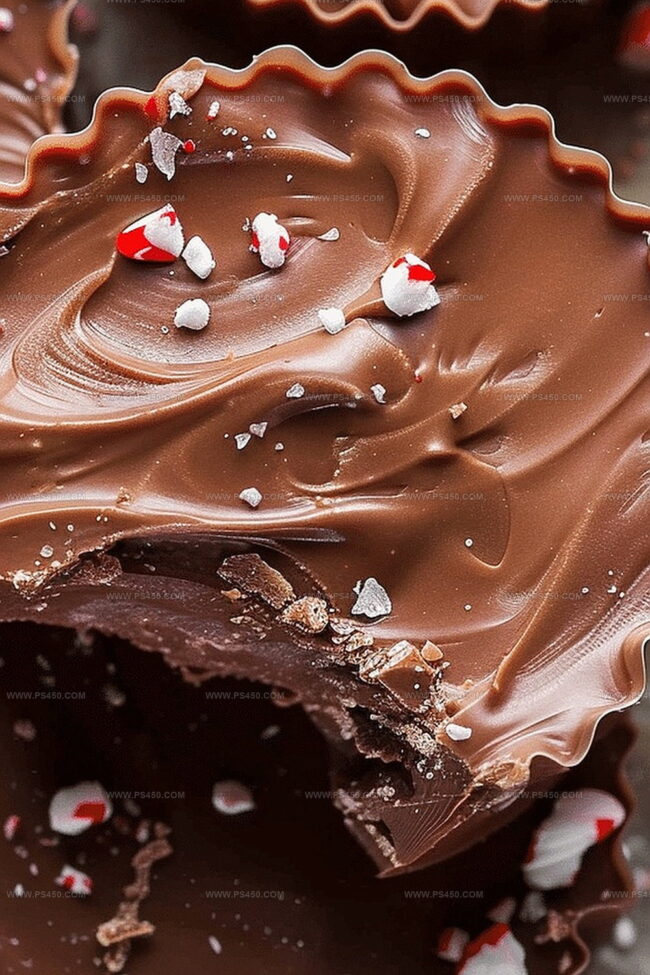
Decadent chocolate swirls meet creamy peppermint fudge in a dessert that dances between rich and refreshing.
Winter’s favorite flavor combination melts into a smooth, irresistible treat.
Sweet peppermint bursts through layers of dark chocolate, creating a luxurious winter indulgence.
Each bite promises a delightful contrast of cool mint and deep cocoa notes.
The recipe combines simple ingredients with effortless technique, making it accessible to bakers of all skill levels.
Chocolate lovers and mint enthusiasts will fall head over heels for this festive confection.
Prepare to unlock a mouthwatering experience that transforms ordinary moments into delectable memories.
Quick Recipe Overview
Peppermint Fudge Ingredient List for a Cool, Sweet Treat
For Base and Binding:For Chocolate Components:For Festive Crunch and Flavor:For Preparation Support:Bonus Tip: Select high-quality chocolate chips for most luxurious texture and richest flavor experience.
Tools for Melting and Swirling Peppermint Fudge Like a Pro
How to Prepare Peppermint Fudge for Gifting or Snacking

Create a cozy baking area with a clean 8×8 inch baking dish and parchment paper for easy removal.
Melt semi-sweet chocolate chips with sweetened condensed milk in the microwave, stirring gently until silky smooth. Add a splash of vanilla and peppermint extract for depth. Pour into the lined pan and let it chill in the refrigerator.
Combine white chocolate chips with remaining condensed milk, heating carefully until velvety. Swirl in peppermint extract and sprinkle crushed candy canes into the mixture.
Gently pour the white chocolate mixture over the dark chocolate layer. Scatter remaining candy cane pieces across the top for a festive touch.
Let the fudge rest in the refrigerator for a couple of hours until it becomes firm and delectable.
Remove the fudge using parchment paper, cut into delightful squares, and enjoy the cool, minty sweetness.
Flavor Ideas to Make Peppermint Fudge Stand Out
Serving Peppermint Fudge with Holiday Style
Storing Peppermint Fudge to Keep It Smooth and Firm
FAQs
This peppermint fudge combines chocolate and white chocolate layers with a refreshing peppermint twist, using candy canes for extra crunch and festive flavor.
Yes, you can substitute semi-sweet or white chocolate chips with similar quality chocolate chips, but stick to baking-grade chocolate for best results.
Place unwrapped candy canes in a sealed plastic bag and gently crush them using a rolling pin or the back of a heavy spoon. This prevents scattered pieces and contains the mess.
Absolutely! Peppermint fudge makes a delightful homemade gift. Wrap pieces in festive packaging or place in decorative tins for a personal touch that friends and family will love.
Print
Velvety Peppermint Fudge Recipe
- Total Time: 2 hours 10 minutes
- Yield: 13 1x
Description
Delectable peppermint fudge delights dessert enthusiasts with its creamy chocolate base and refreshing mint notes. Rich seasonal treat invites winter celebration while satisfying sweet cravings with minimal preparation effort.
Ingredients
- 1 ½ cups (360 ml) semi-sweet chocolate chips
- 1 ½ cups (360 ml) white chocolate chips
- 1 can (14 oz / 396 g) sweetened condensed milk
- 1 tsp peppermint extract
- 1 tsp vanilla extract
- ½ cup (120 ml) crushed candy canes or peppermint candies
Instructions
- Preparation: Line a rectangular baking pan with parchment paper, allowing excess paper to hang over edges for easy removal.
- Chocolate Layer: Melt semi-sweet chocolate chips with sweetened condensed milk in the microwave, stirring until smooth. Mix in vanilla and half the peppermint extract, then spread evenly in the prepared pan.
- Chilling Base: Refrigerate the chocolate layer while preparing the white chocolate topping.
- White Chocolate Layer: Melt white chocolate chips with remaining condensed milk until creamy. Stir in remaining peppermint extract and half of the crushed candy canes.
- Layering: Pour white chocolate mixture over the chilled chocolate base, ensuring even coverage.
- Finishing Touch: Sprinkle remaining crushed candy canes across the surface for a festive appearance.
- Setting: Refrigerate the fudge for approximately two hours until completely firm.
- Serving: Remove from pan using parchment paper edges and slice into delicate squares, ready to enjoy.
Notes
- Chocolate Melting Mastery: Use low microwave power and stir frequently to prevent chocolate from burning, ensuring a smooth, glossy texture without seizure or graininess.
- Extract Balance Critical: Add peppermint extract gradually and taste, as intensity varies between brands; start with less to avoid overwhelming the delicate chocolate flavors.
- Layering Technique: Ensure chocolate base is slightly chilled before adding white chocolate layer to create clean, distinct color separation and prevent unintended blending.
- Candy Cane Crunch Control: Crush candy canes to varied sizes – some fine powder for color, some larger pieces for texture – creating visual and sensory interest in each bite.
- Prep Time: 10 minutes
- Cook Time: 2 hours
- Category: Desserts, Snacks
- Method: Blending
- Cuisine: American
Nutrition
- Serving Size: 13
- Calories: 200
- Sugar: 20 g
- Sodium: 30 mg
- Fat: 10 g
- Saturated Fat: 6 g
- Unsaturated Fat: 4 g
- Trans Fat: 0 g
- Carbohydrates: 26 g
- Fiber: 0 g
- Protein: 2 g
- Cholesterol: 5 mg
John Nicholson
Lead Writer & Recipe Developer
Expertise
Recipe Testing and Development, Kitchen Hacks and Time-Saving Tips, Flavor Pairing and Ingredient Selection, Engaging Food Writing and Storytelling
Education
Johnson & Wales University
John Nicholson honed his skills at Johnson & Wales University, learning how to use fresh, local ingredients and down-to-earth techniques to make cooking simple and satisfying.
His recipes blend Southern comfort flavors with a modern touch, inviting everyone to cook with ease and confidence.
Living in Charleston, John takes cues from the city’s lively food scene, local markets, and seasonal produce. He’s all about making meals stress-free through easy tips, flavor pairings, and fun experiments in the kitchen