Spicy Mexican Chalupas Recipe: Crispy Shells, Bold Flavors!
Crisp tortillas cradle a world of vibrant mexican street food flavors in this authentic chalupas recipe that promises to transport you straight to the bustling markets of puebla.
Each golden, hand-pressed corn tortilla becomes a canvas for rich, savory toppings bursting with traditional ingredients.
The delicate base gets a delightful crunch when fried to perfection, creating a foundation that celebrates generations of culinary craftsmanship.
Layers of tender meat, zesty salsa, and fresh garnishes transform these small bites into a fiesta of textures and tastes.
Spice levels can be adjusted to suit your palate, making this dish wonderfully versatile for any gathering.
Designed to impress and satisfy, these chalupas offer a genuine taste of mexican street food culture that will have everyone asking for seconds.
Unleash your inner chef and bring the vibrant spirit of puebla to your dinner table.
Quick Recipe Overview
Key Ingredients For Perfect Chalupas
For Base Ingredients:For Protein and Beans:For Toppings and Garnishes:What Tools Help Make Chalupas Easy
How To Build Crunchy Chalupas
Heat oil in a skillet until shimmering. Gently lower tortillas into hot oil, cooking each side until they turn golden brown and develop a crunchy texture. Remove and let excess oil drip onto paper towels.
Quickly heat refried beans in a pan. If using meat, warm it and sprinkle with zesty seasonings to enhance the flavor. Keep everything hot and ready for assembly.
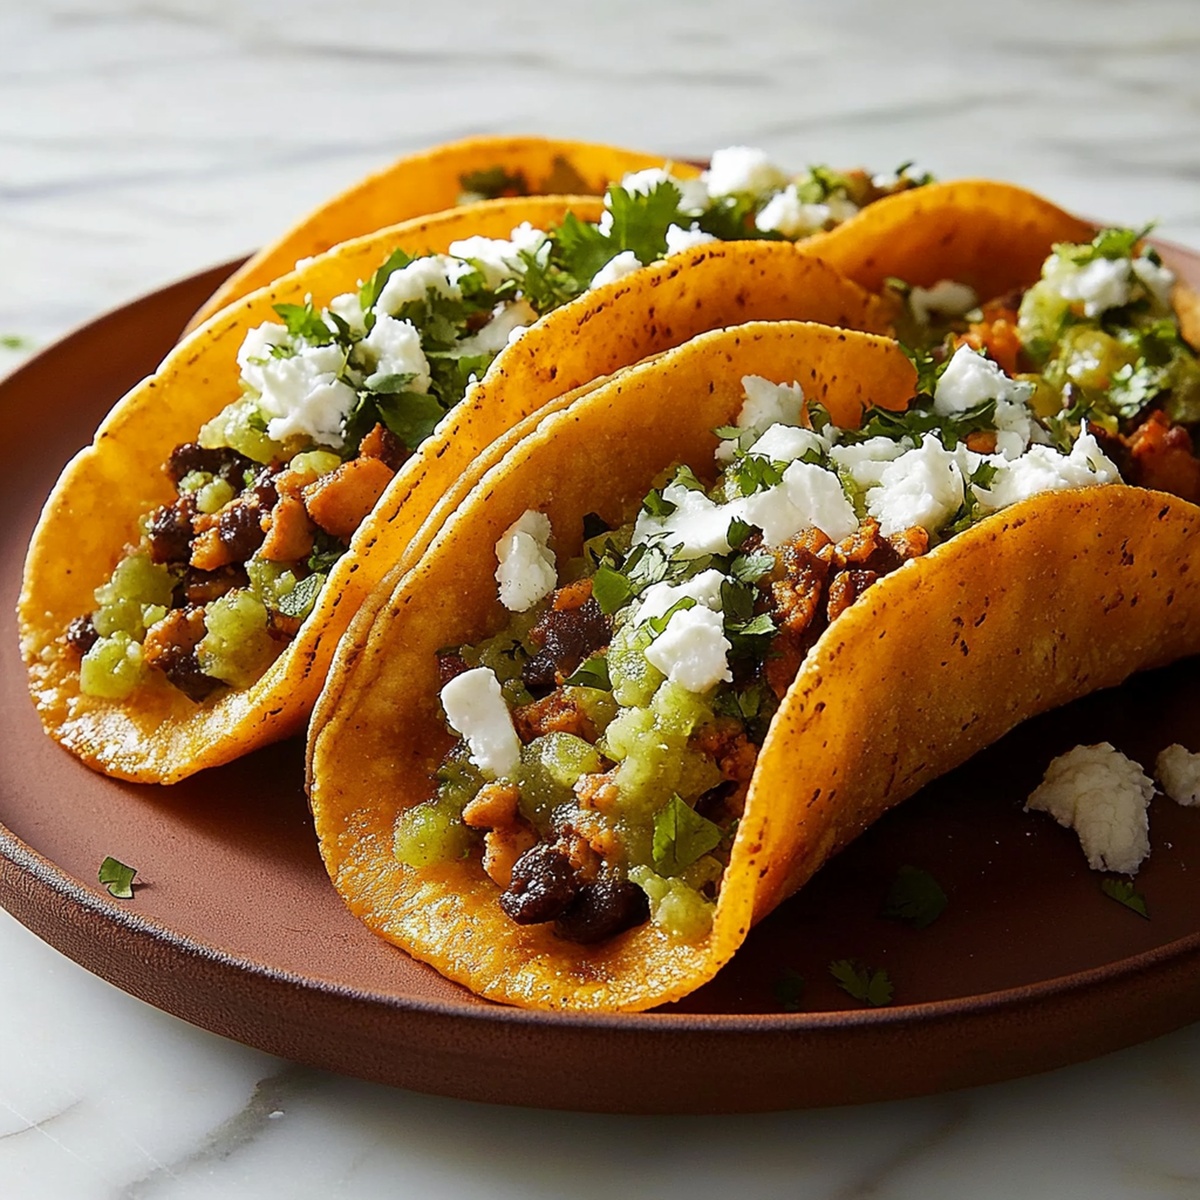
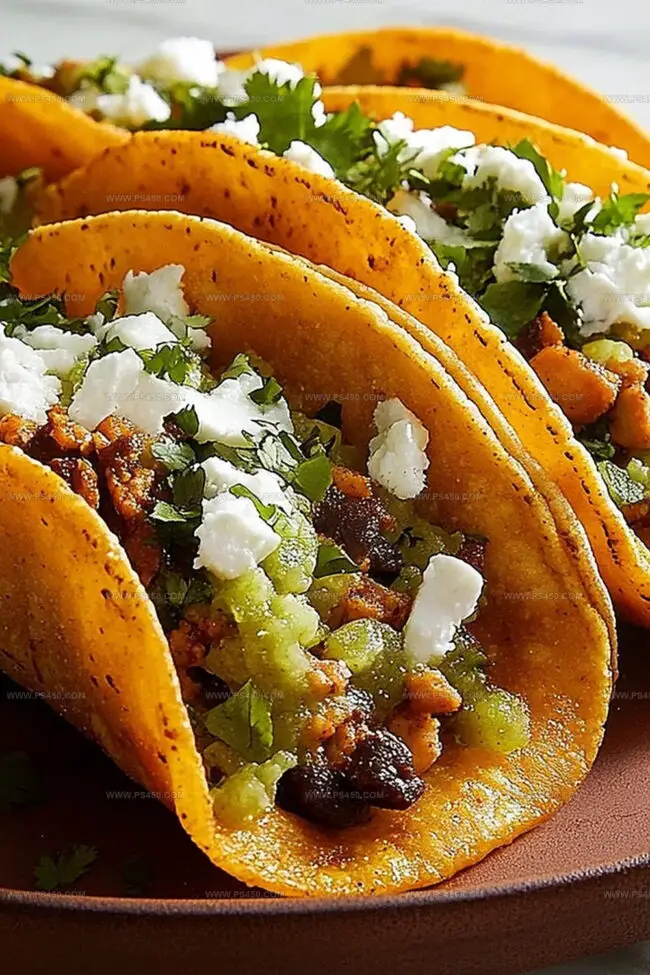
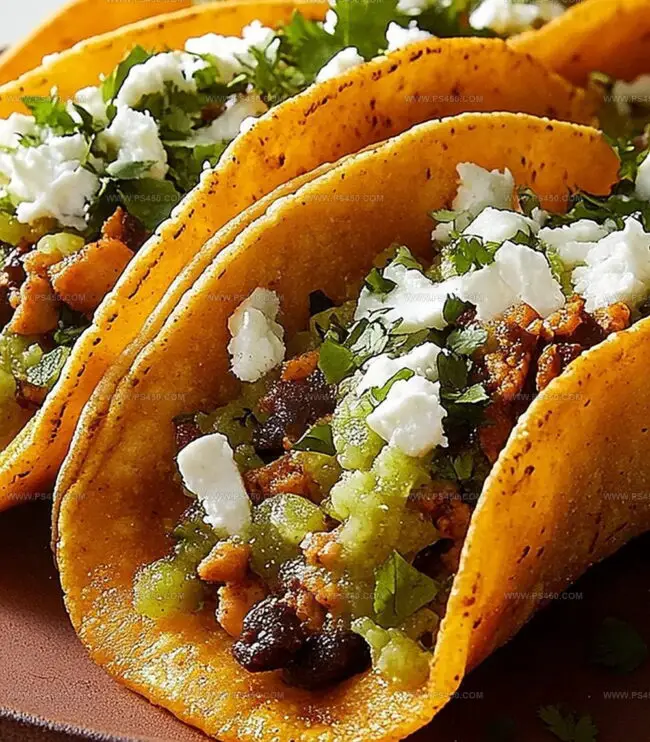
Layer warm beans onto each crispy tortilla base. Add your choice of meat, then generously sprinkle with fresh cheese, chopped lettuce, diced tomatoes, and fragrant cilantro.
Drizzle with tangy salsa or creamy sauce. Serve immediately while tortillas remain wonderfully crisp and toppings are vibrant and warm.
Chalupa Tweaks And Flavor Tips
Tasty Serving Ideas For Chalupas
How To Store Chalupas For Later
Print
Authentic Chalupas Recipe
- Total Time: 25 minutes
- Yield: 7 1x
Description
Mexican chalupas bring crispy, handmade corn tortilla shells topped with zesty salsa, tender shredded meat, and fresh garnishes. Delicious street-style treats promise authentic flavors that connect diners with traditional Mexican culinary heritage.
Ingredients
- 1 cup shredded cooked chicken, beef, or pork
- ½ cup crumbled queso fresco or shredded cheddar
- 6 small corn tortillas
- 1 cup refried beans (homemade or canned)
- ½ cup shredded lettuce
- ½ cup diced tomatoes
- ¼ cup diced onion
- Fresh cilantro, chopped
- Vegetable oil, for frying
- Salsa or hot sauce, for serving
- Sour cream or Mexican crema (optional)
Instructions
- Oil Preparation: Heat a skillet to medium-high, generously coating the surface with oil for crispy tortilla transformation.
- Tortilla Frying: Submerge each tortilla in hot oil, frying approximately 12 seconds per side until achieving golden, rigid texture with crisp edges.
- Oil Drainage: Transfer fried tortillas onto paper towels, allowing excess oil to absorb and create a sturdy foundation.
- Bean Preparation: Warm refried beans in a separate pan, stirring to develop smooth, even consistency.
- Meat Seasoning: Enhance meat with robust taco seasoning or zesty salsa, infusing deep flavor profiles.
- Chalupa Assembly: Layer warm refried beans across crisp tortilla base, creating a creamy foundation.
- Protein Layering: Add seasoned meat over bean layer, establishing a hearty protein-rich surface.
- Topping Distribution: Generously scatter shredded cheese, crisp lettuce, diced tomatoes, chopped onions, and fresh cilantro across chalupa.
- Final Garnish: Drizzle with tangy salsa, smooth crema, or fiery hot sauce to personal taste preference.
- Serving: Present immediately, preserving tortilla crispness and topping freshness.
Notes
- Oil Temperature Control: Maintain medium-high heat for perfect tortilla crispiness without burning, ensuring golden edges and a satisfying crunch.
- Drain Excess Oil: Use paper towels to remove extra grease, preventing soggy bottoms and keeping chalupas light and crispy.
- Quick Frying Technique: Limit tortilla frying to 12 seconds per side for ideal texture, avoiding overcooking that leads to tough shells.
- Layering Strategy: Build chalupas just before serving to preserve the crisp base and keep toppings fresh and vibrant.
- Prep Time: 10 minutes
- Cook Time: 15 minutes
- Category: Lunch, Dinner, Snacks
- Method: Frying
- Cuisine: Mexican
Nutrition
- Serving Size: 7
- Calories: 400
- Sugar: 2 g
- Sodium: 600 mg
- Fat: 18 g
- Saturated Fat: 6 g
- Unsaturated Fat: 9 g
- Trans Fat: 0 g
- Carbohydrates: 40 g
- Fiber: 8 g
- Protein: 20 g
- Cholesterol: 70 mg
John Nicholson
Lead Writer & Recipe Developer
Expertise
Recipe Testing and Development, Kitchen Hacks and Time-Saving Tips, Flavor Pairing and Ingredient Selection, Engaging Food Writing and Storytelling
Education
Johnson & Wales University
John Nicholson honed his skills at Johnson & Wales University, learning how to use fresh, local ingredients and down-to-earth techniques to make cooking simple and satisfying.
His recipes blend Southern comfort flavors with a modern touch, inviting everyone to cook with ease and confidence.
Living in Charleston, John takes cues from the city’s lively food scene, local markets, and seasonal produce. He’s all about making meals stress-free through easy tips, flavor pairings, and fun experiments in the kitchen