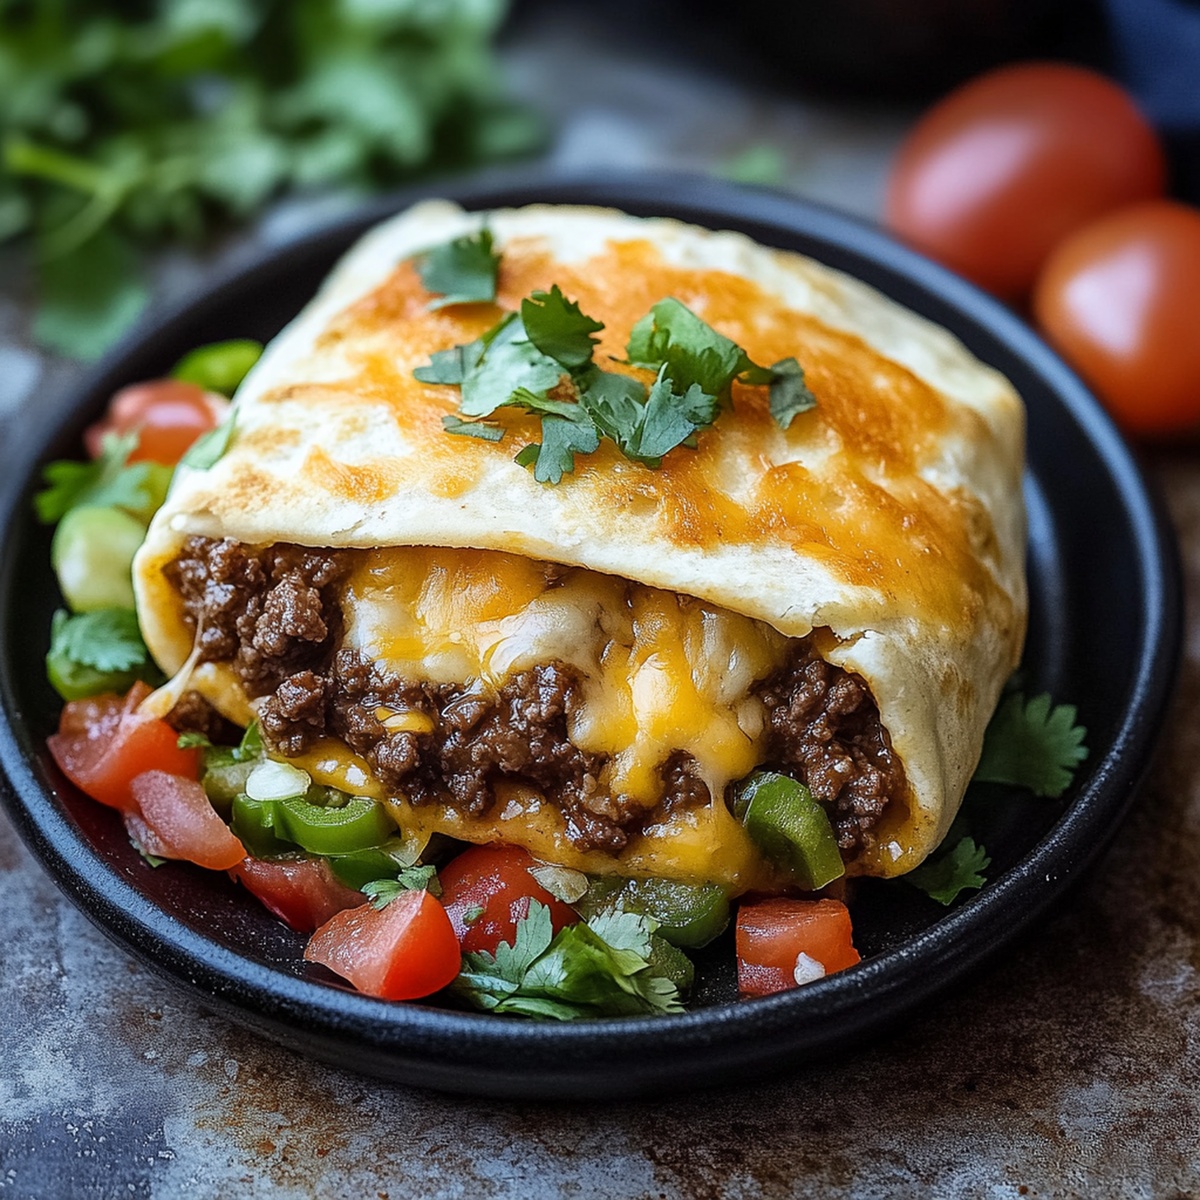
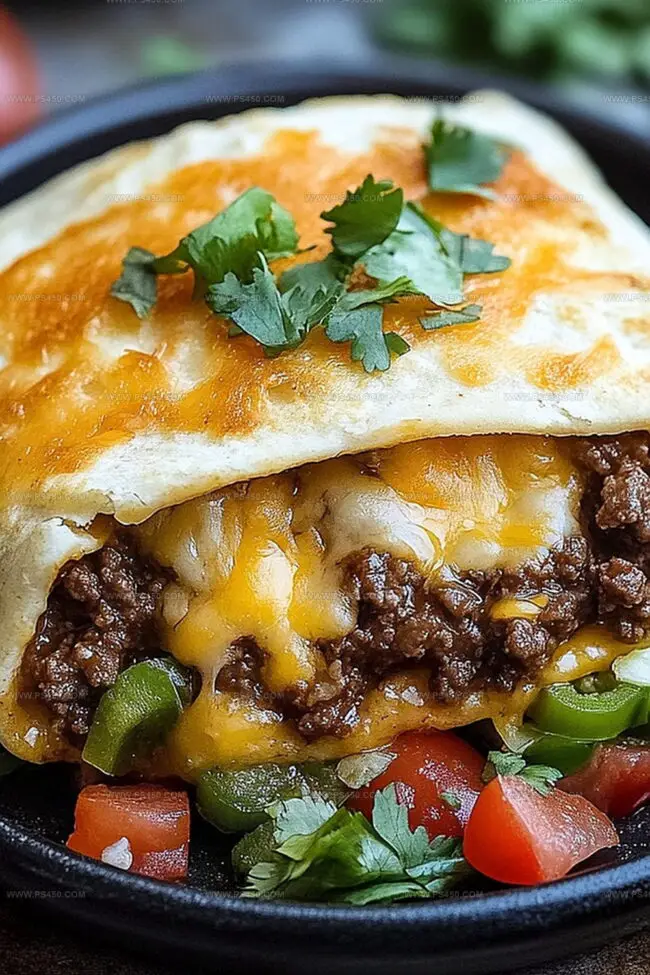
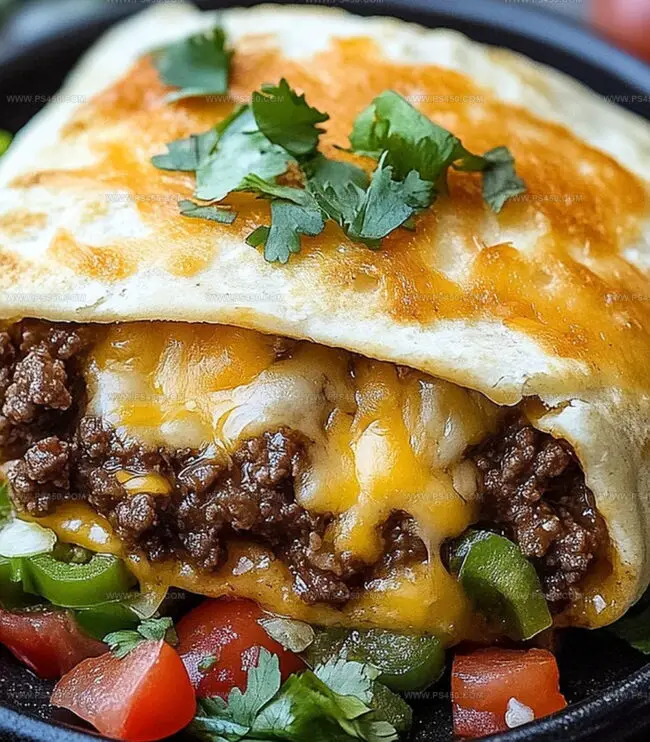
Cheesy Beef Meximelt Recipe That’s Creamy and Bold
Tucking into a hearty cheesy beef meximelt brings instant comfort on chilly evenings.
Mexican-inspired flavors dance across your palate with each delightful bite.
Melted cheese cascades over seasoned ground beef, creating a mouthwatering combination that sparks joy.
Taco bell lovers recognize this classic treat as a nostalgic favorite.
Home cooks can easily recreate this restaurant-style dish with simple ingredients.
Minimal prep work means you’ll have a satisfying meal ready in minutes.
Grab a napkin and get ready to savor every delicious morsel!
Why Cheesy Beef Meximelt Is A Melty, Meaty Favorite
What You’ll Need For Cheesy Beef Meximelt
Main Protein:Cheese and Dairy:Fresh Produce:Wrap and Binding:Seasonings:Step-By-Step Instructions For Cheesy Beef Meximelt
Step 1: Sizzle the Savory Beef
Grab a skillet and let the ground beef dance over medium heat. Crumble the meat into tiny bits, letting it brown to golden perfection. Once cooked, wave goodbye to any excess grease. Sprinkle in taco seasoning with a splash of water, letting the mixture bubble and thicken for a few magical minutes.
Step 2: Craft Zesty Pico De Gallo
Create a flavor explosion with these vibrant ingredients:Toss everything together in a bowl, letting the ingredients mingle and create pure magic.
Step 3: Warm Up Those Tortillas
Bring tortillas to life with a quick heat treatment. Glide them across a dry skillet or give them a quick 20-second spa session in the microwave, wrapped in a damp paper towel. They’ll become wonderfully soft and flexible.
Step 4: Build Your Flavor Masterpiece
Lay out a warm tortilla like a blank canvas. Spread a hearty layer of seasoned beef right down the center. Shower the beef with a blizzard of shredded cheese. Crown your creation with a generous spoonful of zesty pico de gallo.
Step 5: Melt into Cheesy Bliss
Roll the tortilla into a tight, delicious package. Wrap each Meximelt in a damp paper towel and send it to the microwave for a quick 20-30 second transformation. Watch the cheese become a molten river of deliciousness.
Step 6: Devour and Celebrate
Unwrap your creation and take a triumphant bite. Let the explosion of flavors dance across your taste buds, celebrating this culinary victory!
Pro Tip: Serve immediately while the cheese is still gooey and the flavors are singing their most delicious song. Pair with a cold drink and prepare for a flavor adventure!
Tips For Extra Flavor In Cheesy Beef Meximelt
How To Store Cheesy Beef Meximelt Without Losing Texture
Sides And Sauces That Go With Cheesy Beef Meximelt
Fun Ways To Switch Up Cheesy Beef Meximelt
Cheesy Beef Meximelt FAQs Made Easy
Meximelts are unique because they’re rolled like burritos and specifically designed to have melted cheese as a key feature, creating a gooier, more indulgent handheld meal compared to traditional tacos.
Yes! You can prepare the beef and pico de gallo in advance and store them separately in the refrigerator. When ready to eat, quickly assemble and microwave for a quick, hot meal.
The heat level depends on the jalapeño you use. You can control the spiciness by removing the seeds for less heat or adding more jalapeño for extra kick. If you’re sensitive to spice, you can also skip the jalapeño completely.
No worries! You can make a quick substitute using chili powder, cumin, garlic powder, oregano, salt, and pepper. Mix these spices in similar proportions to create your own homemade taco seasoning blend.
Print
Cheesy Beef Meximelt Recipe
- Total Time: 25 minutes
- Yield: 6 1x
Description
Sizzling Mexican flavors dance in this cheesy beef meximelt, promising a quick and satisfying meal packed with zesty spices and melted goodness. Savor each bite of this crowd-pleasing dish that brings authentic southwestern comfort straight to your table.
Ingredients
Protein:
- 1 pound (454 grams) ground beef
Cheese:
- 1 ½ cups (340 grams) shredded Mexican cheese blend (cheddar, Monterey Jack, and pepper jack)
Seasonings and Accompaniments:
- 1 packet taco seasoning mix
- ¾ cup (180 milliliters) water
- 6 small flour tortillas (6-inch)
- 1 cup (240 milliliters) fresh pico de gallo
Homemade Pico de Gallo:
- 2 Roma tomatoes, diced
- ½ small red onion, finely chopped
- 1 jalapeno, seeded and minced
- ¼ cup (60 milliliters) fresh cilantro, chopped
- 1 tablespoon (15 milliliters) lime juice
- Salt, to taste
Instructions
- Craft the savory beef foundation by sizzling ground meat in a spacious skillet over medium heat, methodically crumbling until thoroughly cooked and caramel-brown.
- Eliminate excess grease from the skillet, then introduce zesty taco seasoning and a splash of water, allowing the mixture to simmer and thicken into a robust filling.
- For fresh pico de gallo, carefully dice ripe tomatoes, mince pungent onions, finely chop jalapeno peppers, and sprinkle chopped cilantro into a vibrant mixture.
- Enhance the mixture with tangy lime juice and a pinch of salt, gently blending to marry the flavors and create a bright, fresh salsa.
- Prepare tortillas by warming them briefly in a dry skillet or using a microwave, ensuring they become soft and pliable for easy rolling.
- Construct each Meximelt by laying a warm tortilla flat, spreading a generous layer of seasoned beef down the center.
- Lavishly scatter shredded cheese over the beef, then crown with a spoonful of freshly prepared pico de gallo.
- Carefully roll the tortilla into a compact bundle, tucking in the edges to secure the flavorful contents.
- Envelop each Meximelt in a slightly damp paper towel and microwave briefly to transform the cheese into a molten, creamy blanket.
- Serve immediately, revealing a hot, gooey treasure that promises a burst of southwestern-inspired flavors.
Notes
- Use lean ground beef for a healthier version, reducing overall fat content without compromising flavor.
- Swap ground beef with ground turkey or plant-based meat alternative for diverse dietary needs.
- Choose low-fat cheese or dairy-free cheese to accommodate lactose-intolerant or vegan preferences.
- Customize heat levels by adjusting jalapeño quantity or using milder pepper varieties for sensitive palates.
- Prep Time: 10 minutes
- Cook Time: 15 minutes
- Category: Lunch, Dinner, Snacks
- Method: Sautéing
- Cuisine: Mexican
Nutrition
- Serving Size: 6
- Calories: 380
- Sugar: 3g
- Sodium: 800mg
- Fat: 22g
- Saturated Fat: 10g
- Unsaturated Fat: 9g
- Trans Fat: 0g
- Carbohydrates: 30g
- Fiber: 2g
- Protein: 20g
- Cholesterol: 70mg


Emily Morgan
Food Critic & Kitchen Tips Specialist
Expertise
Global Food Exploration & Critique, Simple Kitchen Hacks & Time-Saving Tips, Presentation & Plating Techniques, Culinary Research & Storytelling.
Education
New York University
Emily Morgan has journeyed across the globe, collecting culinary secrets that turn everyday ingredients into impressive meals.
Based in Seattle and armed with a Journalism degree from NYU, she blends thorough research with a flair for presentation, ensuring every dish looks just as good as it tastes.
Focusing on fresh flavors, simple methods, and a bit of fun, Emily shows home cooks how to elevate their daily cooking without fancy gadgets or complex steps.