Gooey Cheesy Pillsbury Biscuit Garlic Butter Bombs Recipe
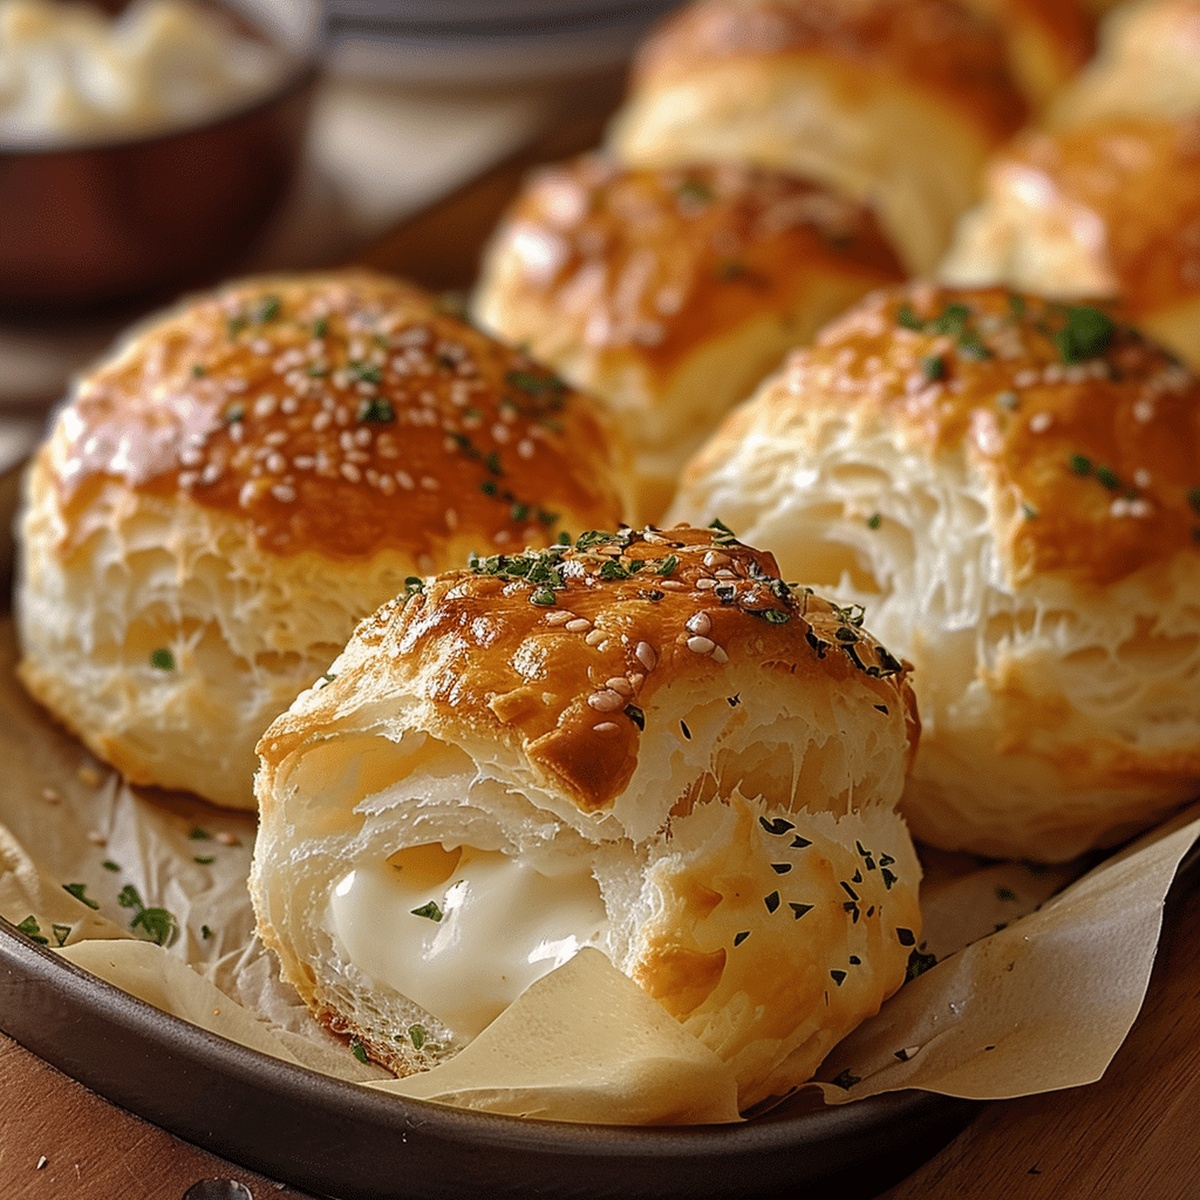
Warm, golden biscuit garlic butter bombs burst with irresistible cheesy goodness that melts in your mouth.
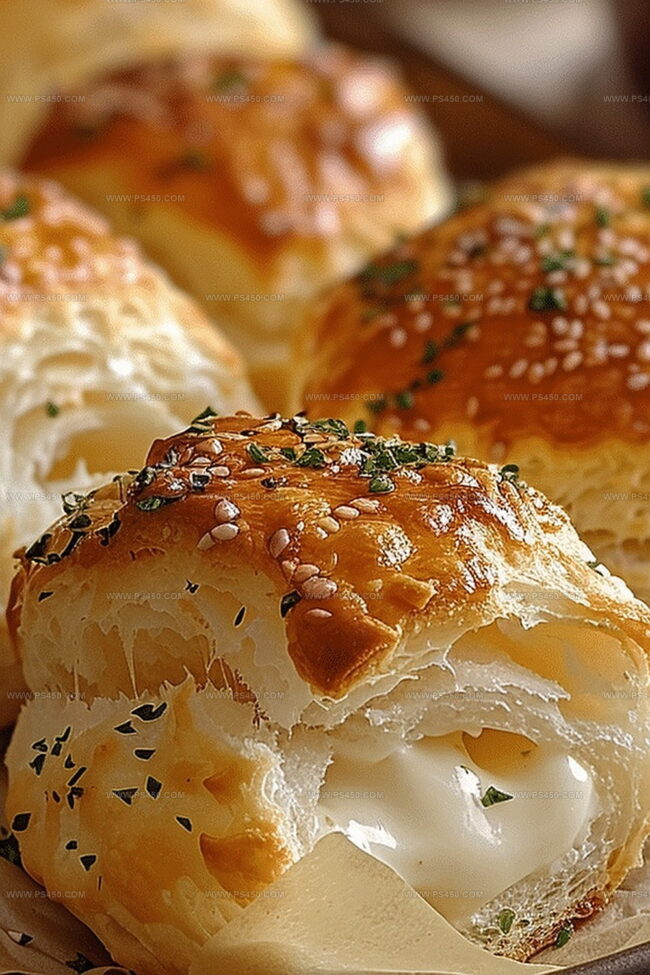
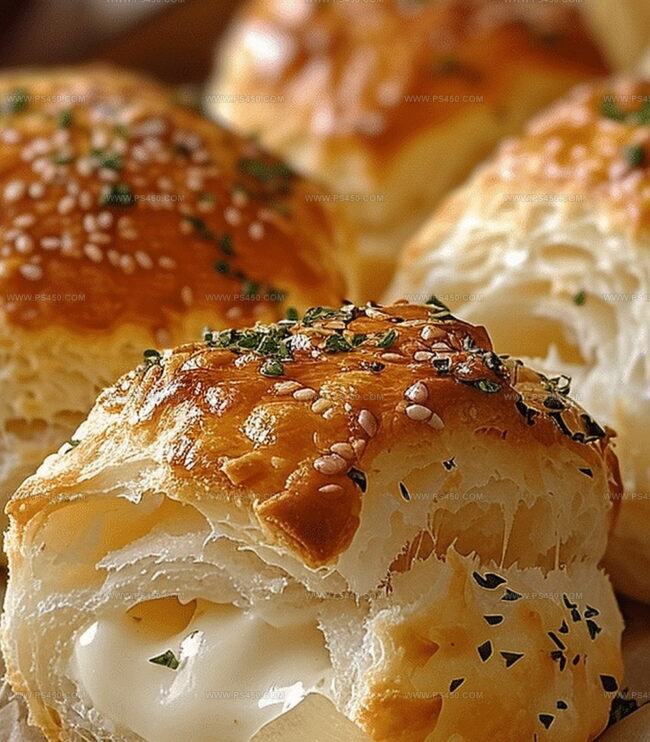
These delectable little morsels combine crispy edges with a soft, buttery center packed with rich flavor.
Pillsbury biscuits provide the perfect base for this simple yet mouthwatering appetizer that transforms ordinary bread into something extraordinary.
Each bite delivers a punch of garlic and melted cheese that will have everyone reaching for seconds.
The recipe comes together in minutes, making it an ideal choice for spontaneous gatherings or quick snacks.
Perfectly seasoned and baked to golden perfection, these garlic butter bombs will become your new favorite crowd-pleasing treat.
Quick Recipe Overview
What You’ll Need for Pillsbury Biscuit Garlic Butter Cheese Bombs
For Base Ingredients:For Flavor Enhancers:For Binding and Coating:Tools for Baking Golden Pillsbury Garlic Butter Cheese Bombs
How to Bake Garlic Butter Cheese Bombs with a Melty Center
Crank the oven to a toasty 375 degrees. Grab a baking sheet and line it with parchment paper for easy cleanup.
Pop open the can and gently separate each biscuit. Give them a quick flatten with your hands to create the perfect canvas.
Tuck a chunk of mozzarella right into the center of each biscuit. Wrap and seal the dough around the cheese, creating little flavor bombs. Place them seam-side down on the baking sheet.
Mix melted butter with minced garlic and Italian seasoning in a small bowl. This is where the happens!
Slather each dough ball generously with the garlic butter mixture. Sprinkle some Parmesan on top for an extra flavor punch.
Slide the baking sheet into the oven and let the happen. Cook for 10-12 minutes until they turn a gorgeous golden brown and the cheese inside is beautifully melted.
Once out of the oven, brush with any remaining garlic butter. Sprinkle fresh parsley if you’re feeling fancy.
Serve these bad boys warm. Pro tip: Marinara sauce makes an amazing dipping companion. Get ready for a taste explosion!
Tasty Tweaks for Pillsbury Biscuit Cheese Bombs
Serve These Bombs with Soup, Pasta, or Party Plates
Store Garlic Cheese Bombs While Keeping Them Soft
FAQs
Mozzarella is ideal because it melts smoothly and creates a gooey, stretchy center. Mild cheddar or monterey jack can also work well as alternative cheese options.
While the recipe is designed for pre-made biscuits, you can use homemade biscuit dough. Just ensure the dough is rolled thin enough to wrap around the cheese cube completely.
Pinch the edges of the dough tightly and seal completely when wrapping the cheese. Place the biscuit balls seam-side down on the baking sheet to help maintain the seal during baking.
Yes, these garlic butter cheese bombs are most delicious when served warm, right after baking. The cheese will be melted and the biscuit will be crispy on the outside and soft on the inside.
Print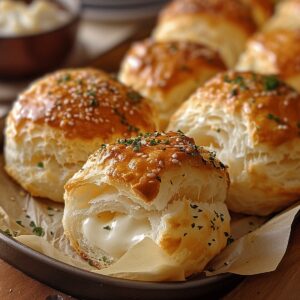
Cheesy Pillsbury Biscuit Garlic Butter Bombs
- Total Time: 22 minutes
- Yield: 9 1x
Description
Pillsbury Biscuit Garlic Butter Cheese Bombs blend savory comfort with cheesy delight. Golden parcels of melted mozzarella nestle inside buttery, herb-infused biscuit dough, offering a quick and irresistible side dish that satisfies hunger with each warm bite.
Ingredients
- 1 can (16.3 oz / 462 g) Pillsbury Grands!™ Flaky Layers biscuits (8 biscuits)
- 8 small cubes of mozzarella cheese (or string cheese cut into pieces)
- ¼ cup (60 ml) grated Parmesan cheese
- ½ tsp Italian seasoning
- ¼ cup (57 g) unsalted butter, melted
- 2 cloves garlic, minced
- Fresh parsley, chopped, for garnish (optional)
Instructions
- Preheat Setup: Position oven rack in center at 375F (190C) and line baking sheet with parchment paper for even heat distribution.
- Biscuit Preparation: Gently separate biscuits, delicately flatten each into a thin circular disk using fingertips to create a smooth, workable surface.
- Cheese Filling: Place a mozzarella cube at the center of each biscuit disk, meticulously folding and sealing dough edges to form compact, secure spheres that completely encase the cheese.
- Garlic Butter Infusion: Whisk melted butter with finely minced garlic and Italian seasoning until harmoniously blended, creating an aromatic flavor base.
- Coating Technique: Thoroughly brush each dough sphere with the garlic butter mixture, ensuring complete coverage, then sprinkle generously with Parmesan cheese for added depth of flavor.
- Baking Process: Transfer prepared baking sheet to preheated oven, allowing bombs to transform into golden-brown delicacies with molten cheese centers during 10-12 minutes of baking.
- Final Touch: Immediately after removing from oven, apply an additional lavish brushing of remaining garlic butter and optional fresh parsley garnish to enhance visual and flavor profile.
- Serving Suggestion: Serve warm alongside marinara sauce, creating an irresistible appetizer that promises a delightful culinary experience.
Notes
- Seal Edges Carefully: Ensure complete sealing of biscuit dough around cheese to prevent leakage during baking, using pinching techniques to create a tight, seamless closure.
- Butter Brush Technique: Apply garlic butter generously but evenly, using light strokes to create a consistent golden-brown exterior without saturating the dough.
- Cheese Selection Flexibility: Swap mozzarella with cheddar or pepper jack for varied flavor profiles, maintaining similar cube sizes for consistent melting results.
- Temperature Precision: Watch biscuits closely during last 2-3 minutes of baking to prevent overcooking, as ovens can vary in heat distribution and intensity.
- Prep Time: 10 minutes
- Cook Time: 12 minutes
- Category: Appetizer, Snacks
- Method: Baking
- Cuisine: American
Nutrition
- Serving Size: 9
- Calories: 210
- Sugar: 1 g
- Sodium: 480 mg
- Fat: 15 g
- Saturated Fat: 9 g
- Unsaturated Fat: 4 g
- Trans Fat: 0 g
- Carbohydrates: 18 g
- Fiber: 0 g
- Protein: 4 g
- Cholesterol: 30 mg
John Nicholson
Lead Writer & Recipe Developer
Expertise
Recipe Testing and Development, Kitchen Hacks and Time-Saving Tips, Flavor Pairing and Ingredient Selection, Engaging Food Writing and Storytelling
Education
Johnson & Wales University
John Nicholson honed his skills at Johnson & Wales University, learning how to use fresh, local ingredients and down-to-earth techniques to make cooking simple and satisfying.
His recipes blend Southern comfort flavors with a modern touch, inviting everyone to cook with ease and confidence.
Living in Charleston, John takes cues from the city’s lively food scene, local markets, and seasonal produce. He’s all about making meals stress-free through easy tips, flavor pairings, and fun experiments in the kitchen