
Cherry Pie Bars Recipe for a Classic Sweet Treat
Sweet summer memories dance through my cherished cherry pie bars, blending nostalgia with delectable simplicity.
Grandma’s kitchen always smelled like warm comfort and sweet possibilities.
Ripe cherries burst with juicy intensity, promising a delightful dessert experience.
Each crumbly bite connects generations of passionate bakers and their treasured recipes.
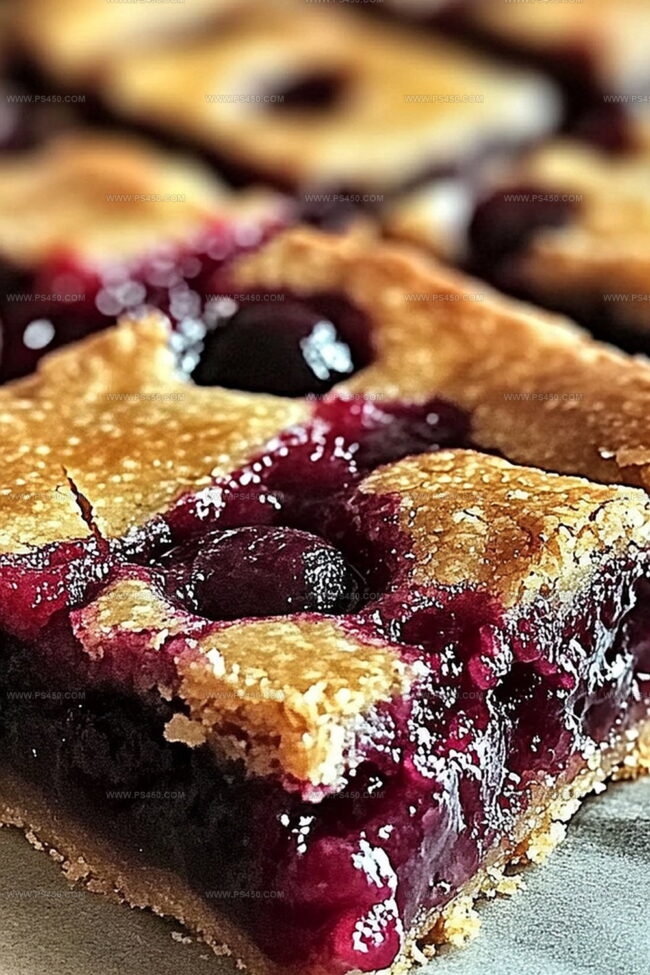
Buttery layers melt across your palate, creating moments of pure bliss.
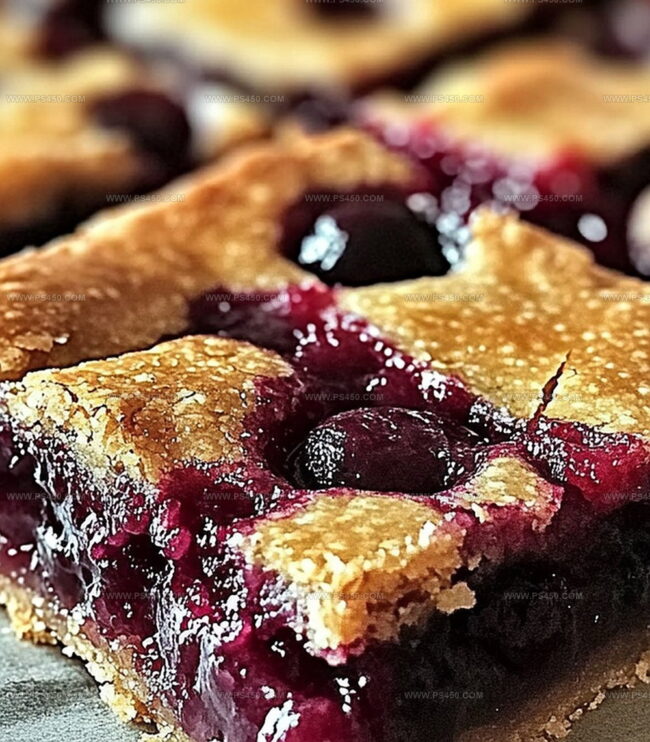
Crisp edges and soft centers promise pure indulgence for anyone seeking a classic treat.
I promise these bars will become your new favorite dessert companion.
Why Cherry Pie Bars Recipe Brings A Sweet Smile
What To Use For Cherry Pie Bars Recipe
Crust and Base:Flavor Enhancers:Fruit and Topping:Steps To Bake Cherry Pie Bars Recipe Easily
Step 1: Warm Up the Kitchen
Fire up your oven to 350°F. Grab a 9×13-inch baking pan and give it a friendly coating of butter or line it with parchment paper. This will ensure your bars slide out like a dream.
Step 2: Create the Magical Batter
In a spacious mixing bowl, whip together:Beat until the mixture looks light and fluffy like a cloud. Gently introduce:Mix until everything becomes best friends. Slowly fold in:Stir until the batter transforms into a thick, creamy consistency.
Step 3: Layer the Deliciousness
Spread about two-thirds of the batter across the bottom of your prepared pan. Create an even blanket of goodness. Next, carefully pour the cherry pie filling over the batter, creating a vibrant fruity layer. Using a spoon, drop the remaining batter in playful dollops across the top. Don’t worry if it doesn’t completely cover the cherries – it’ll spread during baking.
Step 4: Bake to Perfection
Slide the pan into the preheated oven. Bake for 35-40 minutes until the top turns a gorgeous golden brown. The aroma will fill your kitchen with sweet promises of deliciousness.
Step 5: Cool and Finish
Allow the bars to cool completely. This patience will reward you with clean, perfect slices that showcase the beautiful layers of your creation.
Serving Tip: These bars are perfect for picnics, potlucks, or a sweet family treat. Slice and serve at room temperature for maximum enjoyment.
Storage: Keep in an airtight container at room temperature for up to 3 days, or refrigerate for extended freshness.
Tips To Get Flaky Crust In Cherry Pie Bars Recipe
How To Store Cherry Pie Bars Recipe Neatly
Best Drinks And Bites With Cherry Pie Bars Recipe
Creative Twists For Cherry Pie Bars Recipe
Answers To Common Cherry Pie Bars Recipe Questions
These bars combine the classic flavors of cherry pie with a tender, cake-like crust and a delightful homemade feel. The combination of butter, vanilla, and almond extracts creates a rich, aromatic base that perfectly complements the sweet cherry filling.
While the recipe is designed for canned cherry pie filling, you can make your own filling using fresh cherries. Simply cook pitted cherries with sugar and a bit of cornstarch until they thicken, then cool before using in the recipe.
Look for a golden-brown top and slightly firm edges. A toothpick inserted near the center should come out with just a few moist crumbs. Be careful not to overbake, as this can dry out the bars.
The combination of vanilla and almond extract adds depth and complexity to the flavor. However, if you don’t have almond extract, you can use just vanilla or omit the almond extract entirely without significantly impacting the overall taste.
Print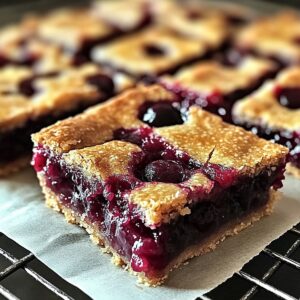
Cherry Pie Bars Recipe
- Total Time: 55 minutes
- Yield: 12 1x
Description
Sweet summer memories bloom in these delightful cherry pie bars, offering a perfect blend of buttery crust and luscious fruit filling. Rich layers of homemade comfort invite dessert enthusiasts to savor each delectable bite with pure joy.
Ingredients
Main Ingredients:
- 3 cups all-purpose flour
- 4 large eggs
- 1 (21 ounces/595 grams) can cherry pie filling
- 1 ¾ cups granulated sugar
Dairy and Fats:
- 1 cup unsalted butter, softened
Flavor Enhancers and Toppings:
- 1 teaspoon vanilla extract
- ½ teaspoon almond extract (optional)
- ½ teaspoon salt
- 1 cup powdered sugar
- ½ tablespoons milk
- ½ teaspoon vanilla or almond extract
Instructions
- Prepare the baking vessel by coating a 9×13-inch pan with butter or lining it with parchment paper, ensuring complete coverage to prevent sticking.
- Create a luscious base by whipping butter and sugar until light and airy, then incorporate eggs and fragrant extracts, blending until smooth and cohesive.
- Gradually fold in flour and salt, mixing until a velvety batter emerges with a consistent texture and no dry patches.
- Transfer approximately two-thirds of the batter into the prepared pan, spreading it evenly with a spatula to create a uniform foundation.
- Generously distribute cherry pie filling across the initial batter layer, ensuring an even coverage that reaches all corners of the pan.
- Delicately dollop the remaining batter over the cherry layer, allowing small gaps between spoonfuls that will naturally expand during baking.
- Slide the pan into a preheated 350°F (175°C) oven, allowing the bars to transform for 35-40 minutes until the surface achieves a golden, enticing hue.
- Remove from the oven and allow the bars to cool completely, permitting the layers to set and flavors to meld before slicing and serving.
Notes
- Experiment with different pie fillings like blueberry or apple to create unique flavor variations that match your mood or seasonal preferences.
- Ensure butter is at room temperature for easier creaming and a smoother batter texture, which helps achieve a more consistent and tender bar base.
- For a gluten-free version, swap regular flour with a 1:1 gluten-free baking blend, making this dessert accessible to those with dietary restrictions.
- Enhance the almond extract flavor by toasting sliced almonds and sprinkling them on top of the bars just before serving for an extra crunch and nutty depth.
- Prep Time: 15 minutes
- Cook Time: 40 minutes
- Category: Desserts, Snacks
- Method: Baking
- Cuisine: American
Nutrition
- Serving Size: 12
- Calories: 320
- Sugar: 20 g
- Sodium: 150 mg
- Fat: 15 g
- Saturated Fat: 9 g
- Unsaturated Fat: 4 g
- Trans Fat: 0 g
- Carbohydrates: 40 g
- Fiber: 1 g
- Protein: 3 g
- Cholesterol: 70 mg
Emily Morgan
Food Critic & Kitchen Tips Specialist
Expertise
Global Food Exploration & Critique, Simple Kitchen Hacks & Time-Saving Tips, Presentation & Plating Techniques, Culinary Research & Storytelling.
Education
New York University
Emily Morgan has journeyed across the globe, collecting culinary secrets that turn everyday ingredients into impressive meals.
Based in Seattle and armed with a Journalism degree from NYU, she blends thorough research with a flair for presentation, ensuring every dish looks just as good as it tastes.
Focusing on fresh flavors, simple methods, and a bit of fun, Emily shows home cooks how to elevate their daily cooking without fancy gadgets or complex steps.