
Cool Whip Cookies Recipe with Soft Texture
Sweet tooth warriors, these whimsical cool whip cookies promise a delightful twist on classic desserts.
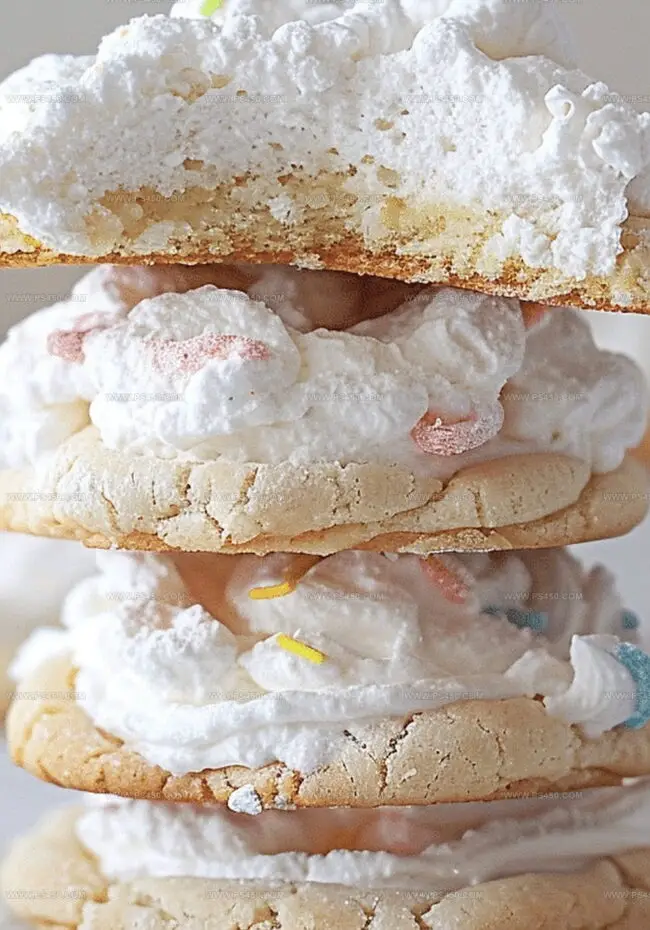
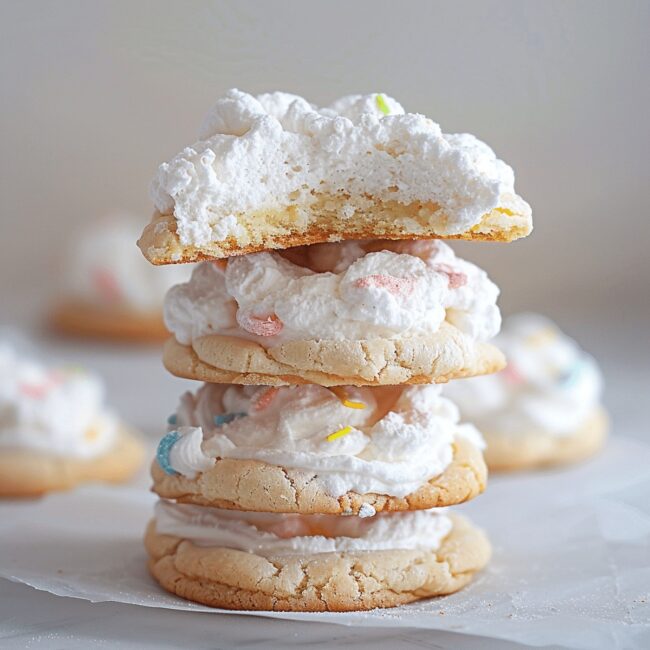
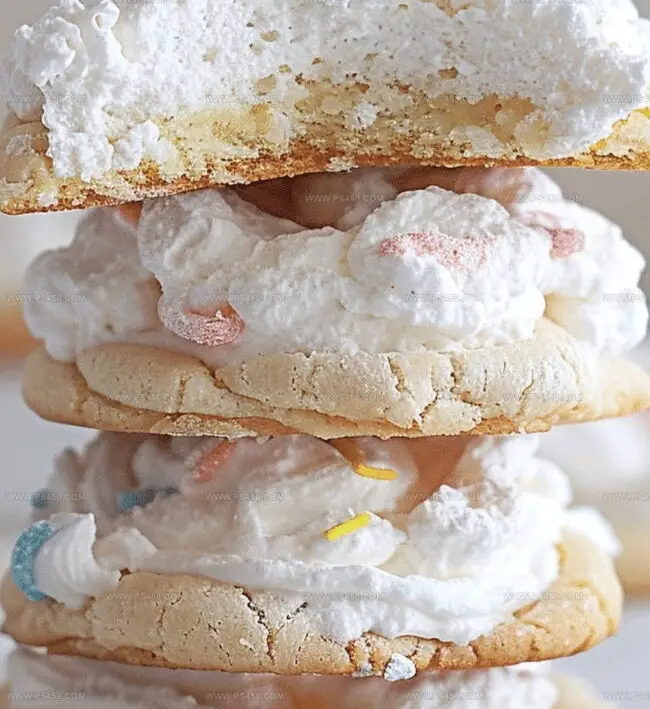
Clouds of creamy frosting dance alongside soft, pillowy textures that melt instantly in your mouth.
Simple ingredients create magic in just minutes of mixing and baking.
Kitchen novices and seasoned bakers alike can nail this effortless treat without stress.
Unexpected richness emerges from such a straightforward recipe, surprising even experienced home cooks.
Each bite whispers comfort and joy, transforming ordinary afternoons into memorable moments.
Grab a mixing bowl and let’s make something deliciously unforgettable together!
Why Cool Whip Cookies Are A Sweet Surprise
What You’ll Need For Cool Whip Cookies
Base Ingredients:Coating Ingredient:Baking Preparation:How To Bake Cool Whip Cookies Fast
Step 1: Warm Up the Oven
Fire up your oven to 350 degrees Fahrenheit. Grab a baking sheet and line it with parchment paper or a silicone mat for smooth cookie removal.
Step 2: Whip Together the Magic Mixture
Grab a spacious mixing bowl and toss in:Blend these ingredients until they transform into a wonderfully sticky dough. Don’t worry about perfection – the messier, the better!
Step 3: Roll in Sweet Powder
Pour powdered sugar into a shallow dish. Scoop out dollops of dough and gently tumble them in the sugar, creating a delicate white coating. Shape each sugary bundle into a round ball, placing them about two inches apart on your prepared baking sheet.
Step 4: Bake to Golden Perfection
Slide the cookie-laden sheet into the preheated oven. Let them dance and transform for 10-12 minutes until the edges turn a subtle golden hue and the centers look set.
Step 5: Chill and Savor
Give the cookies a few minutes to rest on the baking sheet. Then, carefully transfer them to a wire cooling rack. Once they’ve cooled completely, dive into these fluffy, melt-in-your-mouth treats and enjoy every sweet bite!
Quick Tips For Cool Whip Cookies Success
Storing Cool Whip Cookies The Right Way
Best Pairings For Cool Whip Cookies
Cool Whip Cookies With A Twist
Easy Answers About Cool Whip Cookies
Cool Whip acts as a secret ingredient that makes these cookies incredibly soft, light, and fluffy. It replaces traditional butter or oil, creating a unique texture that’s both tender and moist.
Absolutely! This recipe works wonderfully with various cake mix flavors like vanilla, chocolate, strawberry, or funfetti. Each flavor will give your cookies a different and exciting taste profile.
Yes, the dough will be very sticky – that’s totally normal! The powdered sugar coating helps you handle the dough and gives the cookies a beautiful crackled exterior when baked.
Look for slightly golden edges and a set center. They might seem soft when first out of the oven, but they’ll firm up as they cool. Don’t overbake – the magic of these cookies is in their soft, pillowy texture.
Print
Cool Whip Cookies Recipe
- Total Time: 22 minutes
- Yield: 12 1x
Description
Cool whip cookies bring delightful simplicity to your dessert table with their cloud-like texture and melt-in-your-mouth charm. Minimal ingredients and effortless preparation make these treats a perfect go-to solution for quick sweet cravings you’ll savor.
Ingredients
Main Ingredients:
- 1 box (15.25 ounces / 432 grams) cake mix (any flavor, such as vanilla, lemon, or chocolate)
- 1 tub (8 ounces / 227 grams) Cool Whip, thawed
- 1 large egg
Coating:
- ½ cup (60 grams) powdered sugar
Instructions
- Prepare the workspace by arranging an oven rack in the middle position and heating to 350F (175C). Cover a baking sheet with parchment paper for easy cookie removal.
- In a spacious mixing vessel, thoroughly blend the cake mix, whipped topping, and egg until a cohesive, slightly tacky mixture forms. The consistency should be uniform and soft.
- Create a powdered sugar station by filling a shallow dish with the fine white coating. Carefully harvest small portions of the dough using a spoon or cookie scoop.
- Gently tumble each dough portion through the powdered sugar, ensuring complete and even coverage. Roll between palms to create smooth, perfectly round spheres.
- Arrange the sugar-dusted cookie orbs on the prepared baking sheet, maintaining approximately two inches of separation to allow for gentle spreading during baking.
- Transfer the sheet to the preheated oven and bake for 10-12 minutes. Watch for subtle golden edges and a set appearance, indicating the cookies are perfectly transformed.
- Remove from the oven and let the delicate cookies rest on the baking sheet for a few minutes to stabilize their structure.
- Carefully transfer the cookies to a wire cooling rack, allowing them to reach room temperature and develop their final tender texture before serving.
Notes
- Soften Cool Whip at room temperature before mixing to ensure smooth, even blending with cake mix.
- Use a cookie scoop or spoon for uniform cookie sizes, which helps achieve consistent baking and appearance.
- Chill the dough for 15-20 minutes if it feels too sticky, making it easier to roll and shape the cookies.
- Experiment with different cake mix flavors like vanilla, chocolate, or funfetti to create unique cookie variations.
- Avoid overmixing the dough to prevent tough, dense cookies; mix just until ingredients are combined.
- Store cookies in an airtight container at room temperature for up to 5 days to maintain their soft texture.
- For gluten-free option, use a gluten-free cake mix and ensure all ingredients are certified gluten-free.
- Add a sprinkle of holiday-themed colored sugar instead of powdered sugar for festive seasonal cookies.
- Prep Time: 10 minutes
- Cook Time: 12 minutes
- Category: Desserts, Snacks
- Method: Baking
- Cuisine: American
Nutrition
- Serving Size: 12
- Calories: 140
- Sugar: 10 g
- Sodium: 150 mg
- Fat: 5 g
- Saturated Fat: 3 g
- Unsaturated Fat: 2 g
- Trans Fat: 0 g
- Carbohydrates: 22 g
- Fiber: 0 g
- Protein: 1 g
- Cholesterol: 20 mg
Emily Morgan
Food Critic & Kitchen Tips Specialist
Expertise
Global Food Exploration & Critique, Simple Kitchen Hacks & Time-Saving Tips, Presentation & Plating Techniques, Culinary Research & Storytelling.
Education
New York University
Emily Morgan has journeyed across the globe, collecting culinary secrets that turn everyday ingredients into impressive meals.
Based in Seattle and armed with a Journalism degree from NYU, she blends thorough research with a flair for presentation, ensuring every dish looks just as good as it tastes.
Focusing on fresh flavors, simple methods, and a bit of fun, Emily shows home cooks how to elevate their daily cooking without fancy gadgets or complex steps.