Creamy Old-Fashioned Rice Pudding Recipe To Impress
Comfort arrives in a bowl with this classic old fashioned rice pudding recipe that generations have cherished.
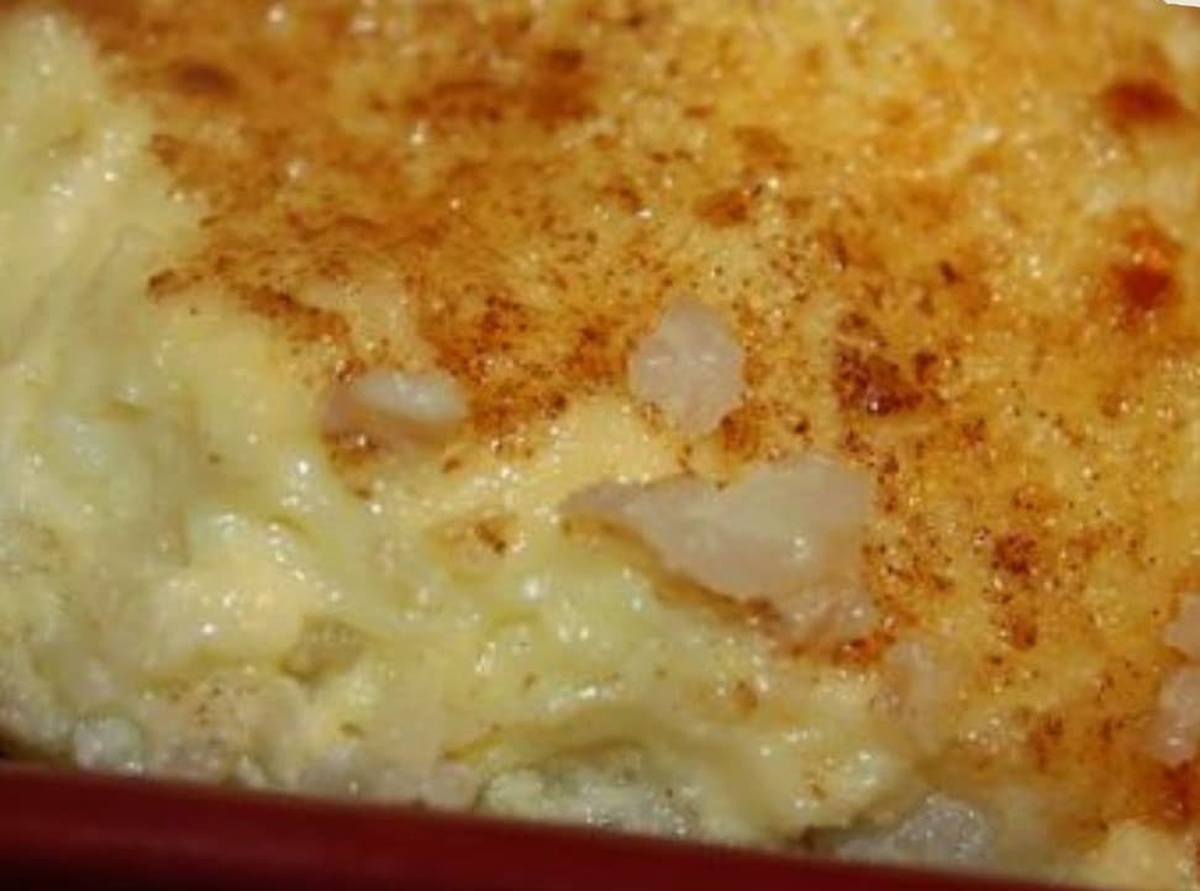
Rich, smooth, and deeply satisfying, this dessert whispers memories of grandma’s kitchen.
Creamy textures blend with subtle sweetness, creating a nostalgic treat.
Simple ingredients come together effortlessly, promising delightful results.
Warm vanilla notes dance through each spoonful, inviting pure culinary happiness.
The recipe offers a timeless connection to traditional home cooking.
Indulge in this sweet, velvety dessert that celebrates pure, uncomplicated deliciousness.
Quick Recipe Overview

Classic Rice Pudding Ingredients Breakdown
For Base Ingredients:For Sweetening and Seasoning:For Textural Additions:Tools to Make Old-Fashioned Rice Pudding Simple
Rice Pudding Instructions From Start to Spoon

Boil water in a saucepan and toss in rice. Lower the heat and let it simmer gently until the rice soaks up all the liquid and becomes tender.
Pour whole milk, cream, sugar, and a pinch of salt into the cooked rice. Stir everything together and let it bubble softly over low heat.
Stir constantly as the mixture transforms into a luscious, thick pudding. Keep an eye on it to prevent any scorching at the bottom of the pan.
Splash in vanilla and sprinkle cinnamon and nutmeg. Toss in raisins and let everything mingle and dance together for a few more minutes.
Scoop the warm, creamy pudding into bowls. Dust with an extra sprinkle of cinnamon for a final touch of comfort. Enjoy it steaming hot or refreshingly cool.
Suggestions for Rice Pudding Texture & Flavor
Rice Pudding Serving Ideas with a Nostalgic Touch
Keep Rice Pudding Ready for Next Time
FAQs
Most short-grain or medium-grain white rice works well. Avoid using long-grain rice as it won’t create the same creamy texture.
Yes, substitute whole milk and half-and-half with coconut milk or almond milk. The consistency might be slightly different but still delicious.
Stir frequently and keep the heat on low-medium. Use a heavy-bottomed saucepan and don’t walk away from the stove while cooking.
Absolutely! You can omit raisins or replace them with other mix-ins like chopped nuts, dried cranberries, or chocolate chips.
Print
Creamy Old Fashioned Rice Pudding Recipe
- Total Time: 50 minutes
- Yield: 7 1x
Description
Classic Old Fashioned Rice Pudding brings creamy comfort from generations past. Grandma’s cherished recipe delivers sweet nostalgia with simple ingredients and heartwarming memories for you.
Ingredients
- 2 cups (480 ml/16 fl oz) whole milk
- 1 ½ cups (360 ml/12 fl oz) half-and-half (or heavy cream for extra creaminess)
- ½ cup (100 g) uncooked white rice (medium or long grain)
- ½ cup (100 g) granulated sugar
- 1 tsp vanilla extract
- ½ tsp ground cinnamon (plus more for garnish)
- ¼ tsp salt
- ¼ tsp ground nutmeg (optional)
- ½ cup (80 g) raisins (optional)
Instructions
- Rice Foundation: Boil water in a medium saucepan, add rice, and reduce heat to create a gentle simmer. Allow grains to absorb liquid and become tender, cooking for approximately 15 minutes until perfectly soft.
- Creamy Transformation: Merge cooked rice with whole milk, half-and-half, sugar, and salt. Stir thoroughly and maintain a moderate heat, encouraging a gentle simmering process that develops a rich, smooth consistency.
- Flavor Infusion: Continuously stir the mixture to prevent burning, watching as the pudding gradually thickens into a luxurious texture. Incorporate vanilla extract, ground cinnamon, nutmeg, and raisins, blending all ingredients harmoniously for an additional 5-7 minutes.
- Serving Artistry: Transfer the pudding into elegant serving bowls, garnishing with a delicate sprinkle of ground cinnamon. Offer the dessert at either a comforting warm temperature or a refreshing chilled state, depending on personal preference.
Notes
- Prevent Rice Sticking: Stir frequently during initial cooking to avoid grains clumping or burning at pan bottom, ensuring even, smooth texture.
- Control Milk Consistency: Watch heat carefully while simmering milk mixture; lower temperature helps prevent scorching and maintains creamy, silky pudding texture.
- Customize Flavor Variations: Experiment with alternative spices like cardamom or orange zest, or swap raisins with dried cranberries or chopped nuts for personalized taste.
- Adjust Dietary Needs: Use lactose-free milk for sensitive diets, replace sugar with honey or maple syrup for natural sweetness, or create dairy-free version using coconut milk.
- Prep Time: 5 minutes
- Cook Time: 45 minutes
- Category: Desserts, Snacks
- Method: Simmering
- Cuisine: American
Nutrition
- Serving Size: 7
- Calories: 315
- Sugar: 21 g
- Sodium: 80 mg
- Fat: 14 g
- Saturated Fat: 8 g
- Unsaturated Fat: 6 g
- Trans Fat: 0 g
- Carbohydrates: 45 g
- Fiber: 1 g
- Protein: 6 g
- Cholesterol: 40 mg
John Nicholson
Lead Writer & Recipe Developer
Expertise
Recipe Testing and Development, Kitchen Hacks and Time-Saving Tips, Flavor Pairing and Ingredient Selection, Engaging Food Writing and Storytelling
Education
Johnson & Wales University
John Nicholson honed his skills at Johnson & Wales University, learning how to use fresh, local ingredients and down-to-earth techniques to make cooking simple and satisfying.
His recipes blend Southern comfort flavors with a modern touch, inviting everyone to cook with ease and confidence.
Living in Charleston, John takes cues from the city’s lively food scene, local markets, and seasonal produce. He’s all about making meals stress-free through easy tips, flavor pairings, and fun experiments in the kitchen